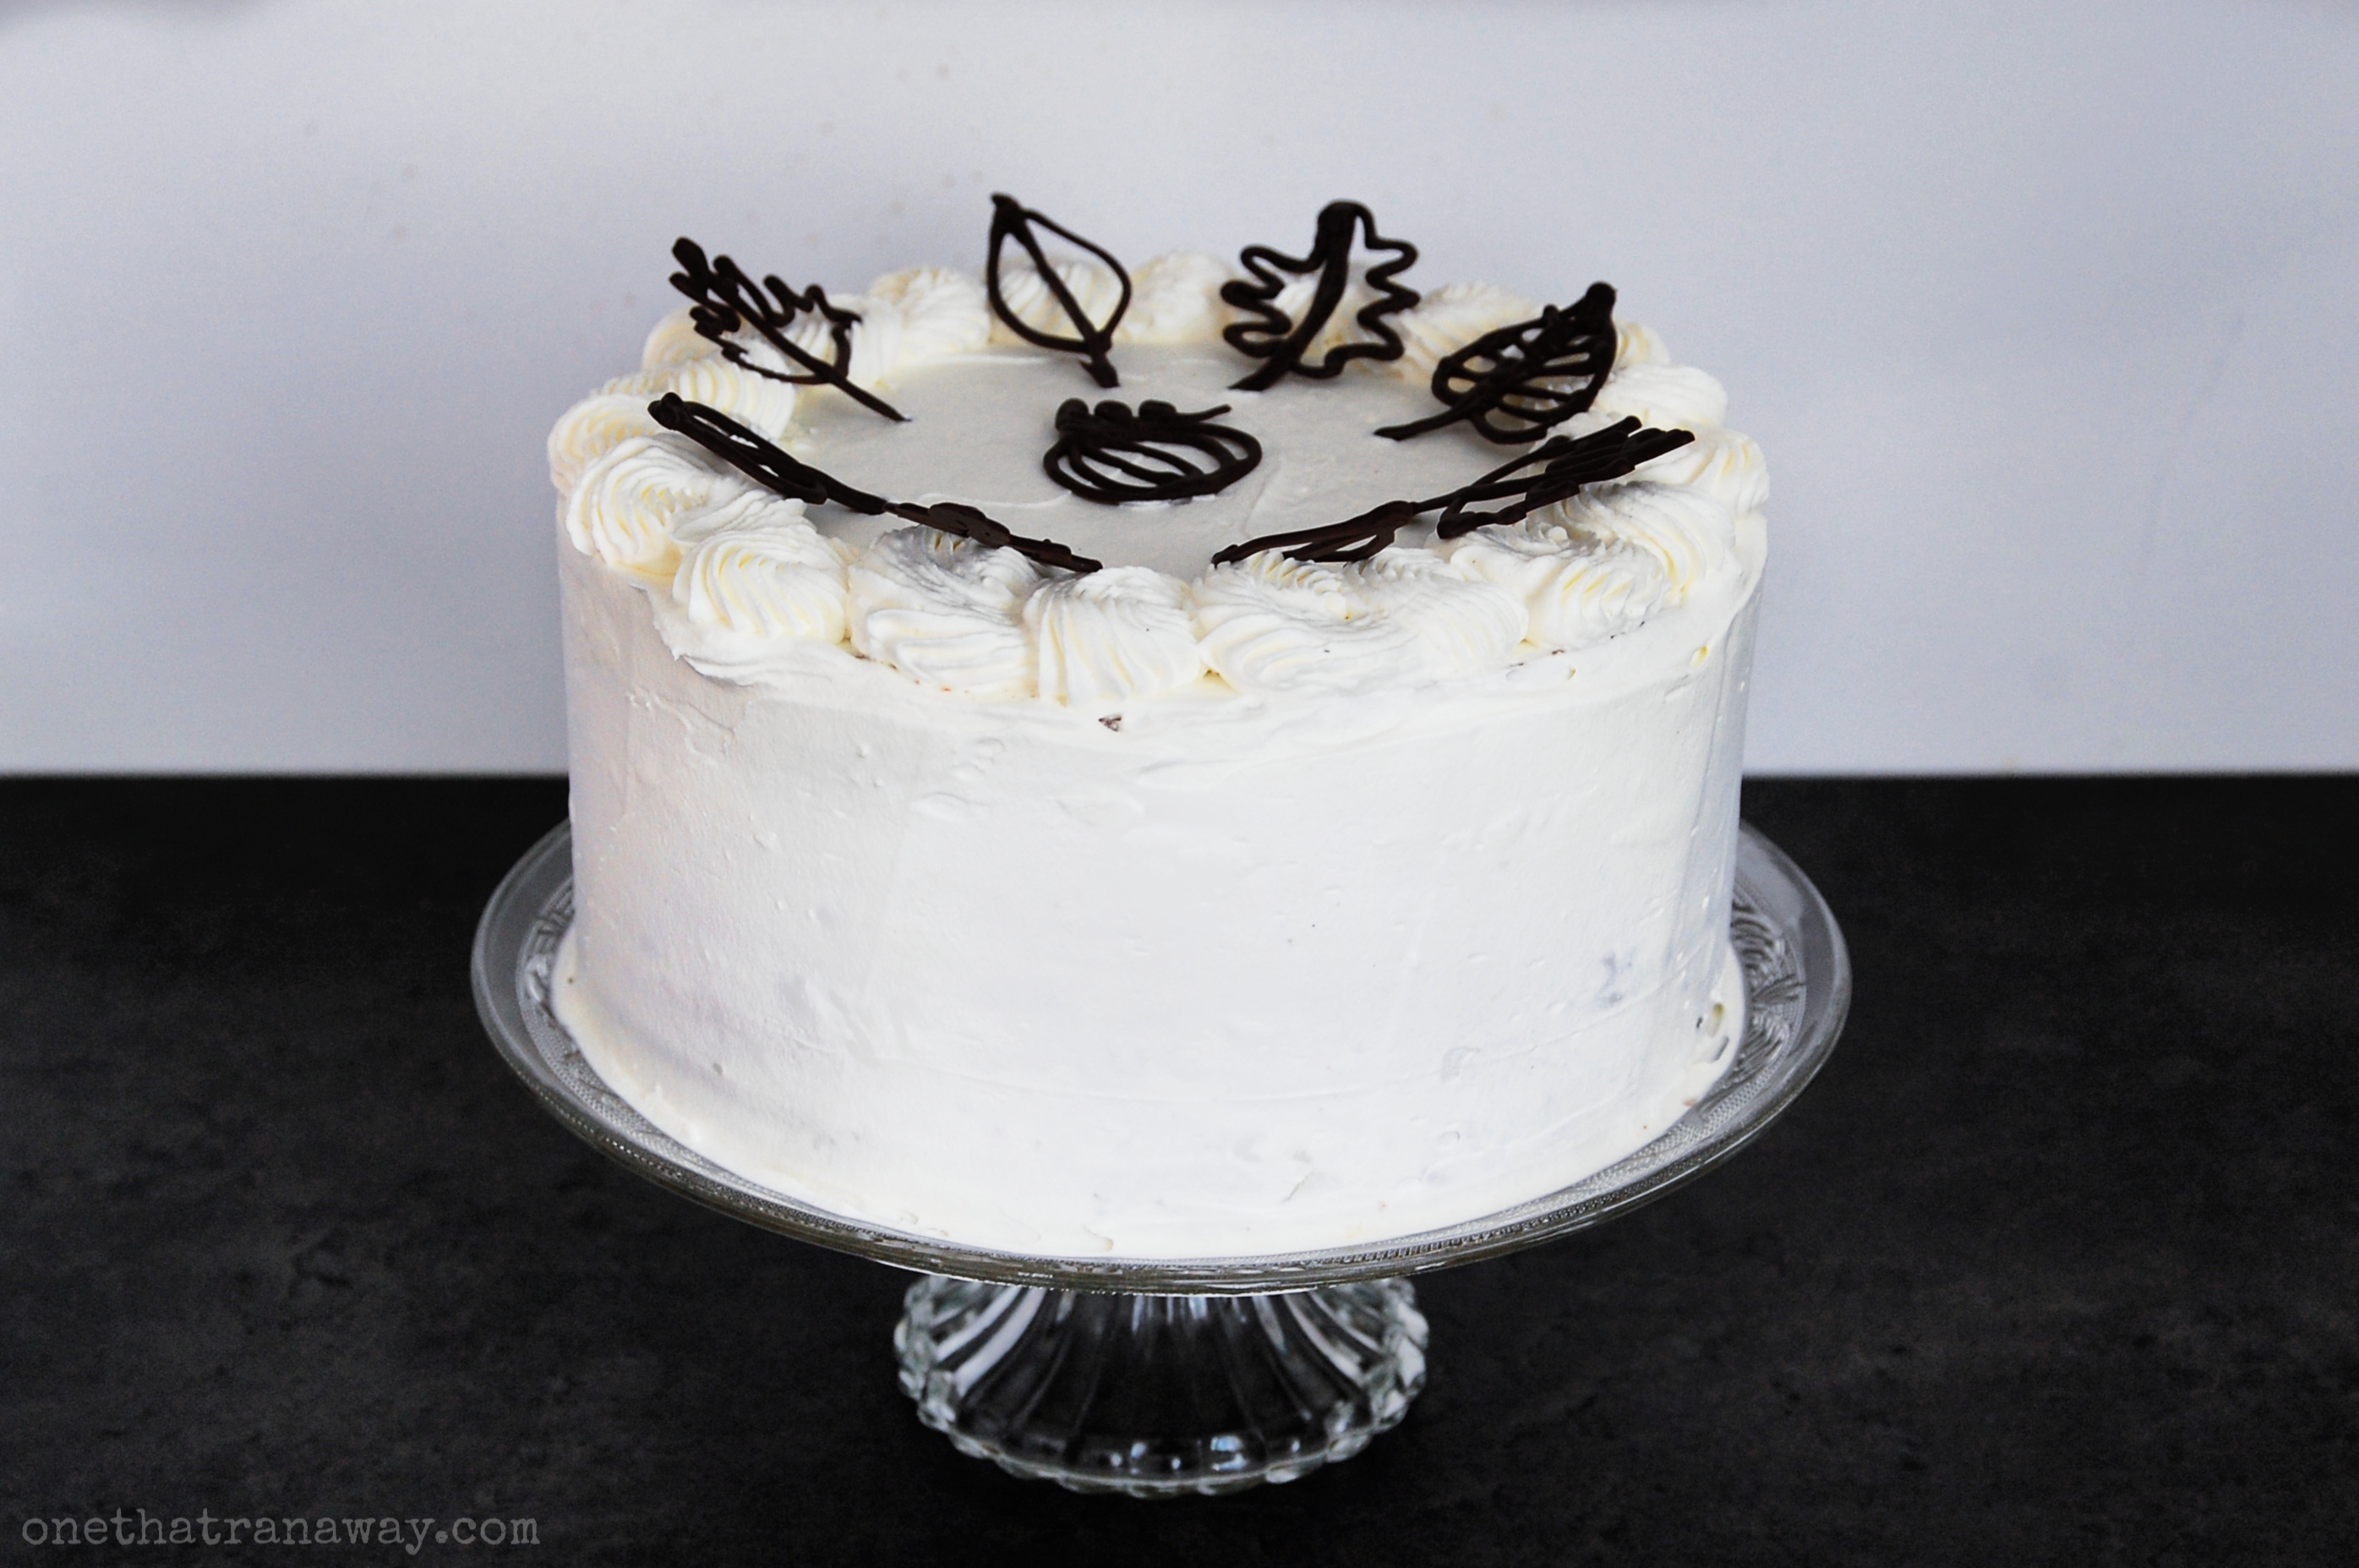
How is it October already? Is it just me or did September simply fly by? I have to admit, it’s been an exhausting month and I didn’t see October coming and that’s something I do regret. October is my favourite month of the year after all, with its beautiful, opulent, warm colours and the first crisp nights. I love the crunching of dry leaves under my feet, the squashes and pumpkins, the gruesome joys of Halloween and those first long nights spent at home with candles and blankets and a hot cup of tea. Yes, you could say I love October quite a bit. Looking outside, there’s no denying it: autumn is here. And with it comes an abundance of apples! So what better way is there to eat apples than a delicious, moist layered autumn apple cake?
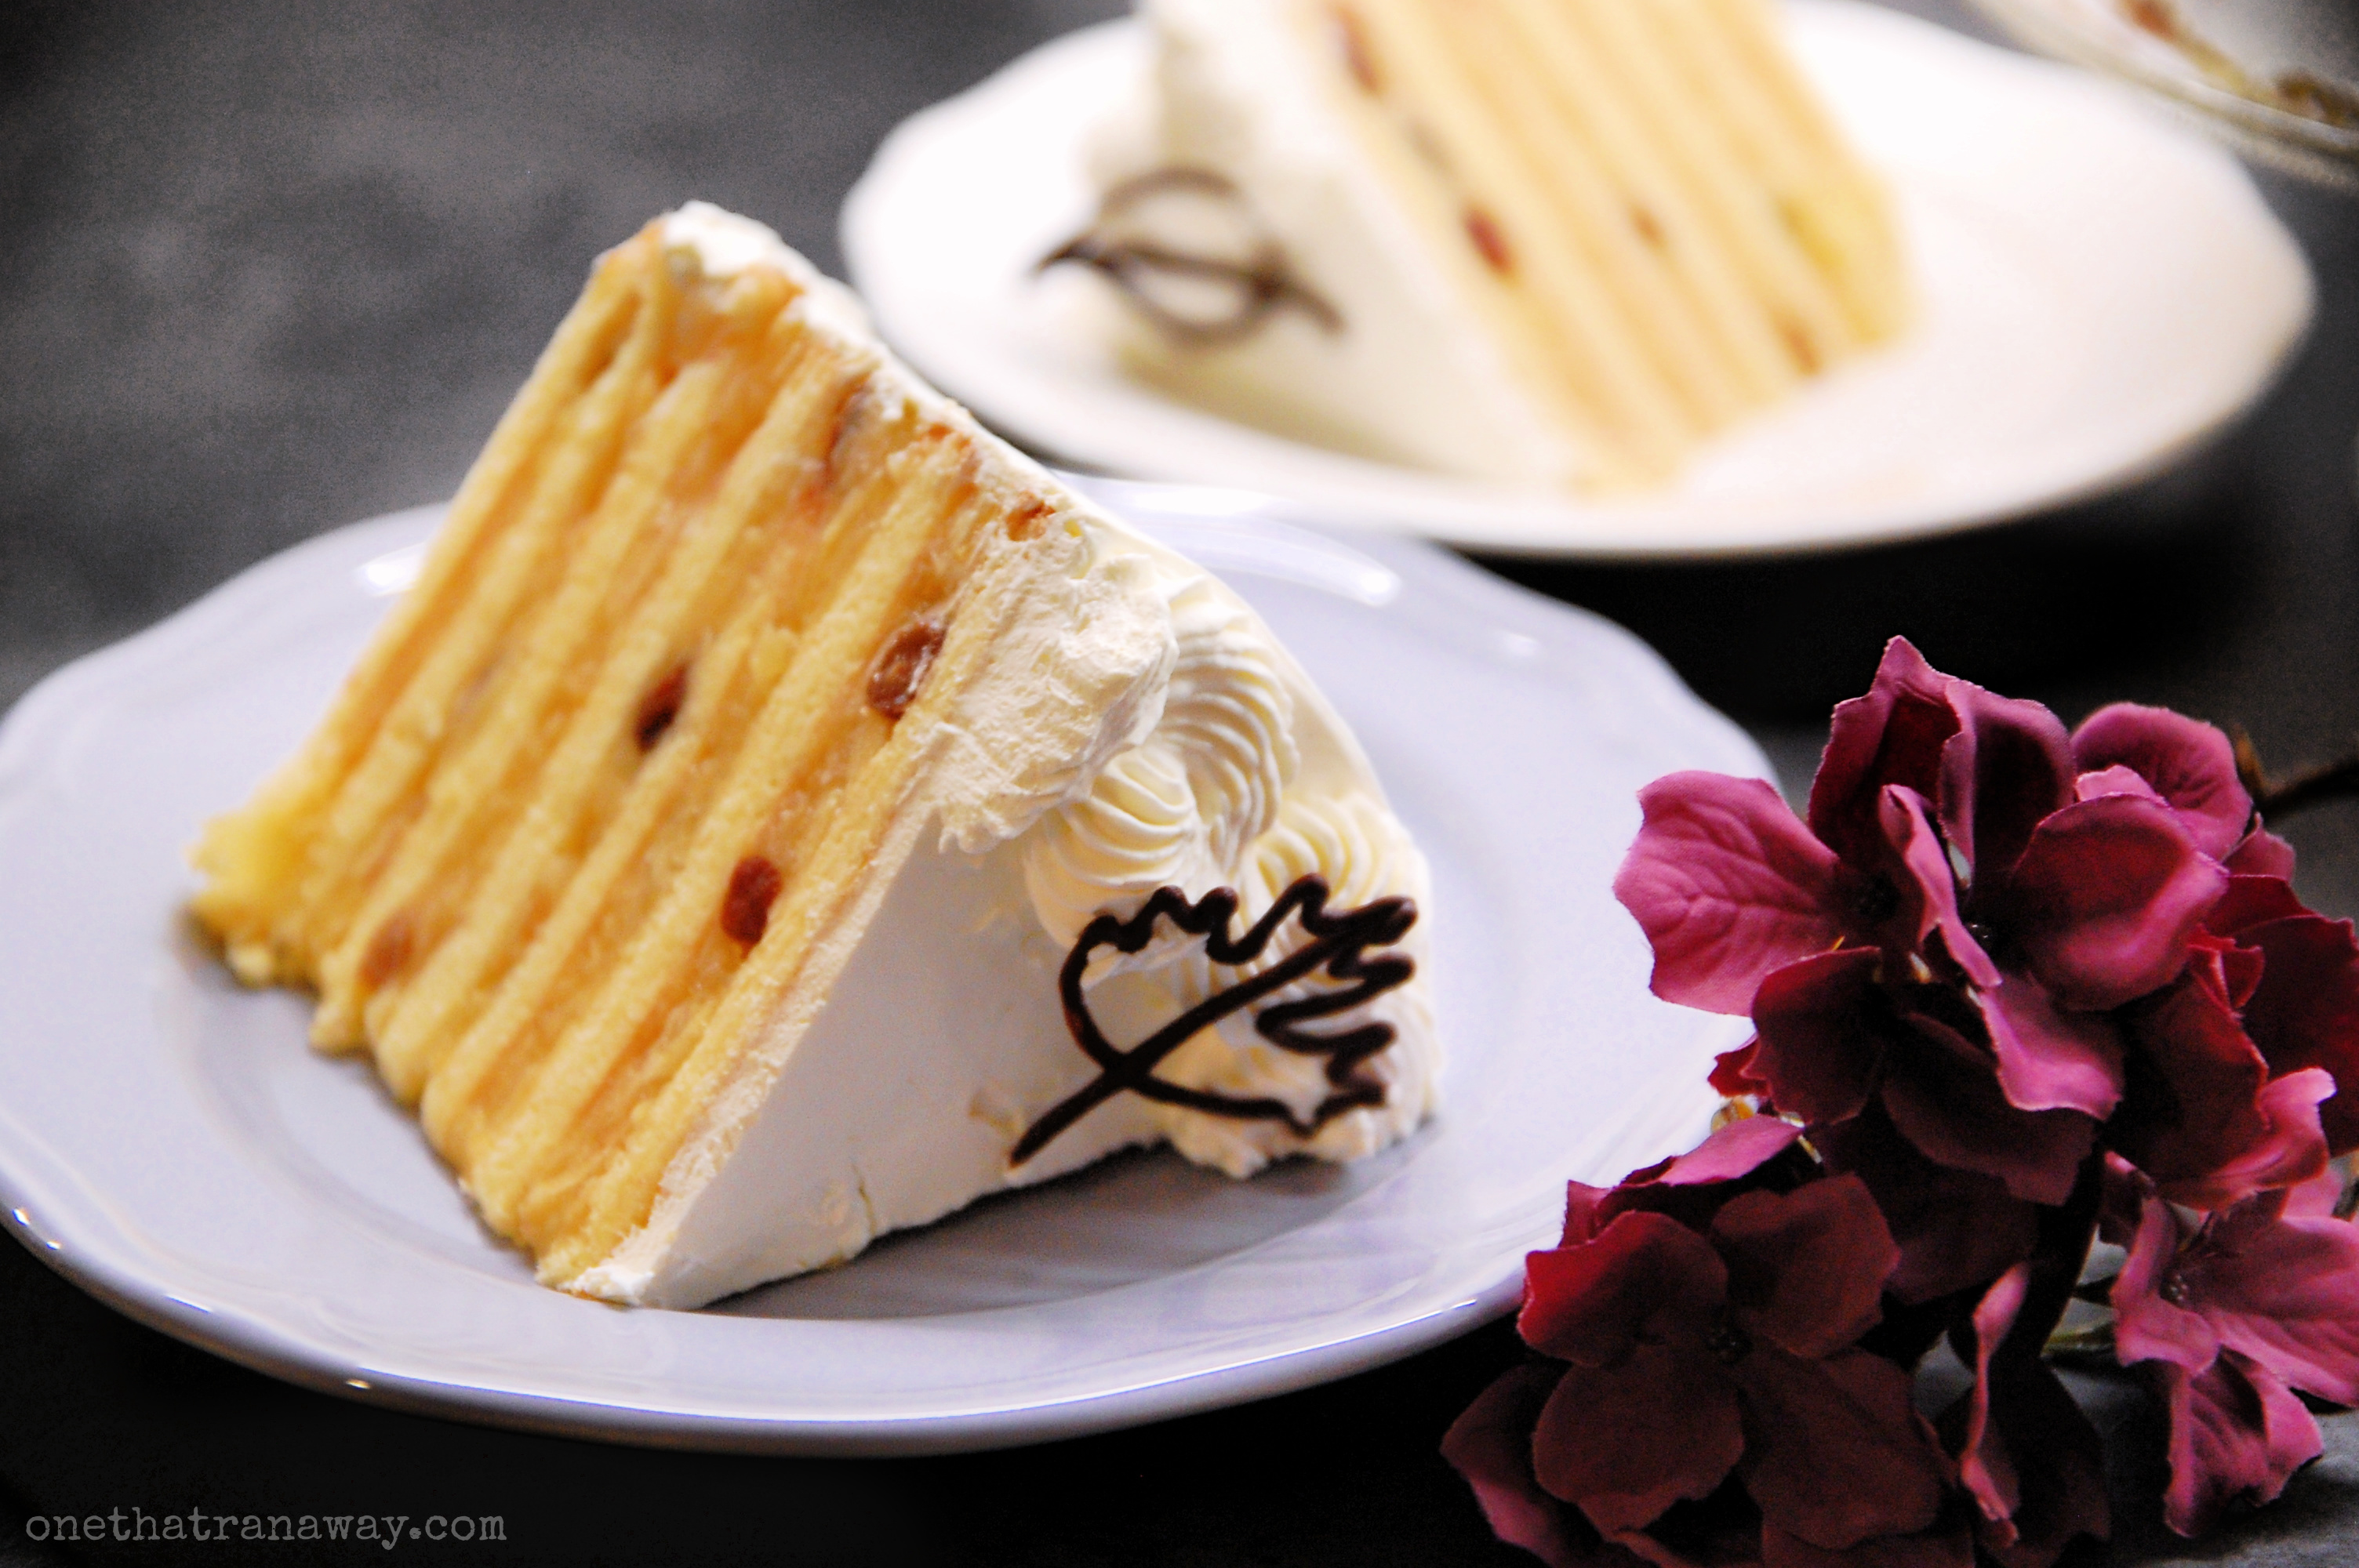
I have to admit I’m not a huge fan of apples in general, but this is a cake I bake every year. It simply tastes like autumn and is just as golden and rich as the colours of October itself. Credit for the recipe I used as a base goes to FlowerBomb at chefkoch.de. However, I did change a few things about the original recipe.
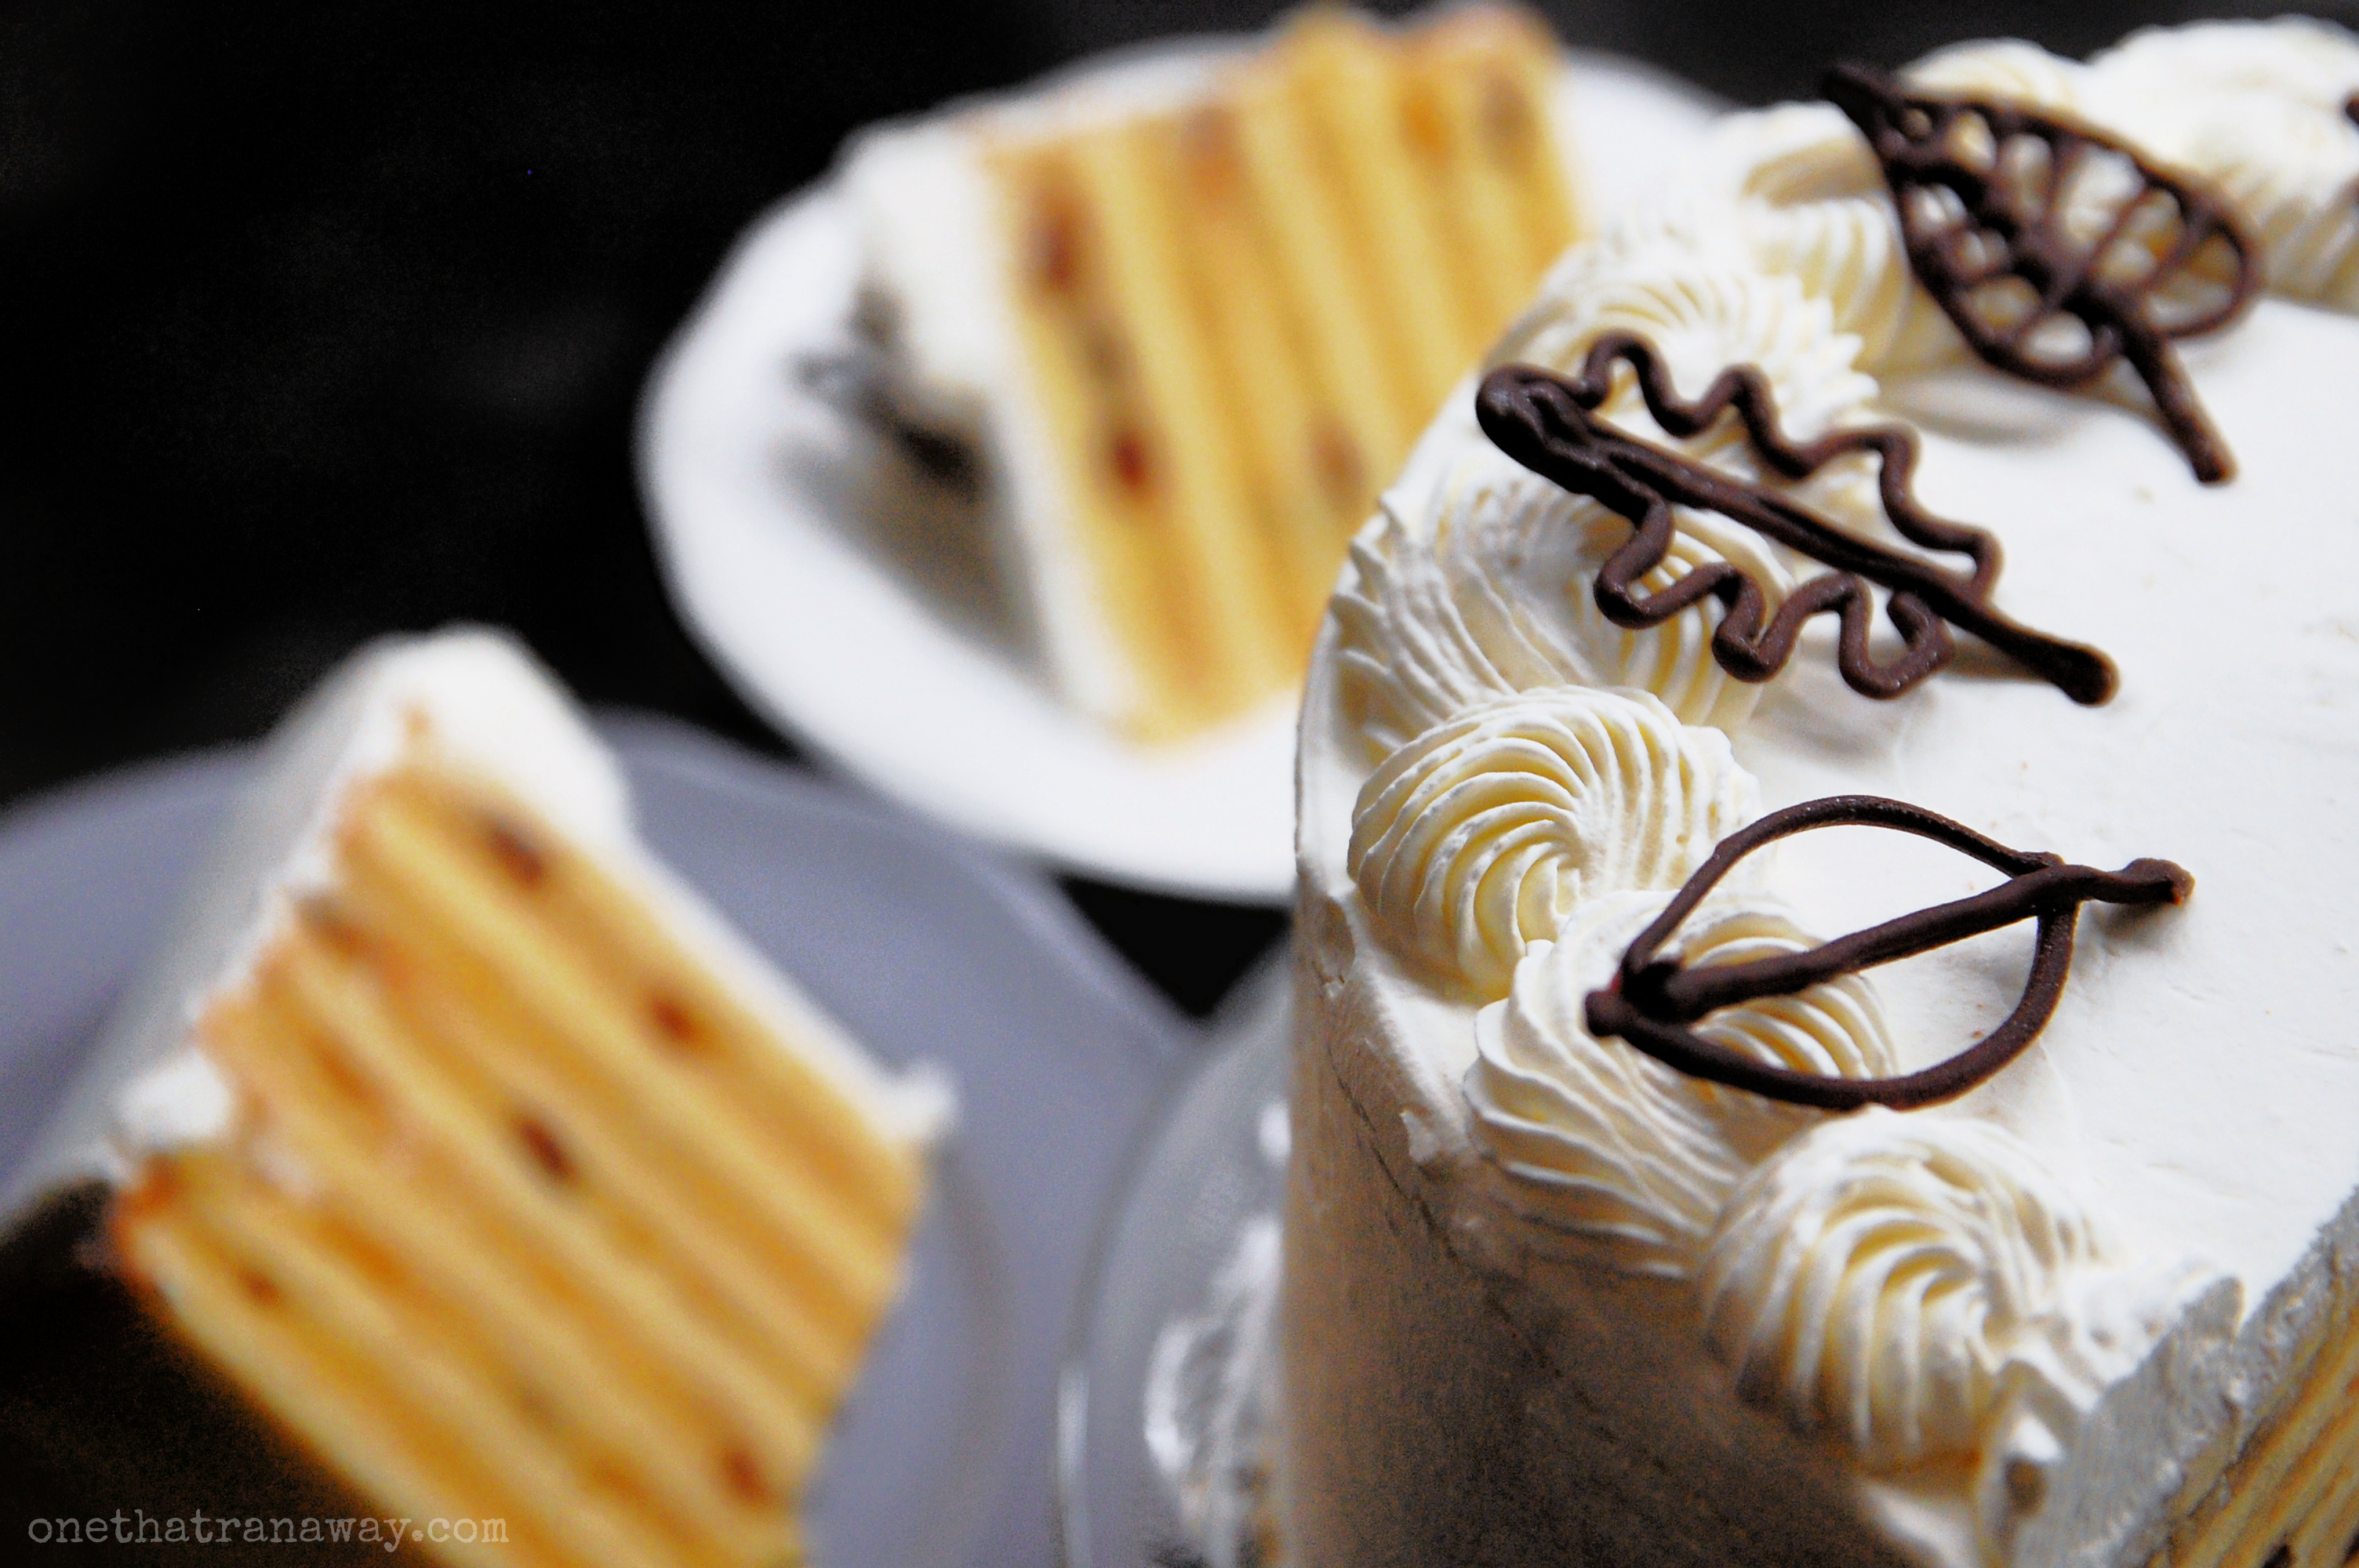
You will need quite some time to make this layered autumn apple cake, although it’s not quite as elaborate and time-consuming as the authentic German Baumkuchen I introduced in my last post. But it’s worth it, I promise. You can easily make this cake one day ahead. The apple filling will keep the sponge layers moist.
recipe
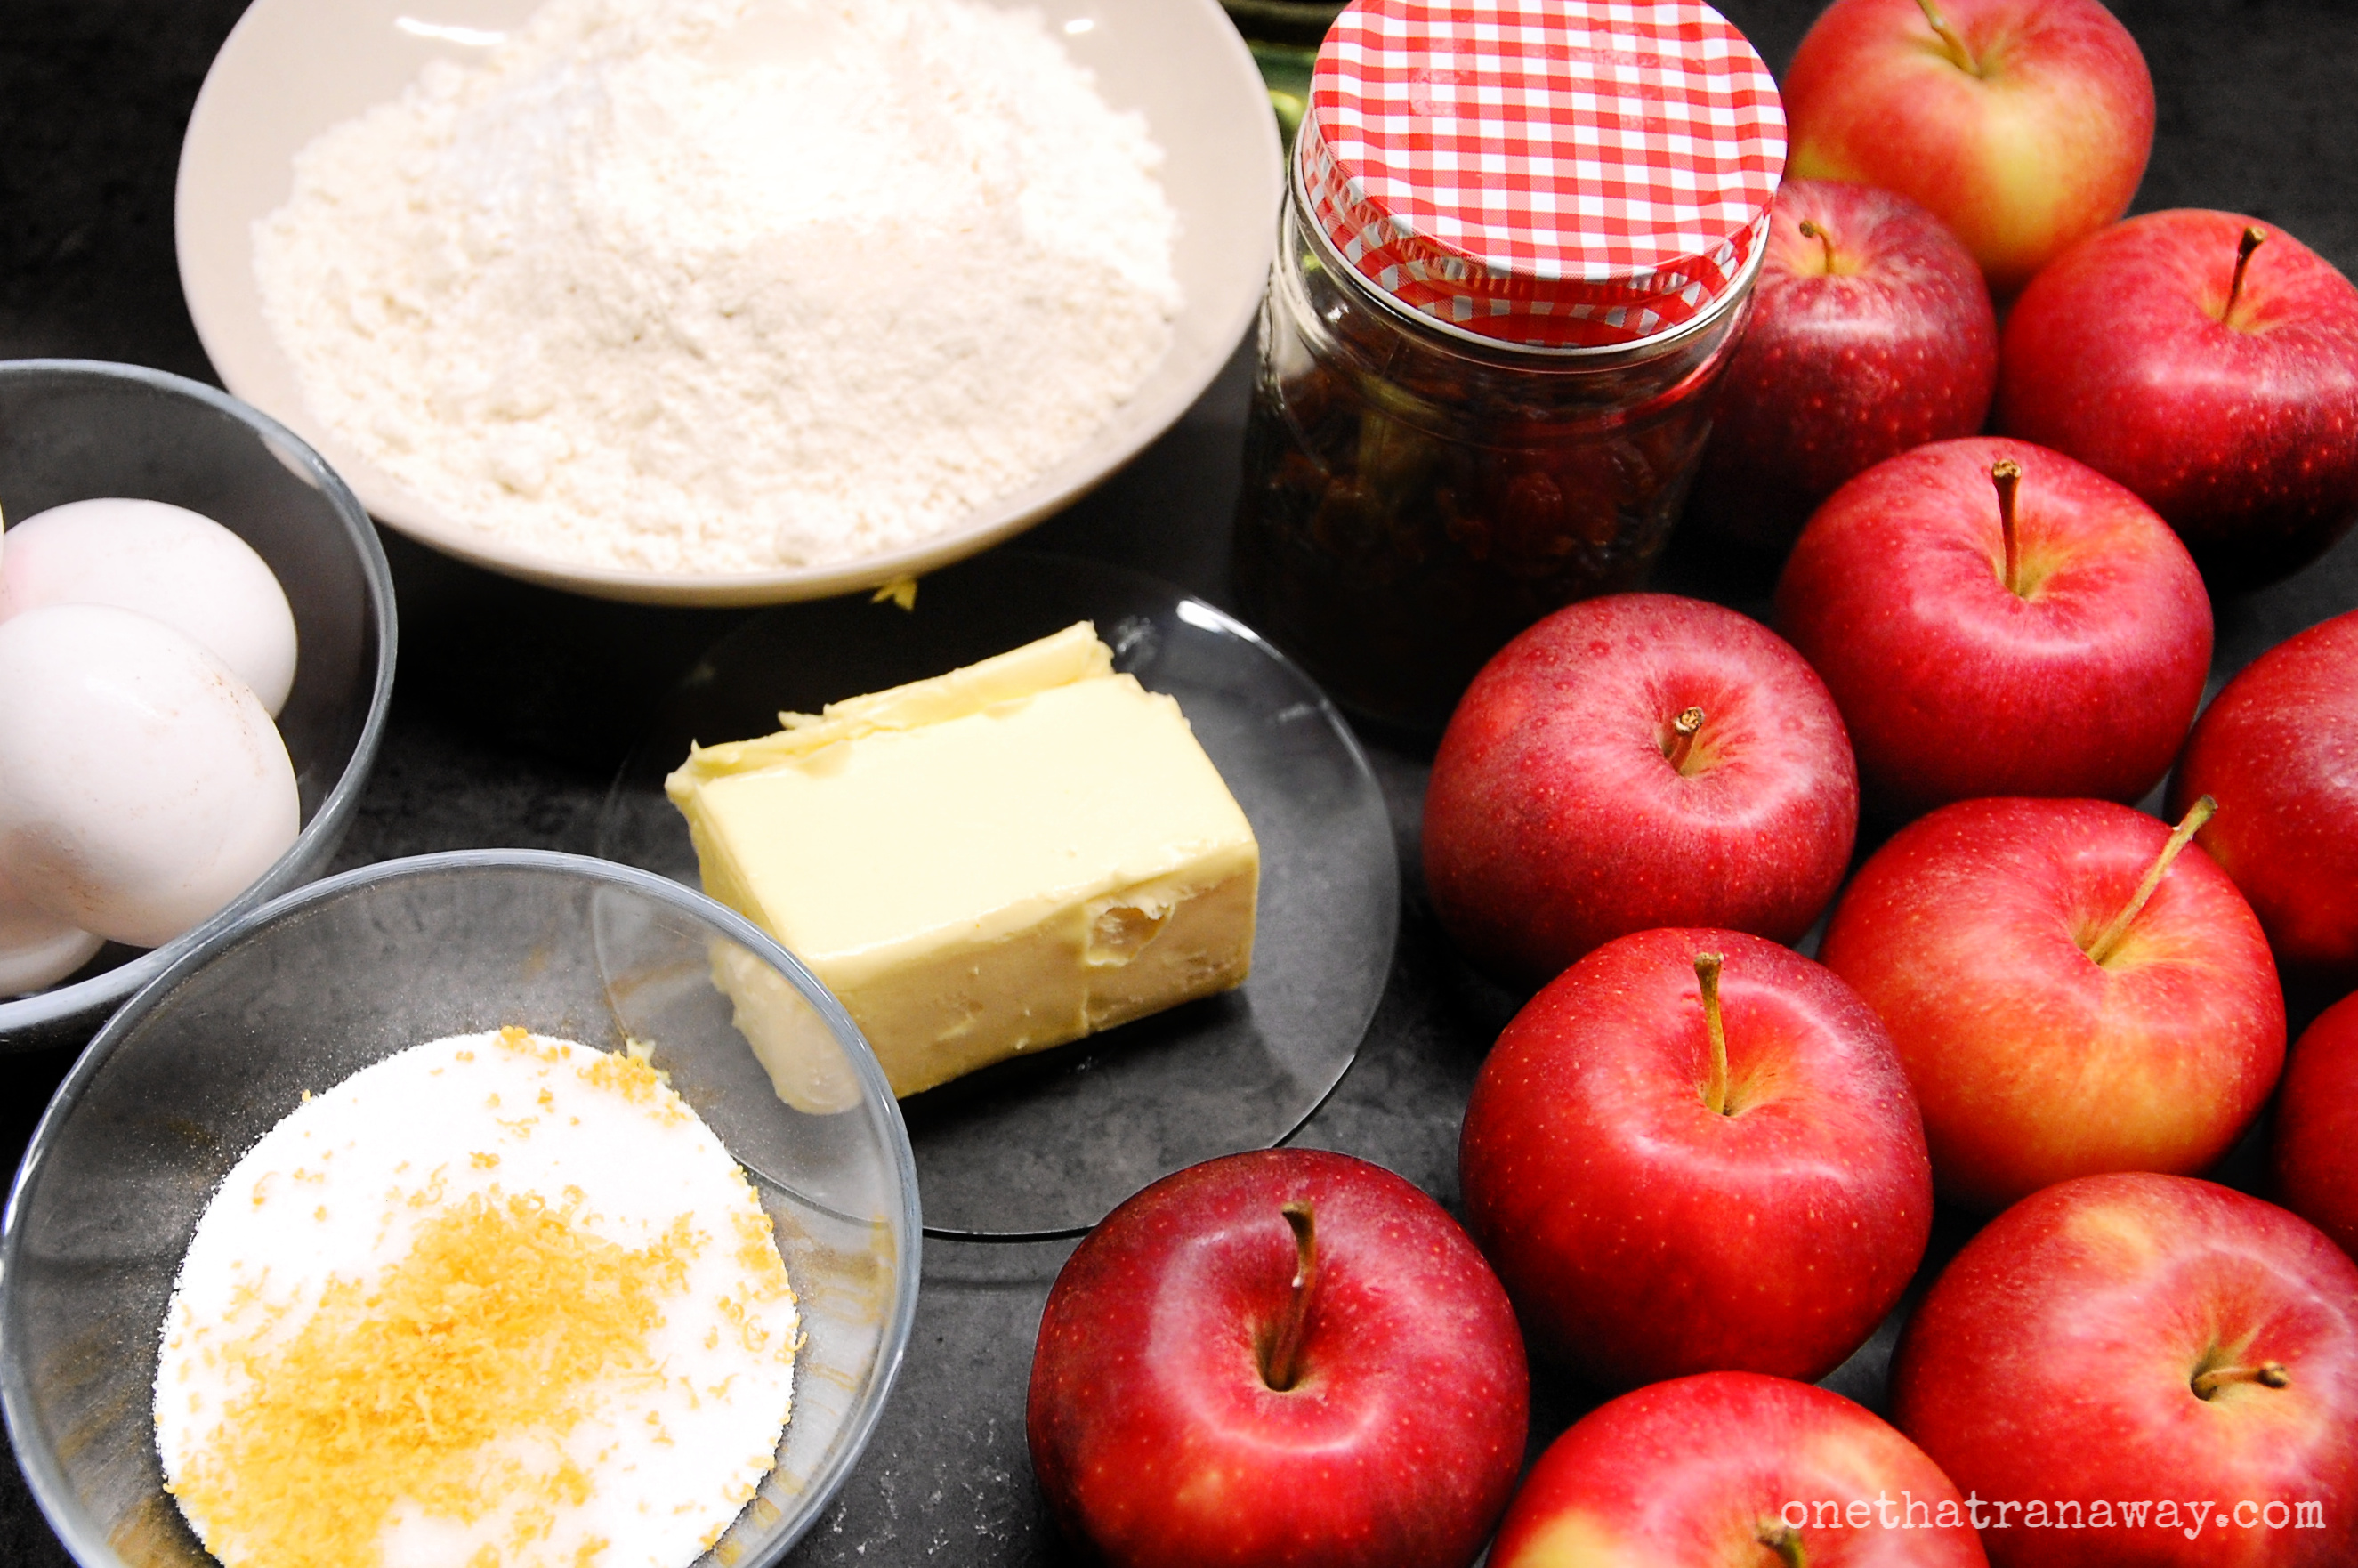
ingredients:
for the batter:
- 125g butter, softened
- 250g granulated sugar
- half a vanilla bean, scraped
- 5 eggs, room temperature
- 250g all-purpose-flour
for the filling:
- 100g raisins, soaked in 125ml rum (preferably overnight)
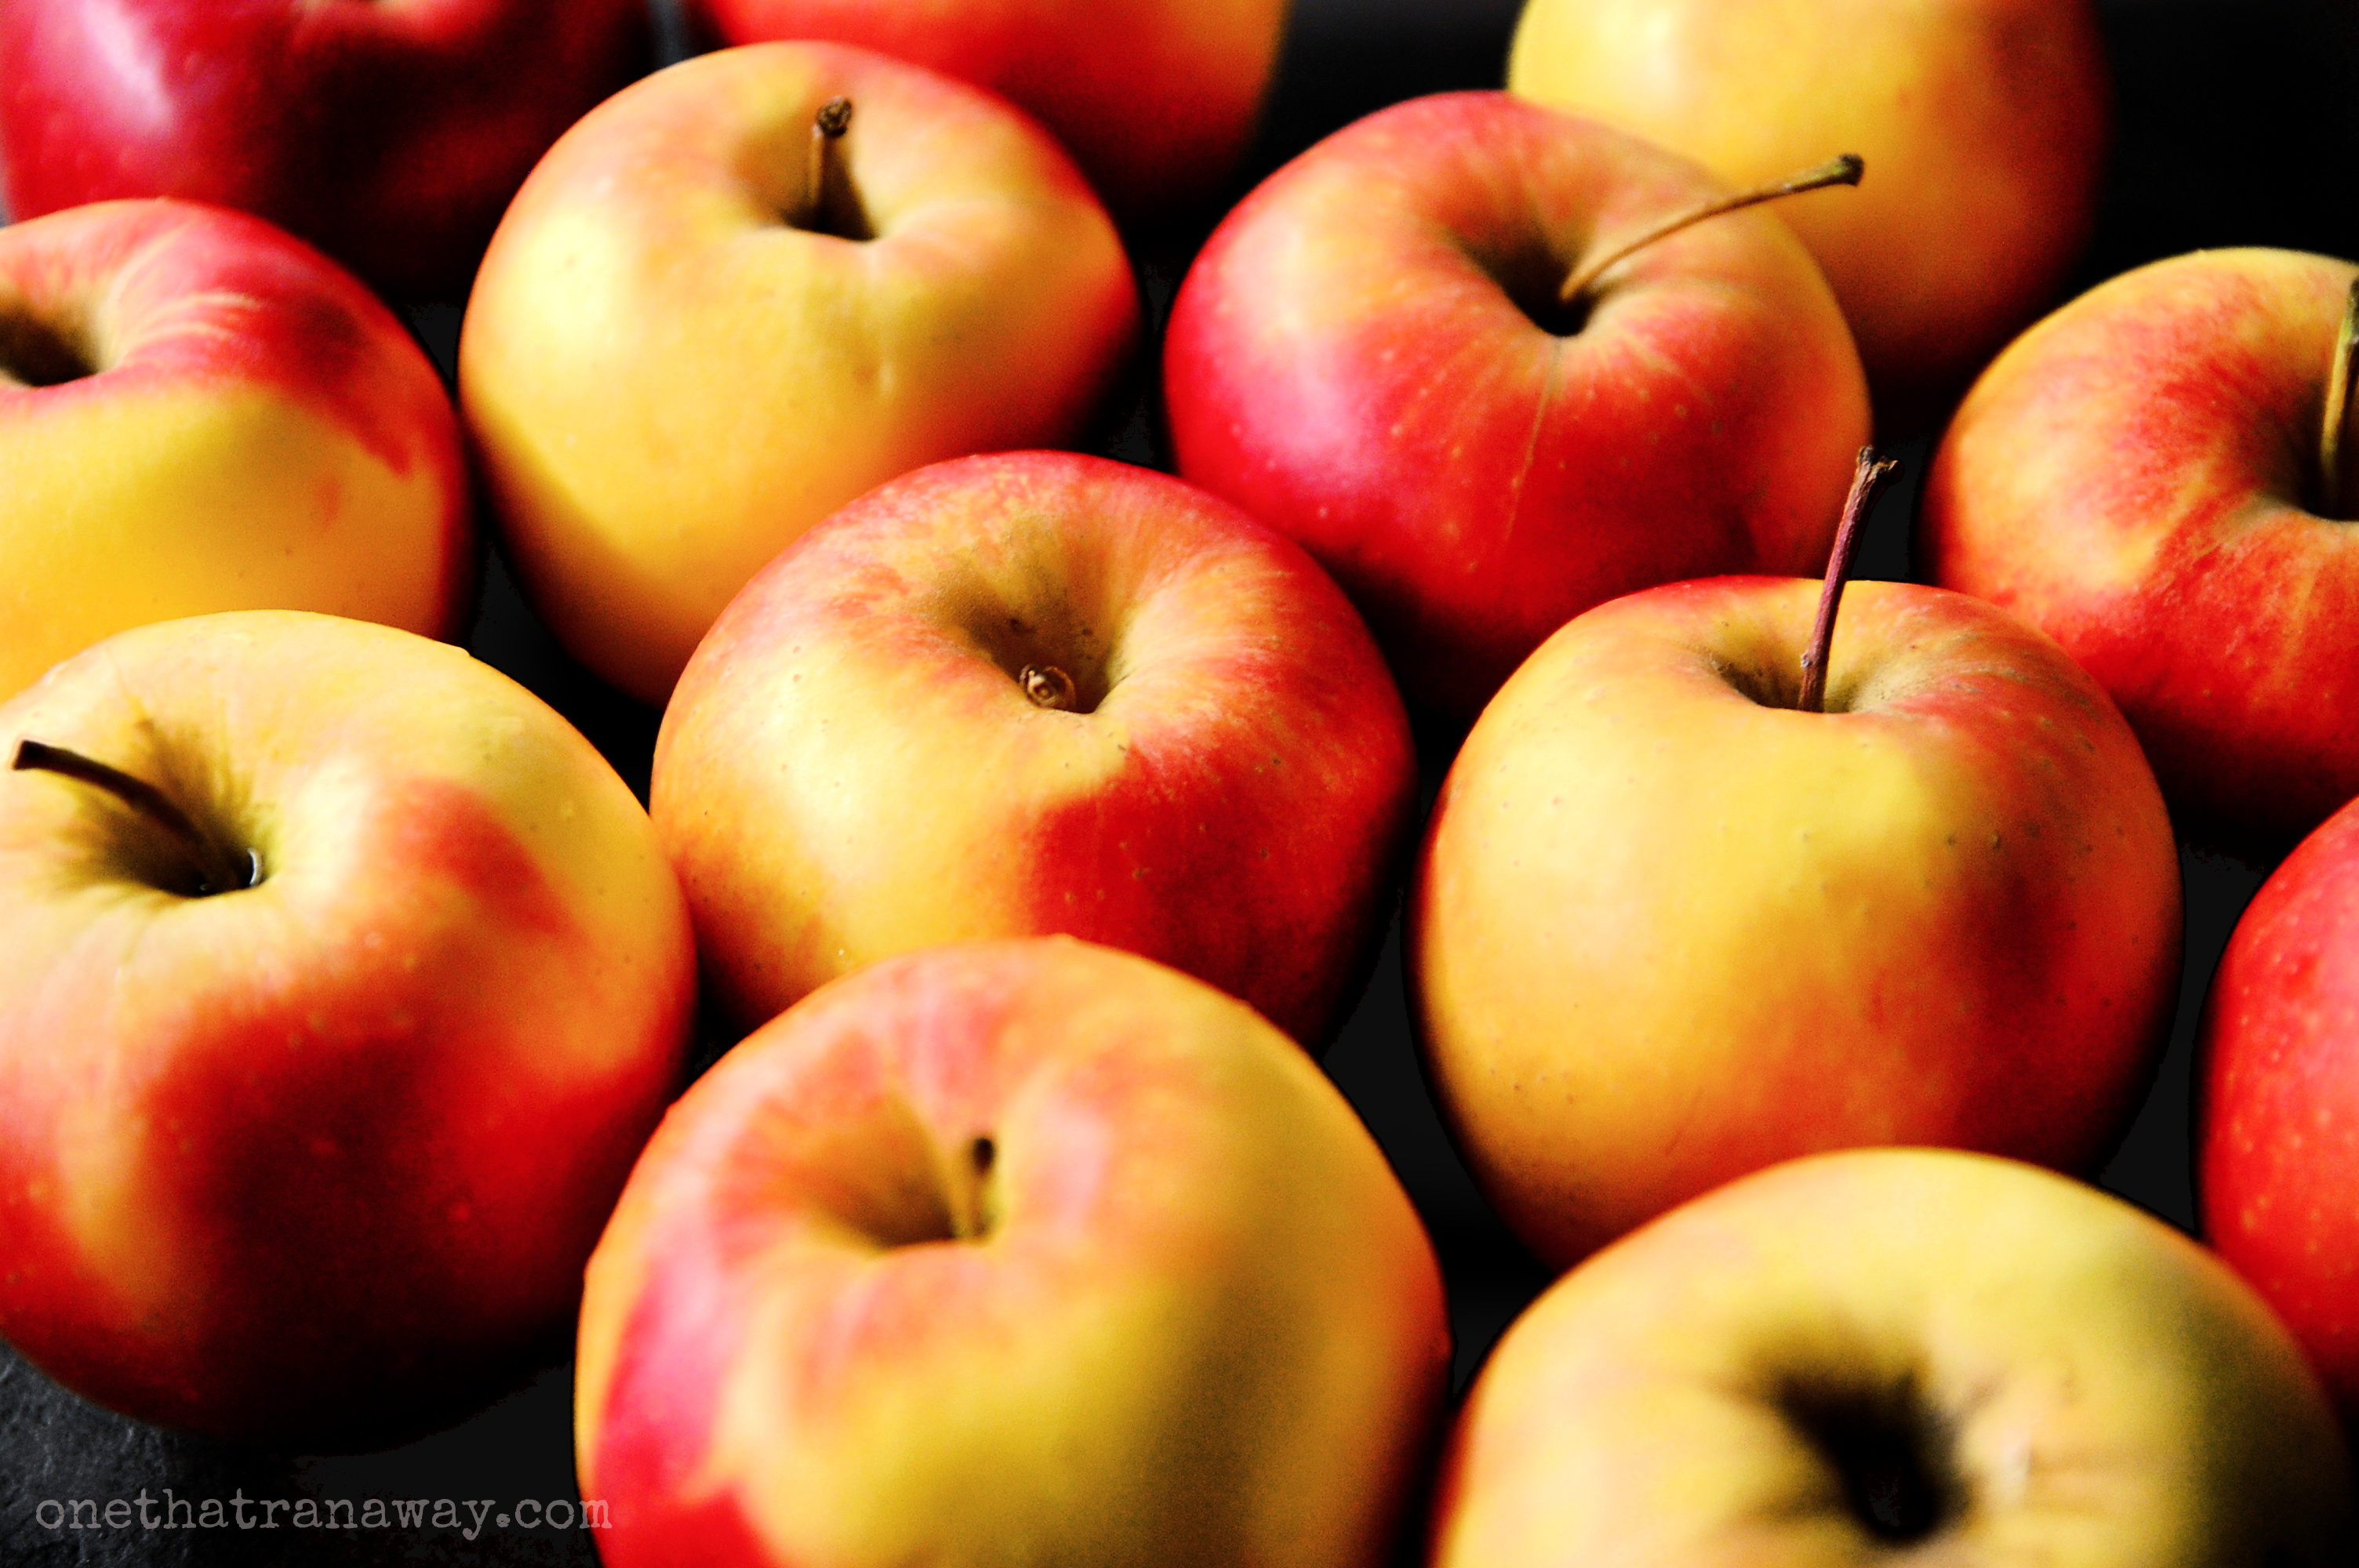
- 2kg apples (depending on the size of your apples, that may be anything from 10 to 20 apples, so better use a kitchen scale)
- 250ml white wine
- 1 organic lemon
- 150g granulated sugar
- 75g cornstarch
- the other half of your vanilla bean, scraped
for the whipped cream:
- 250ml heavy cream
- 1 tbsp confectioner’s sugar
- some more vanilla, if you’re not tired of vanilla yet
- (note: if you wish to frost the entire cake, you might want to double the cream and sugar)
you will also need:
- 200g dark chocolate, chopped (about one cup)
instructions:
Prepare your rum soaked raisins the night before you make the layered autumn apple cake. Therefore, fill your raisins in a jar or bowl and pour the rum on top. Mix well and make sure that the raisins are covered completely. Now cover the bowl or jar itself and let the raisins soak overnight. If you don’t have that much time or forgot to plan ahead, let them soak for at least five or six hours. Or buy ready-made rum raisins if they are available in your region.
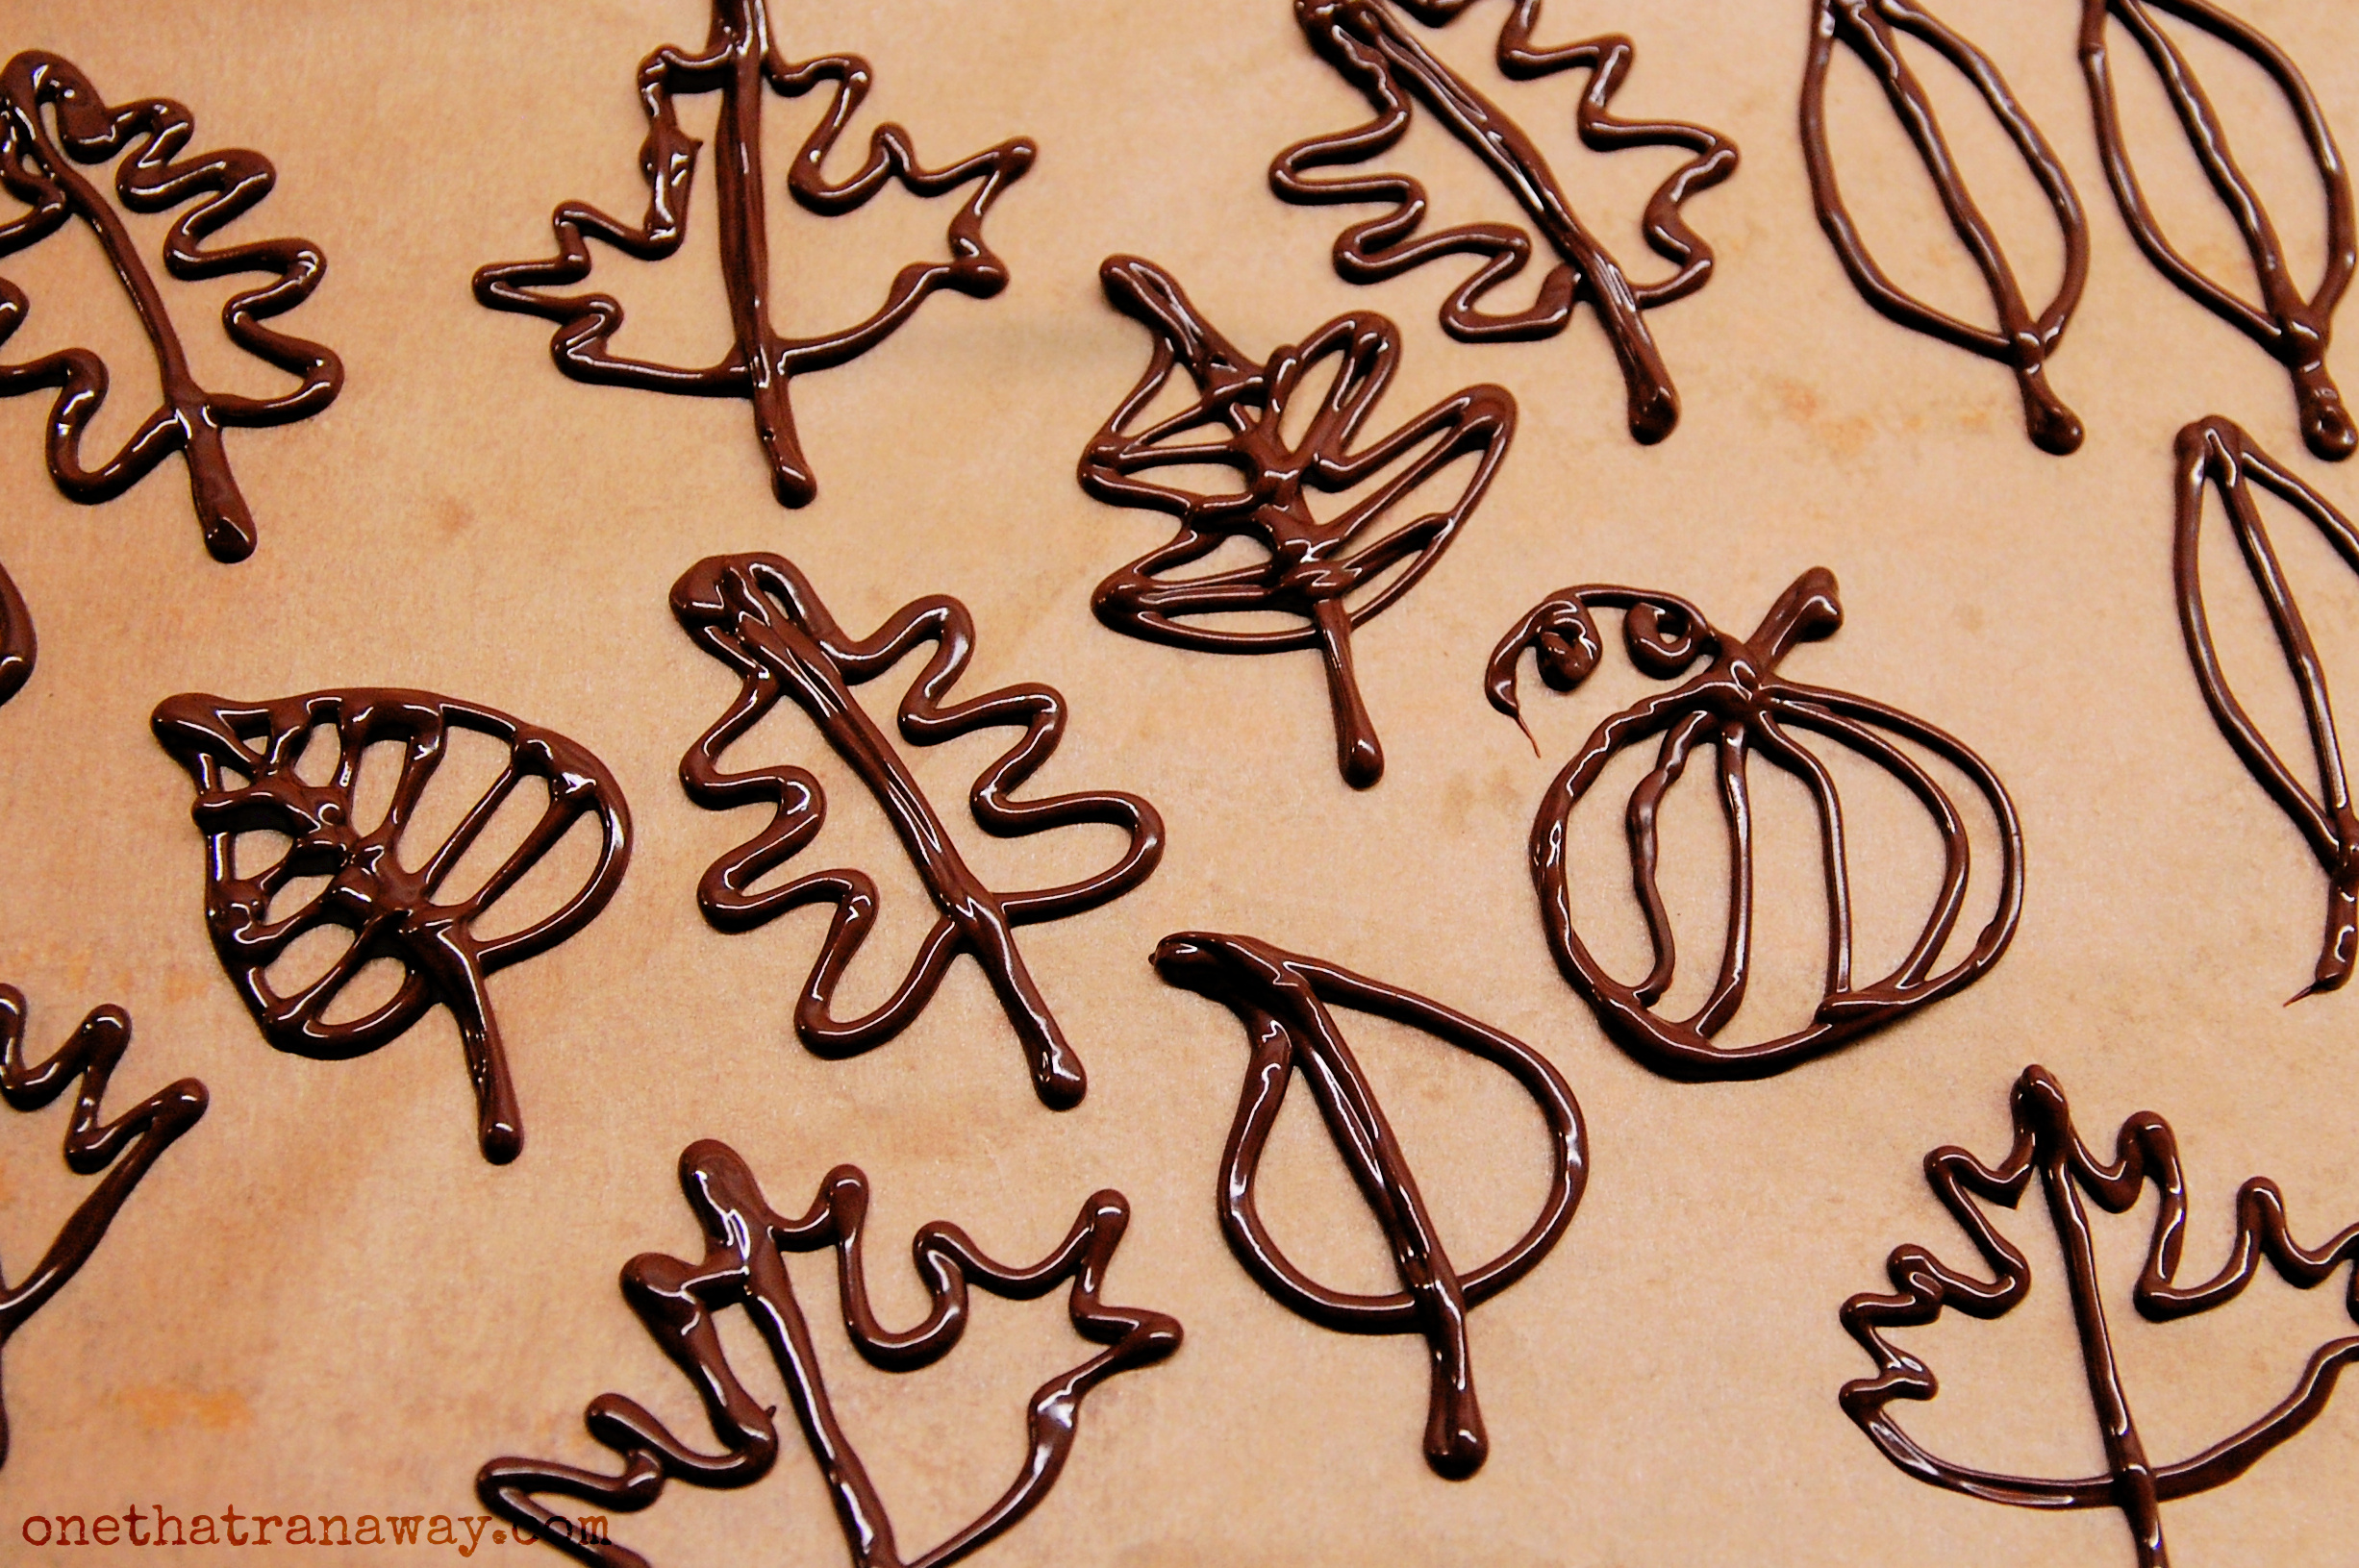
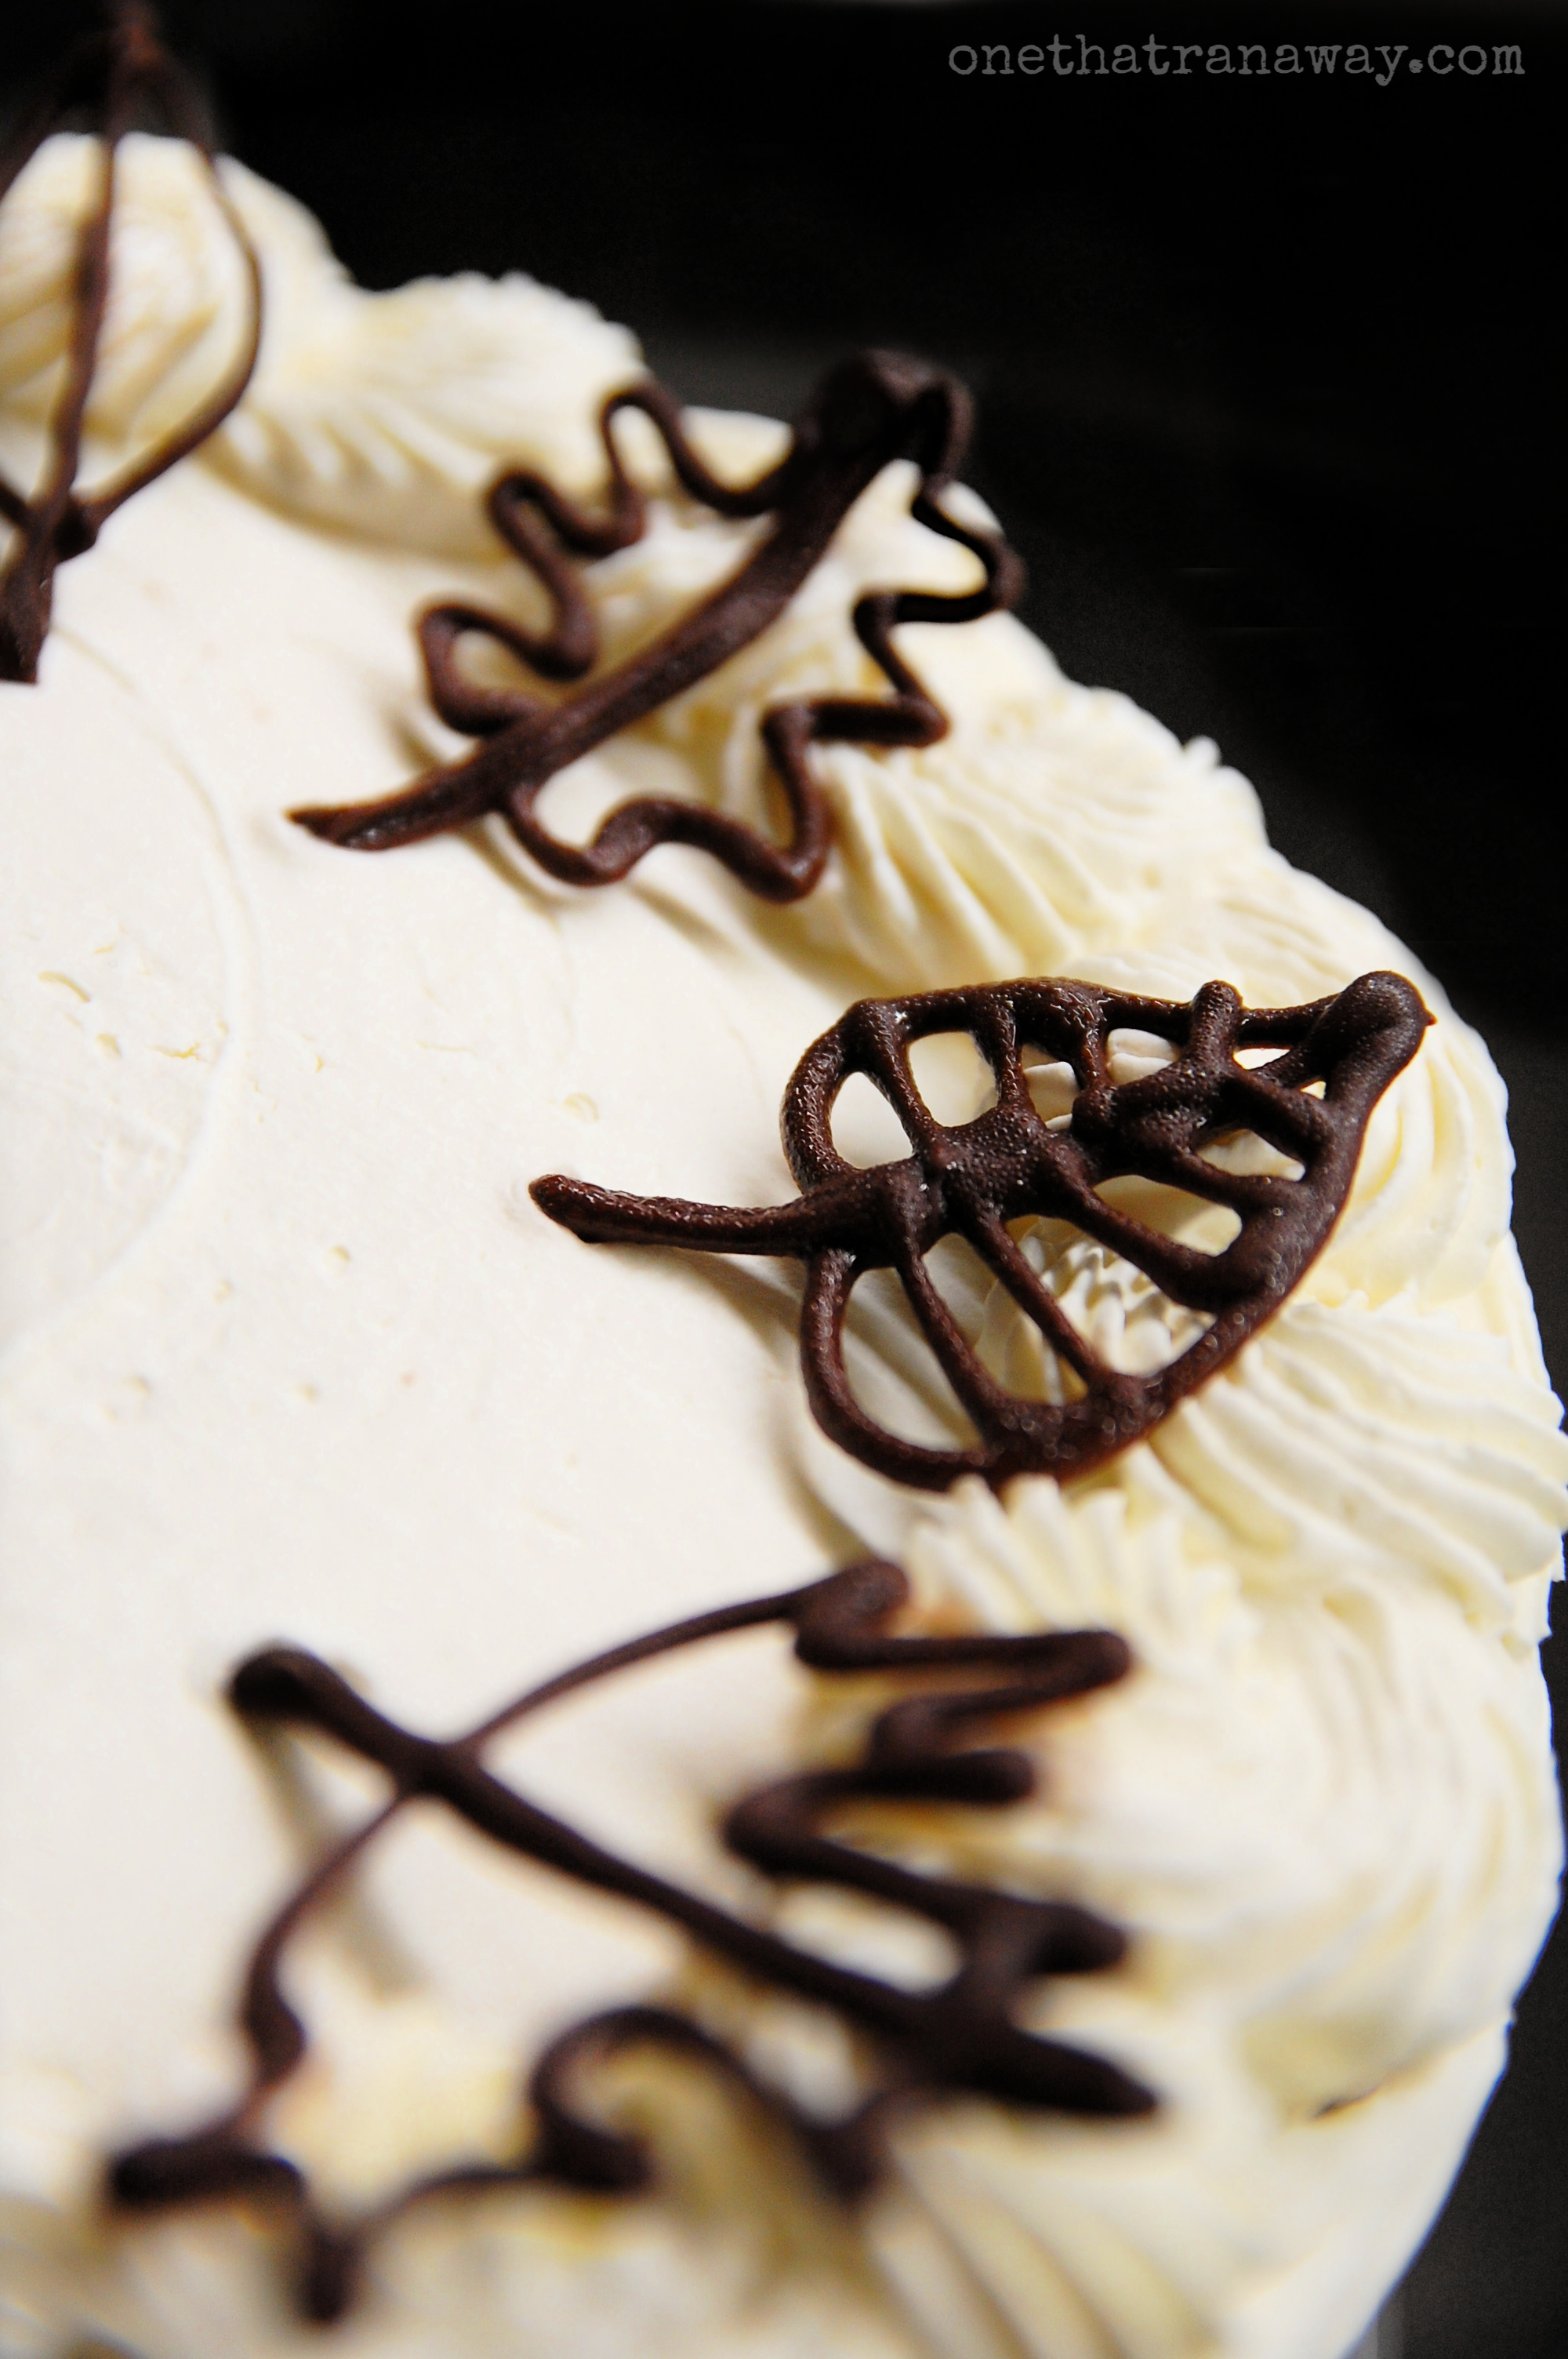
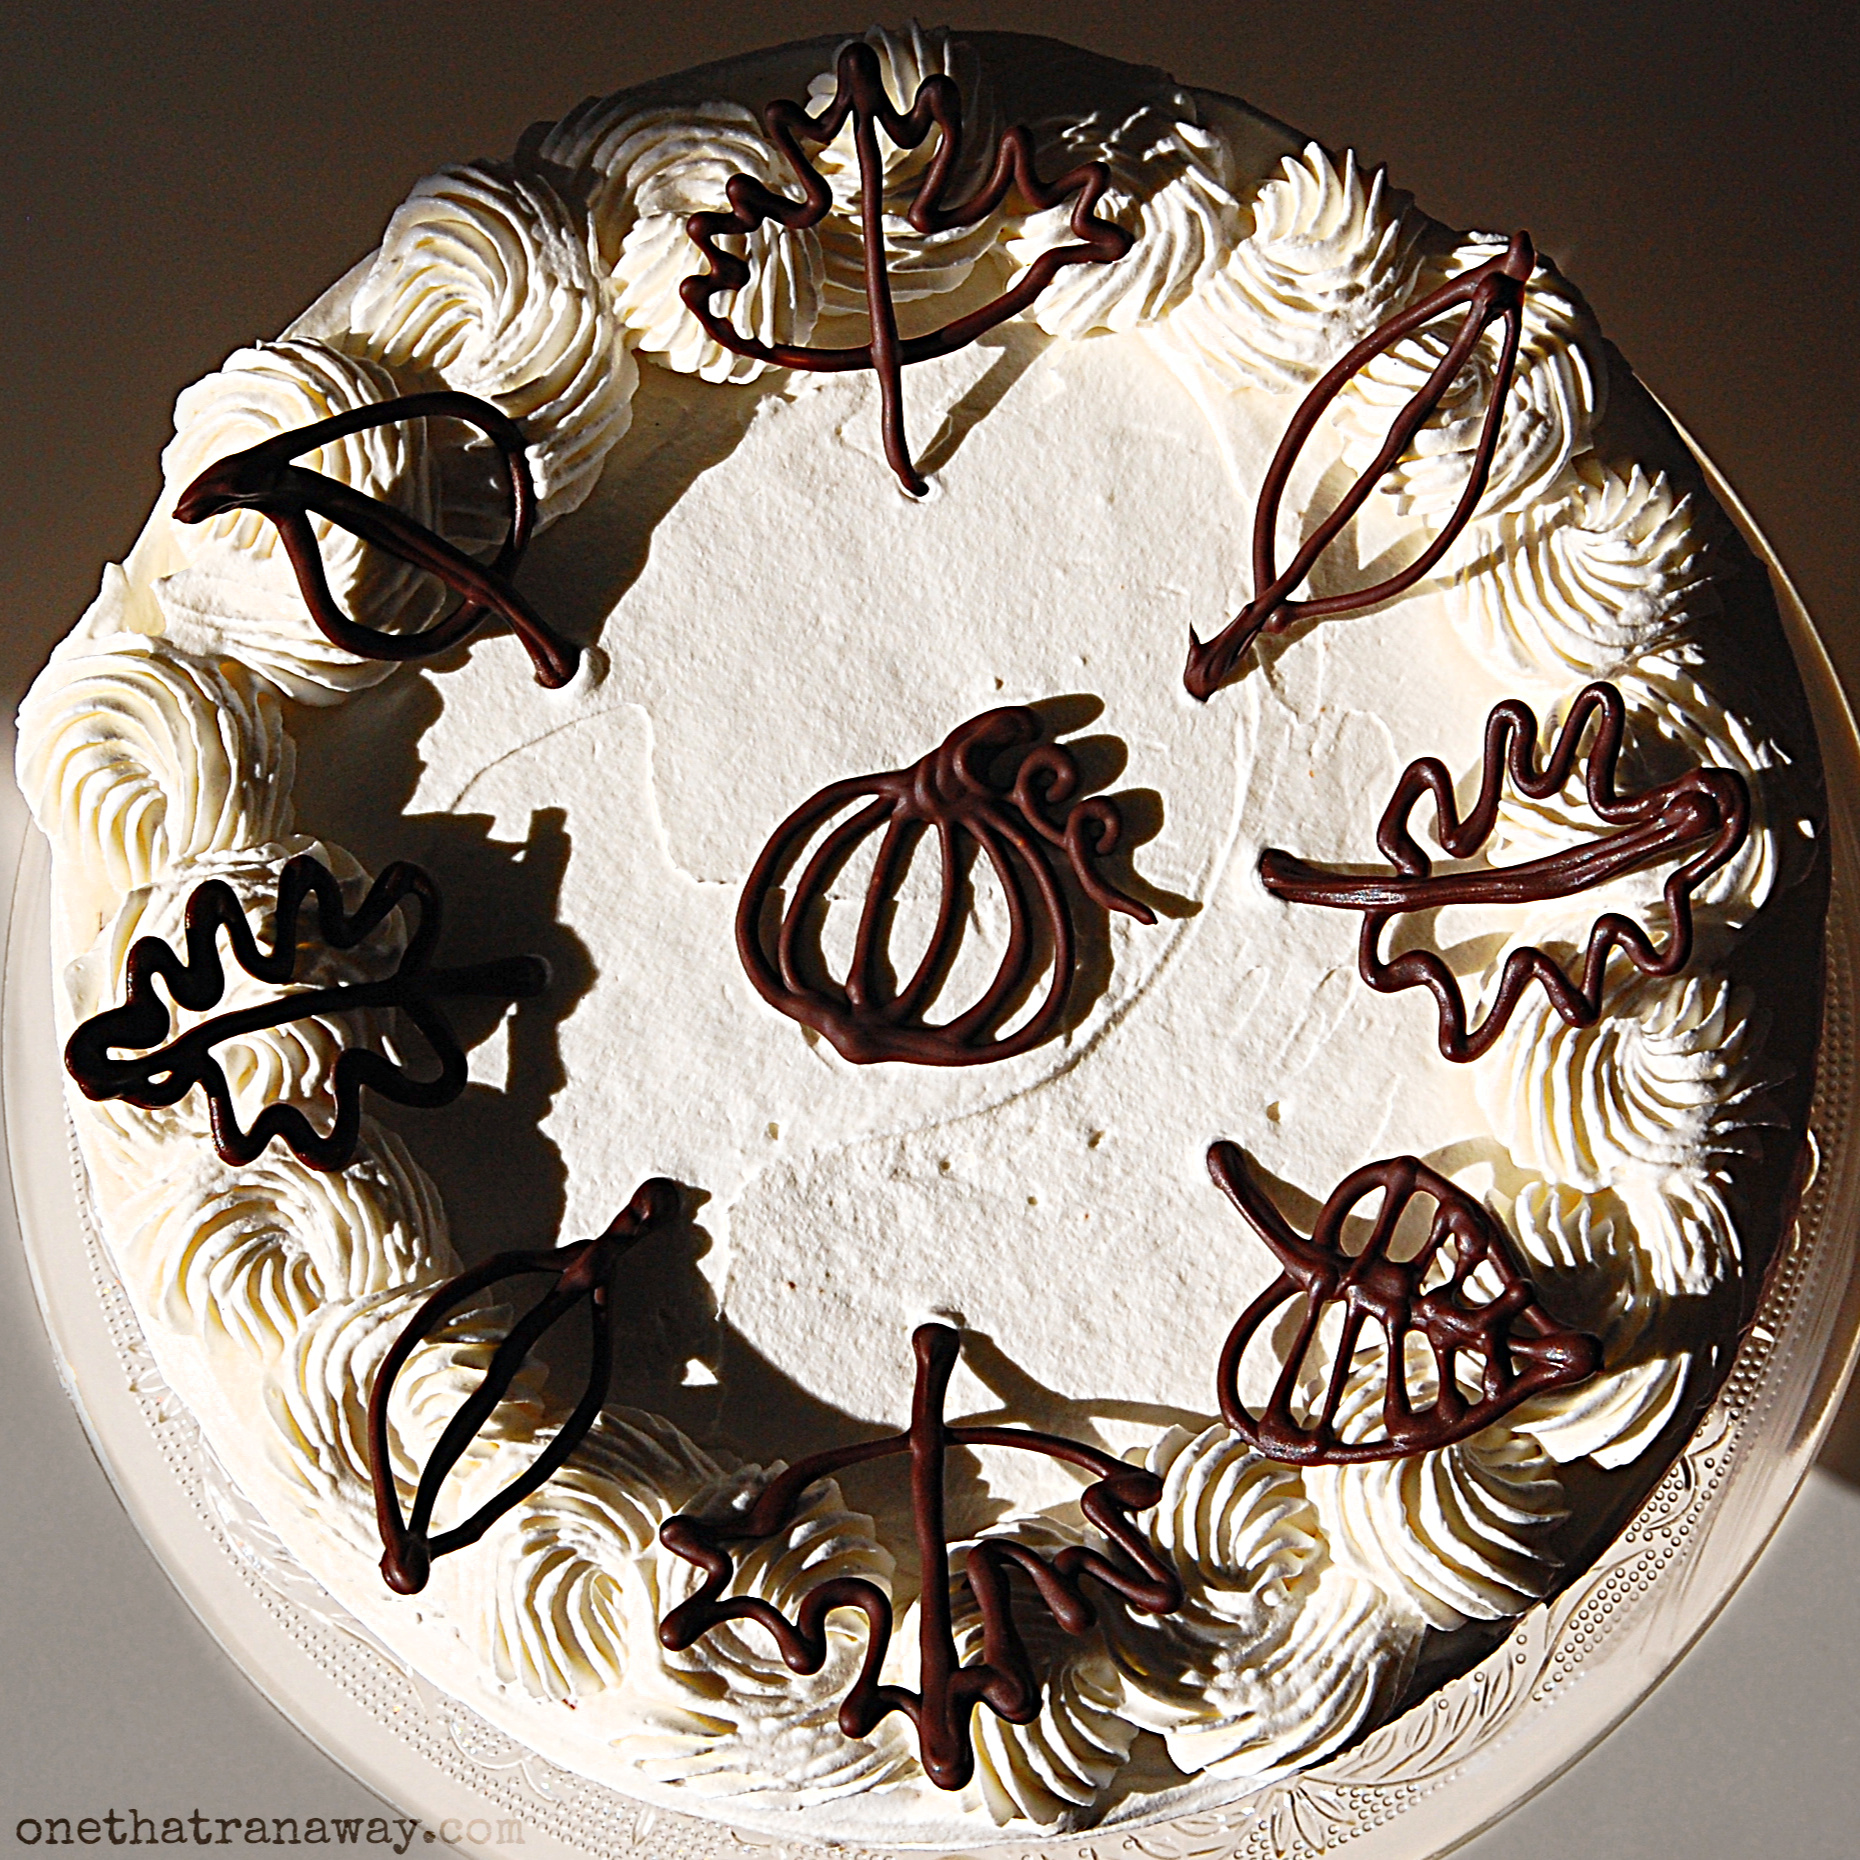
Melt and temper your dark chocolate and fill it into a piping bag or a freezer bag. (This is not very environmentally friendly, I’m afraid.) Cut off the edge of your freezer bag until you get a small opening and pipe the shapes of autumn leaves onto a layer of parchment paper. You can use templates of leaves (there are many to find online – just google “autumn leaf shapes”) or do it freehand. If you use templates, place them beneath the parchment paper. You should be able to see through the parchment paper and trace the lines of your desired shapes with the chocolate. Let the chocolate leaves harden in the freezer or fridge. Or, you know, you can buy chocolate leaves or other cake decor, but how boring is that?
the batter
Preheat your oven to 180°C / 350°F.
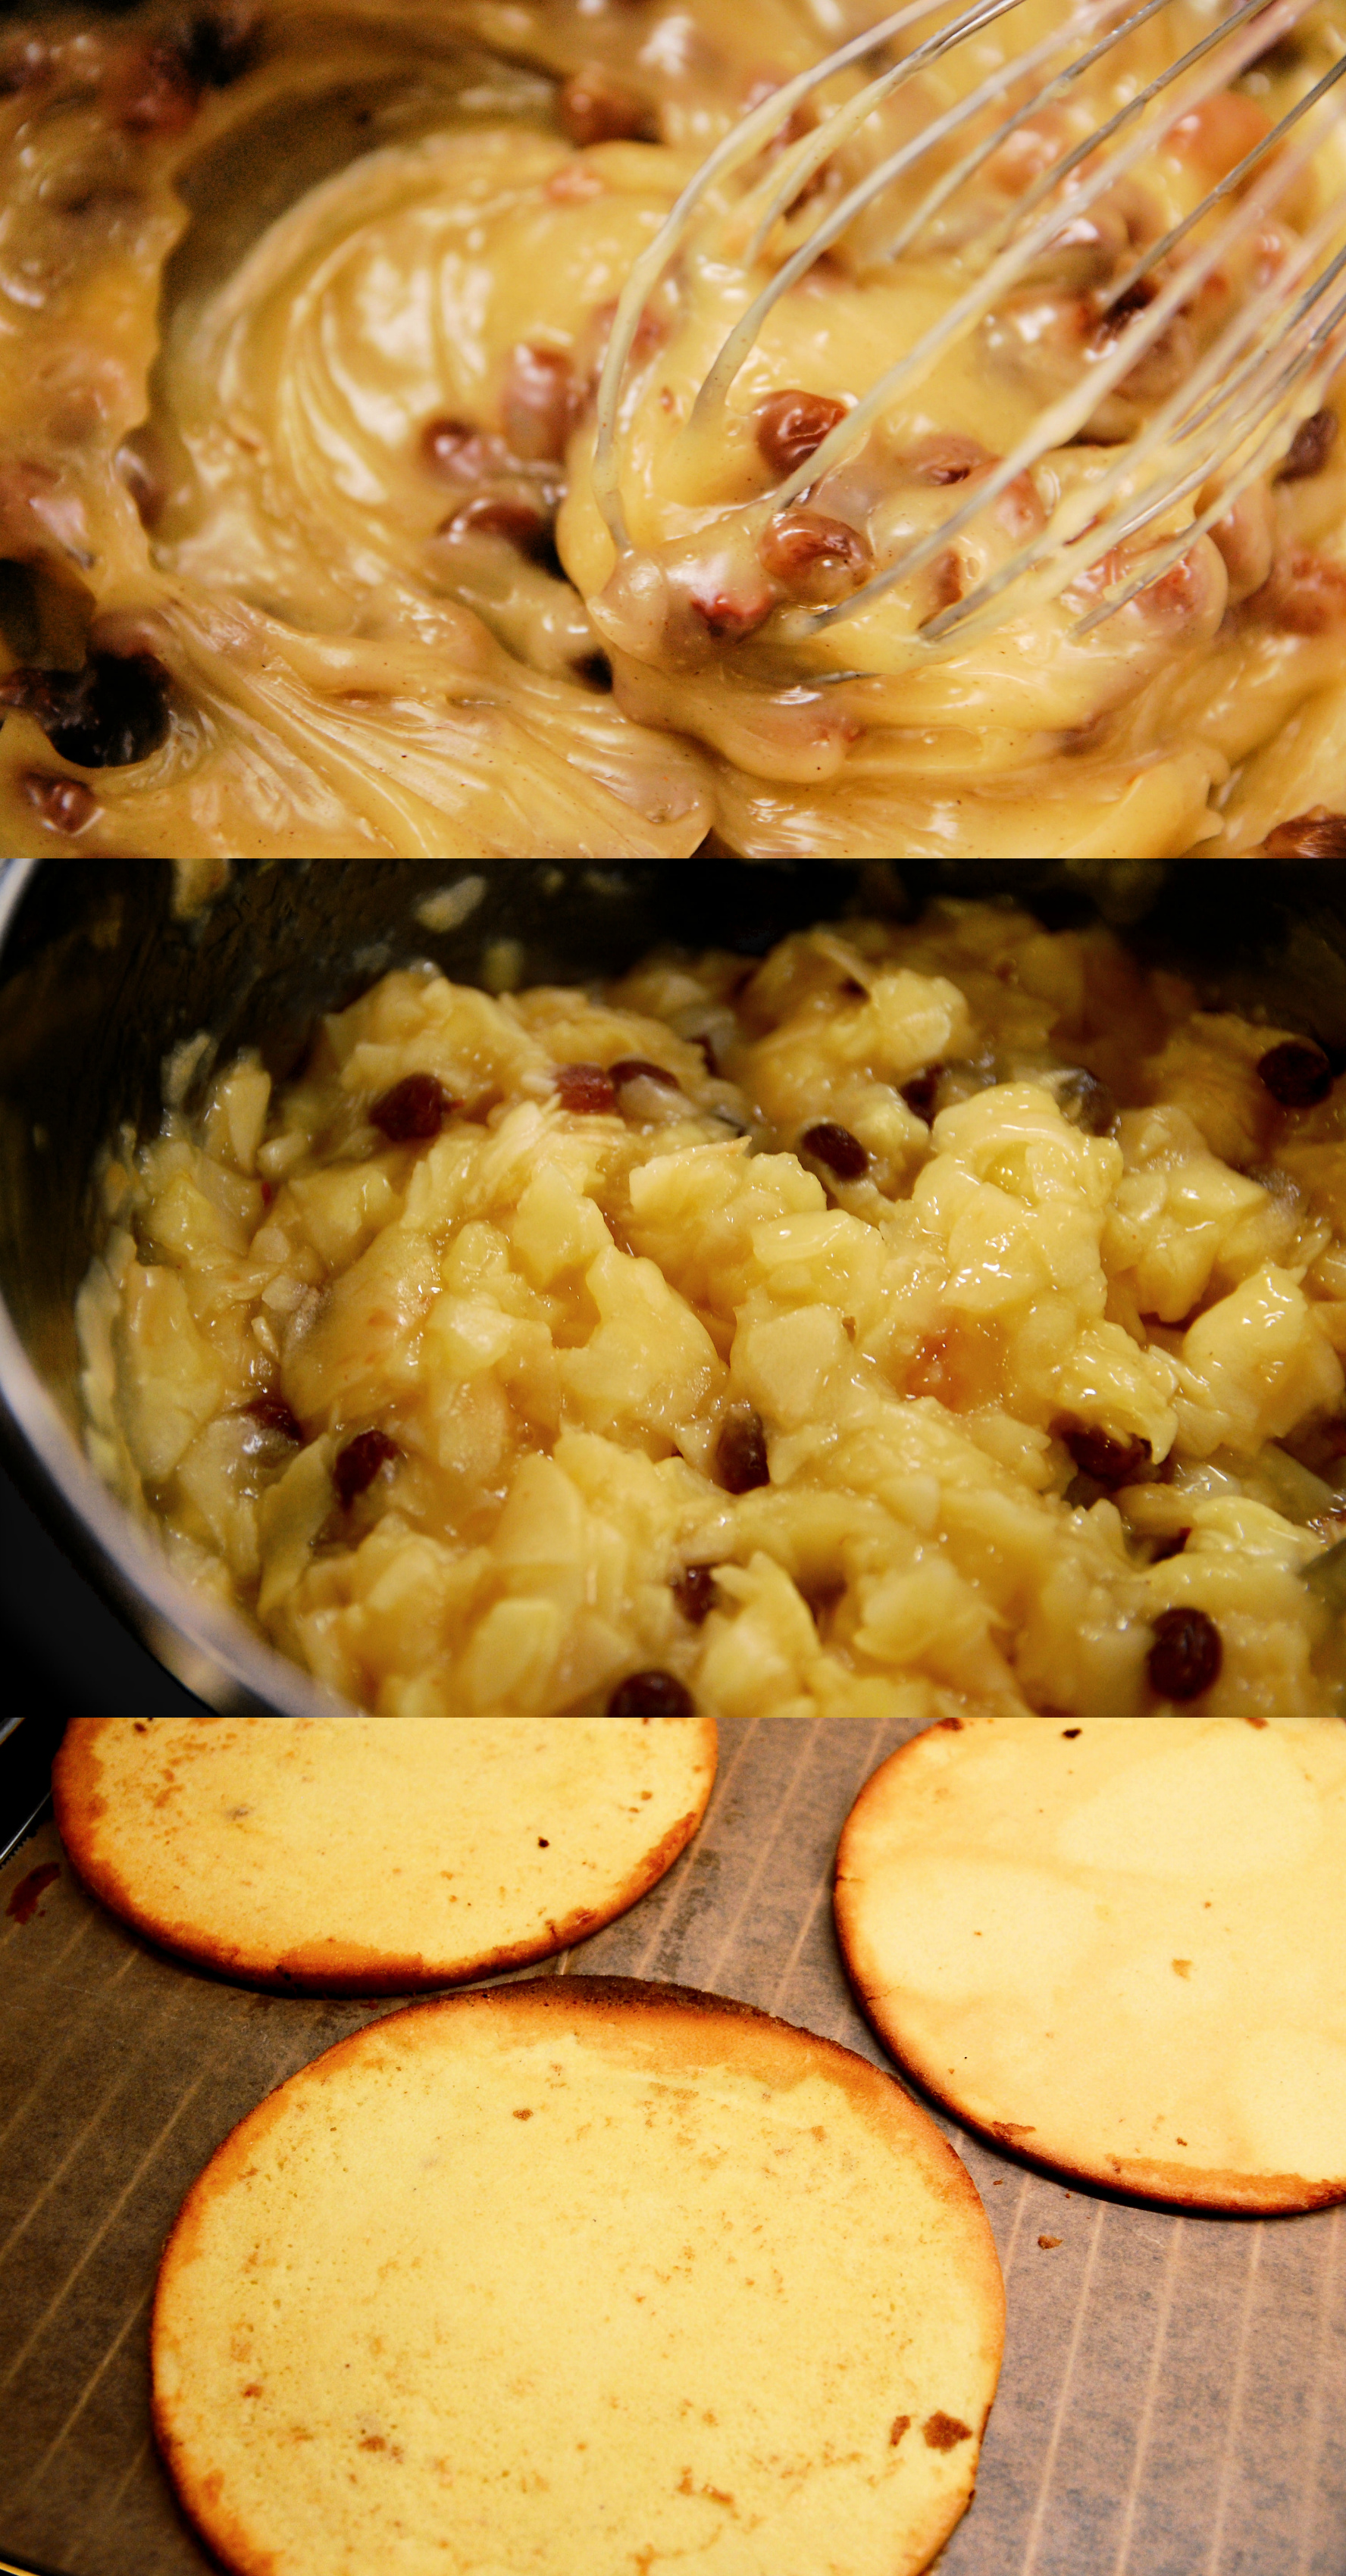
For the sponge layers, sift your flour with the baking powder. Beat your butter and sugar until the mix becomes light and fluffy. Then add the scraped out vanilla bean and the eggs, one at a time. Add the sifted flour-baking powder mixture to your wet ingredients and mix until everything is well incorporated. Should the batter be too thick, add a splash of milk until you have a silky, light and fluffy batter.
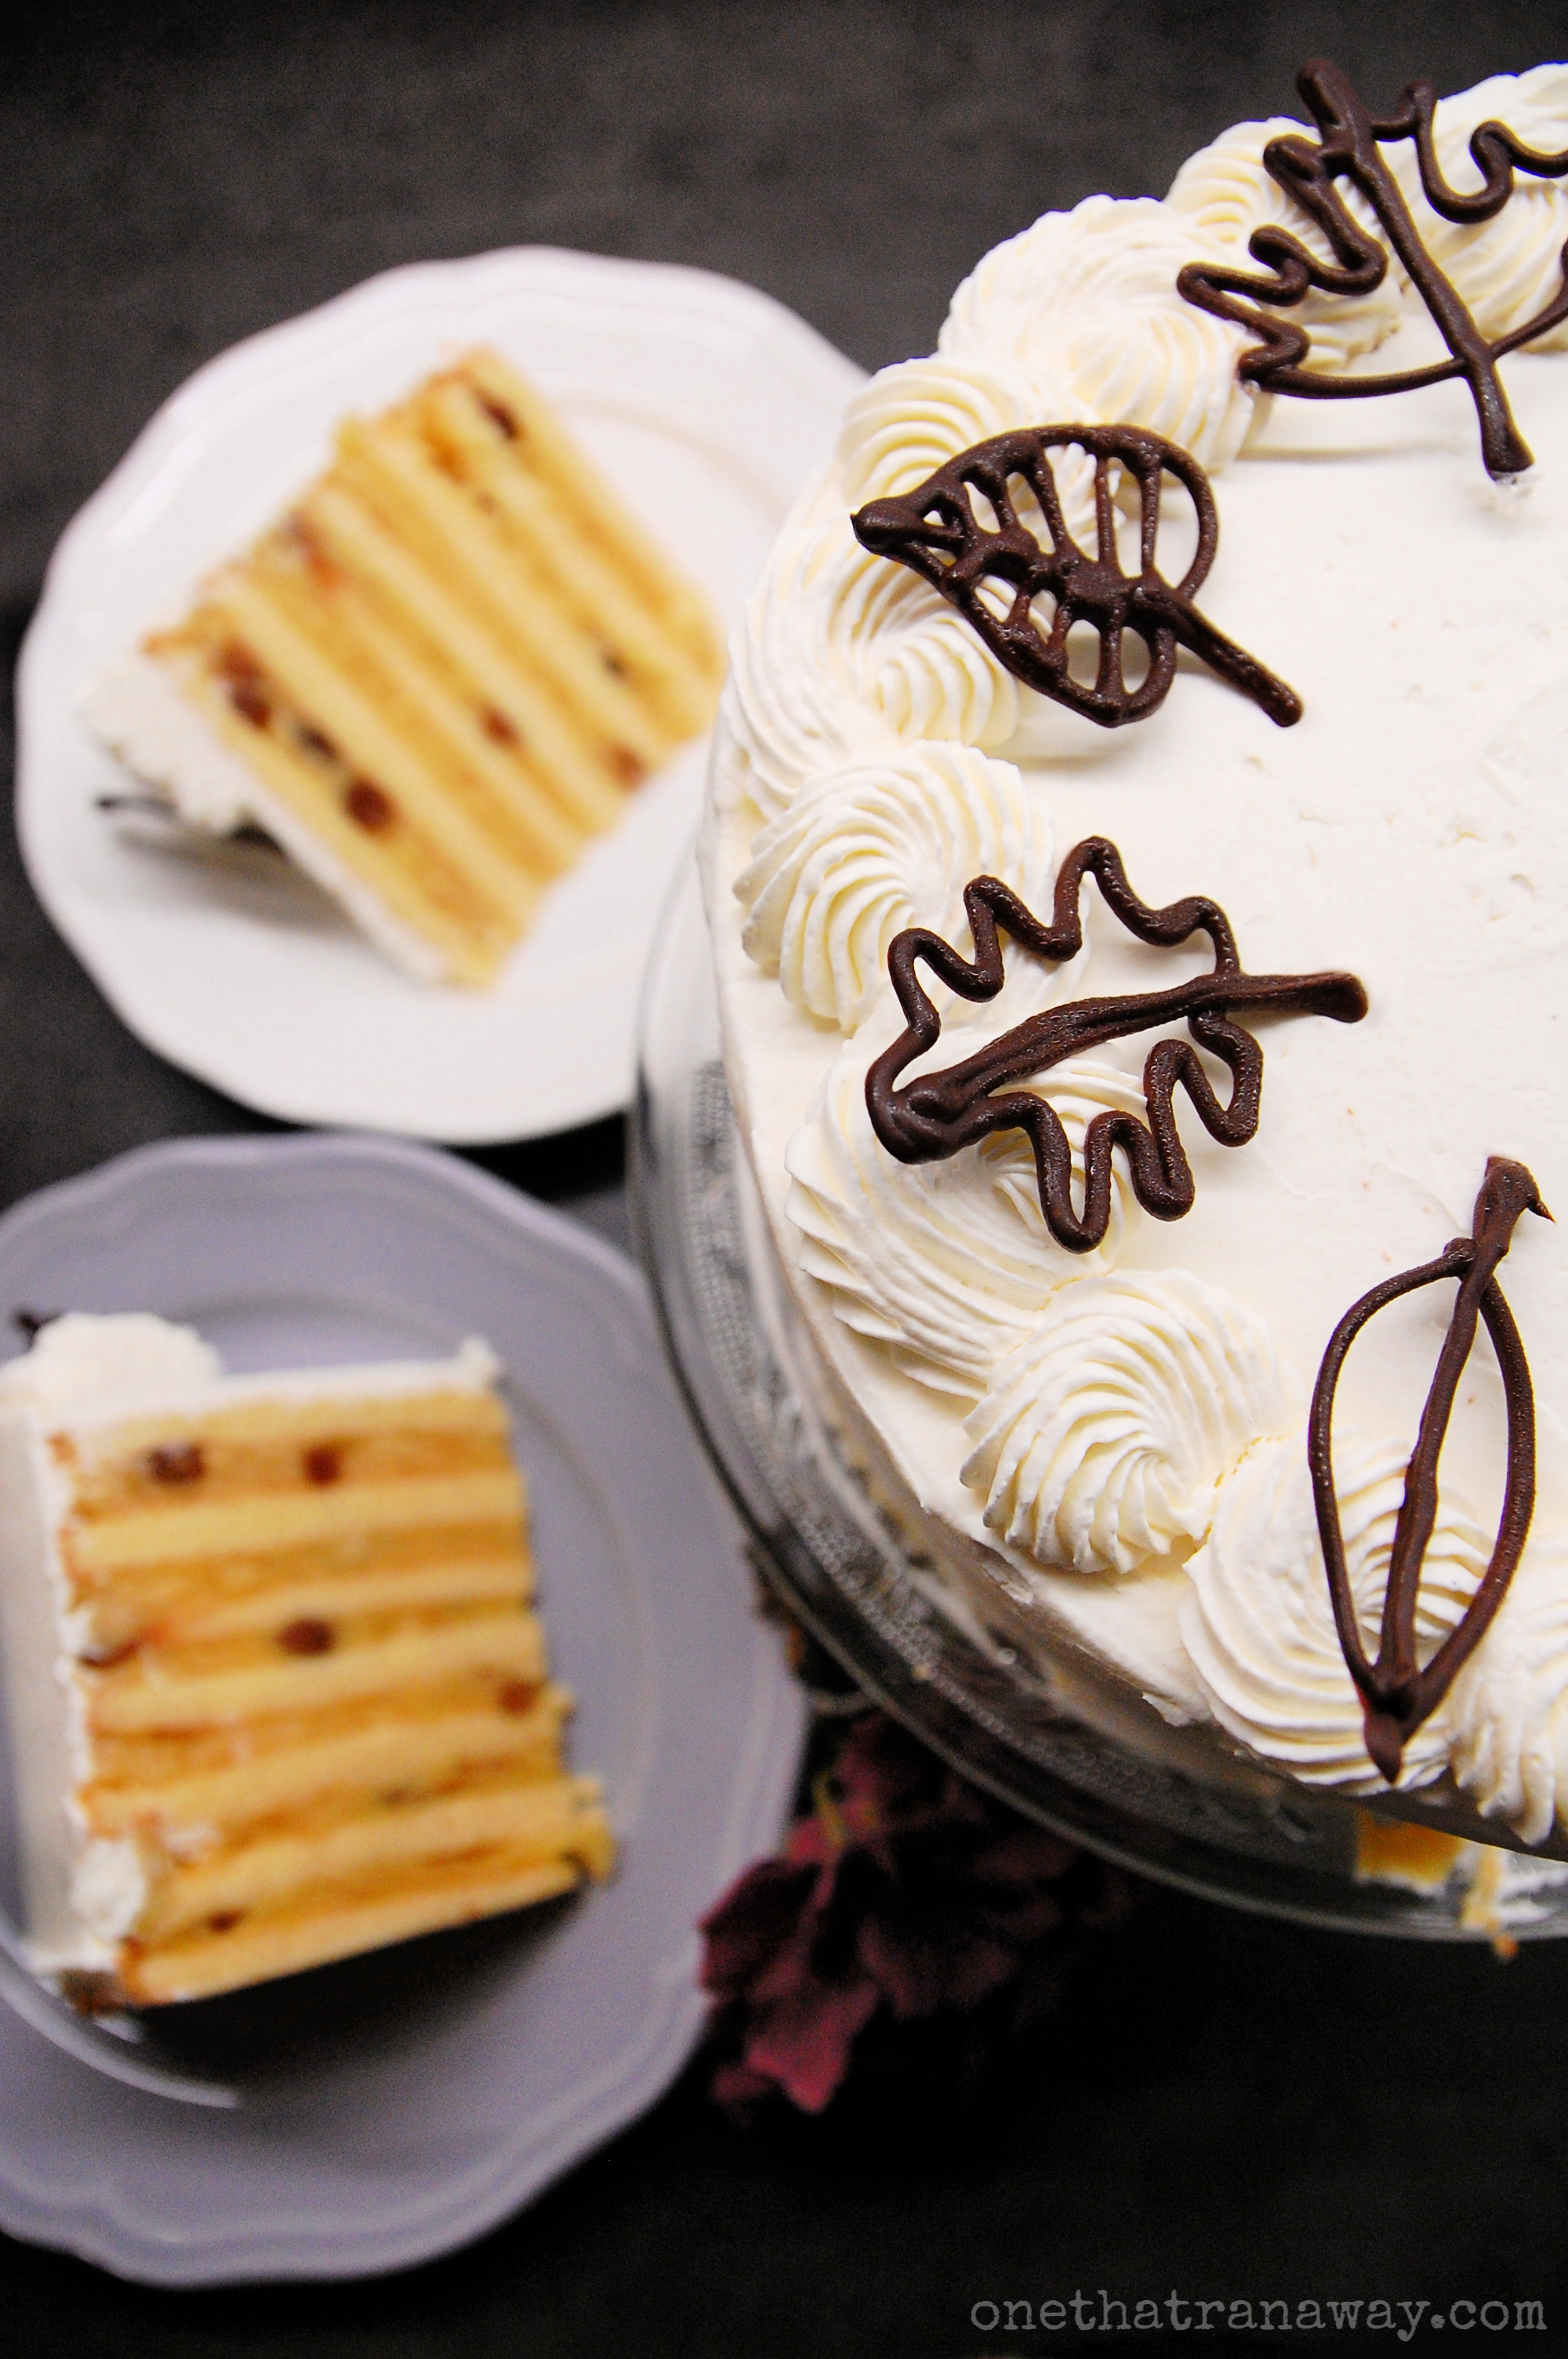
Grease a round 8 or 9 inch (20-23cm ) baking tin. Spread about four tablespoons of your batter into the tin. The layer should be a little over 1/3 inch (about 1cm) high. Then bake the first layer for about 12 minutes until it turns golden and a tooth pick comes out clean. Release the first layer from your baking tin carefully, let it cool on a cooling rack and repeat this procedure until all of your batter is used up. You should end up with 6 to 10 layers, depending on the size of your baking tin and the thickness of your layers. Let your sponge layers cool on a cooling rack.
the apple filling
While your layers are baking, you can start preparing your apple filling. Therefore, zest your lemon and put the zests aside. Then squeeze out the lemon juice. Peel your apples and remove the core. Then, using a mandoline slicer, cut your apples into very fine slices. Mix with the lemon juice, so your apples won’t turn brown.
In a large sauce pan, mix the sugar, the scraped vanilla bean and cornstarch. Add the white wine and whisk everything well. Let the mixture come to a boil, then let it simmer for about a minute. Whisk like your life depends on it, because the mix will thicken very, very quickly and stick to your pan if you’re not careful. Add the raisins and the lemon zests. Fold in the apple slices and lemon juice mixture until everything is well incorporated. Let the filling cook very gently on low heat until the apples are softening just a bit. Let the mixture cool.
assembly
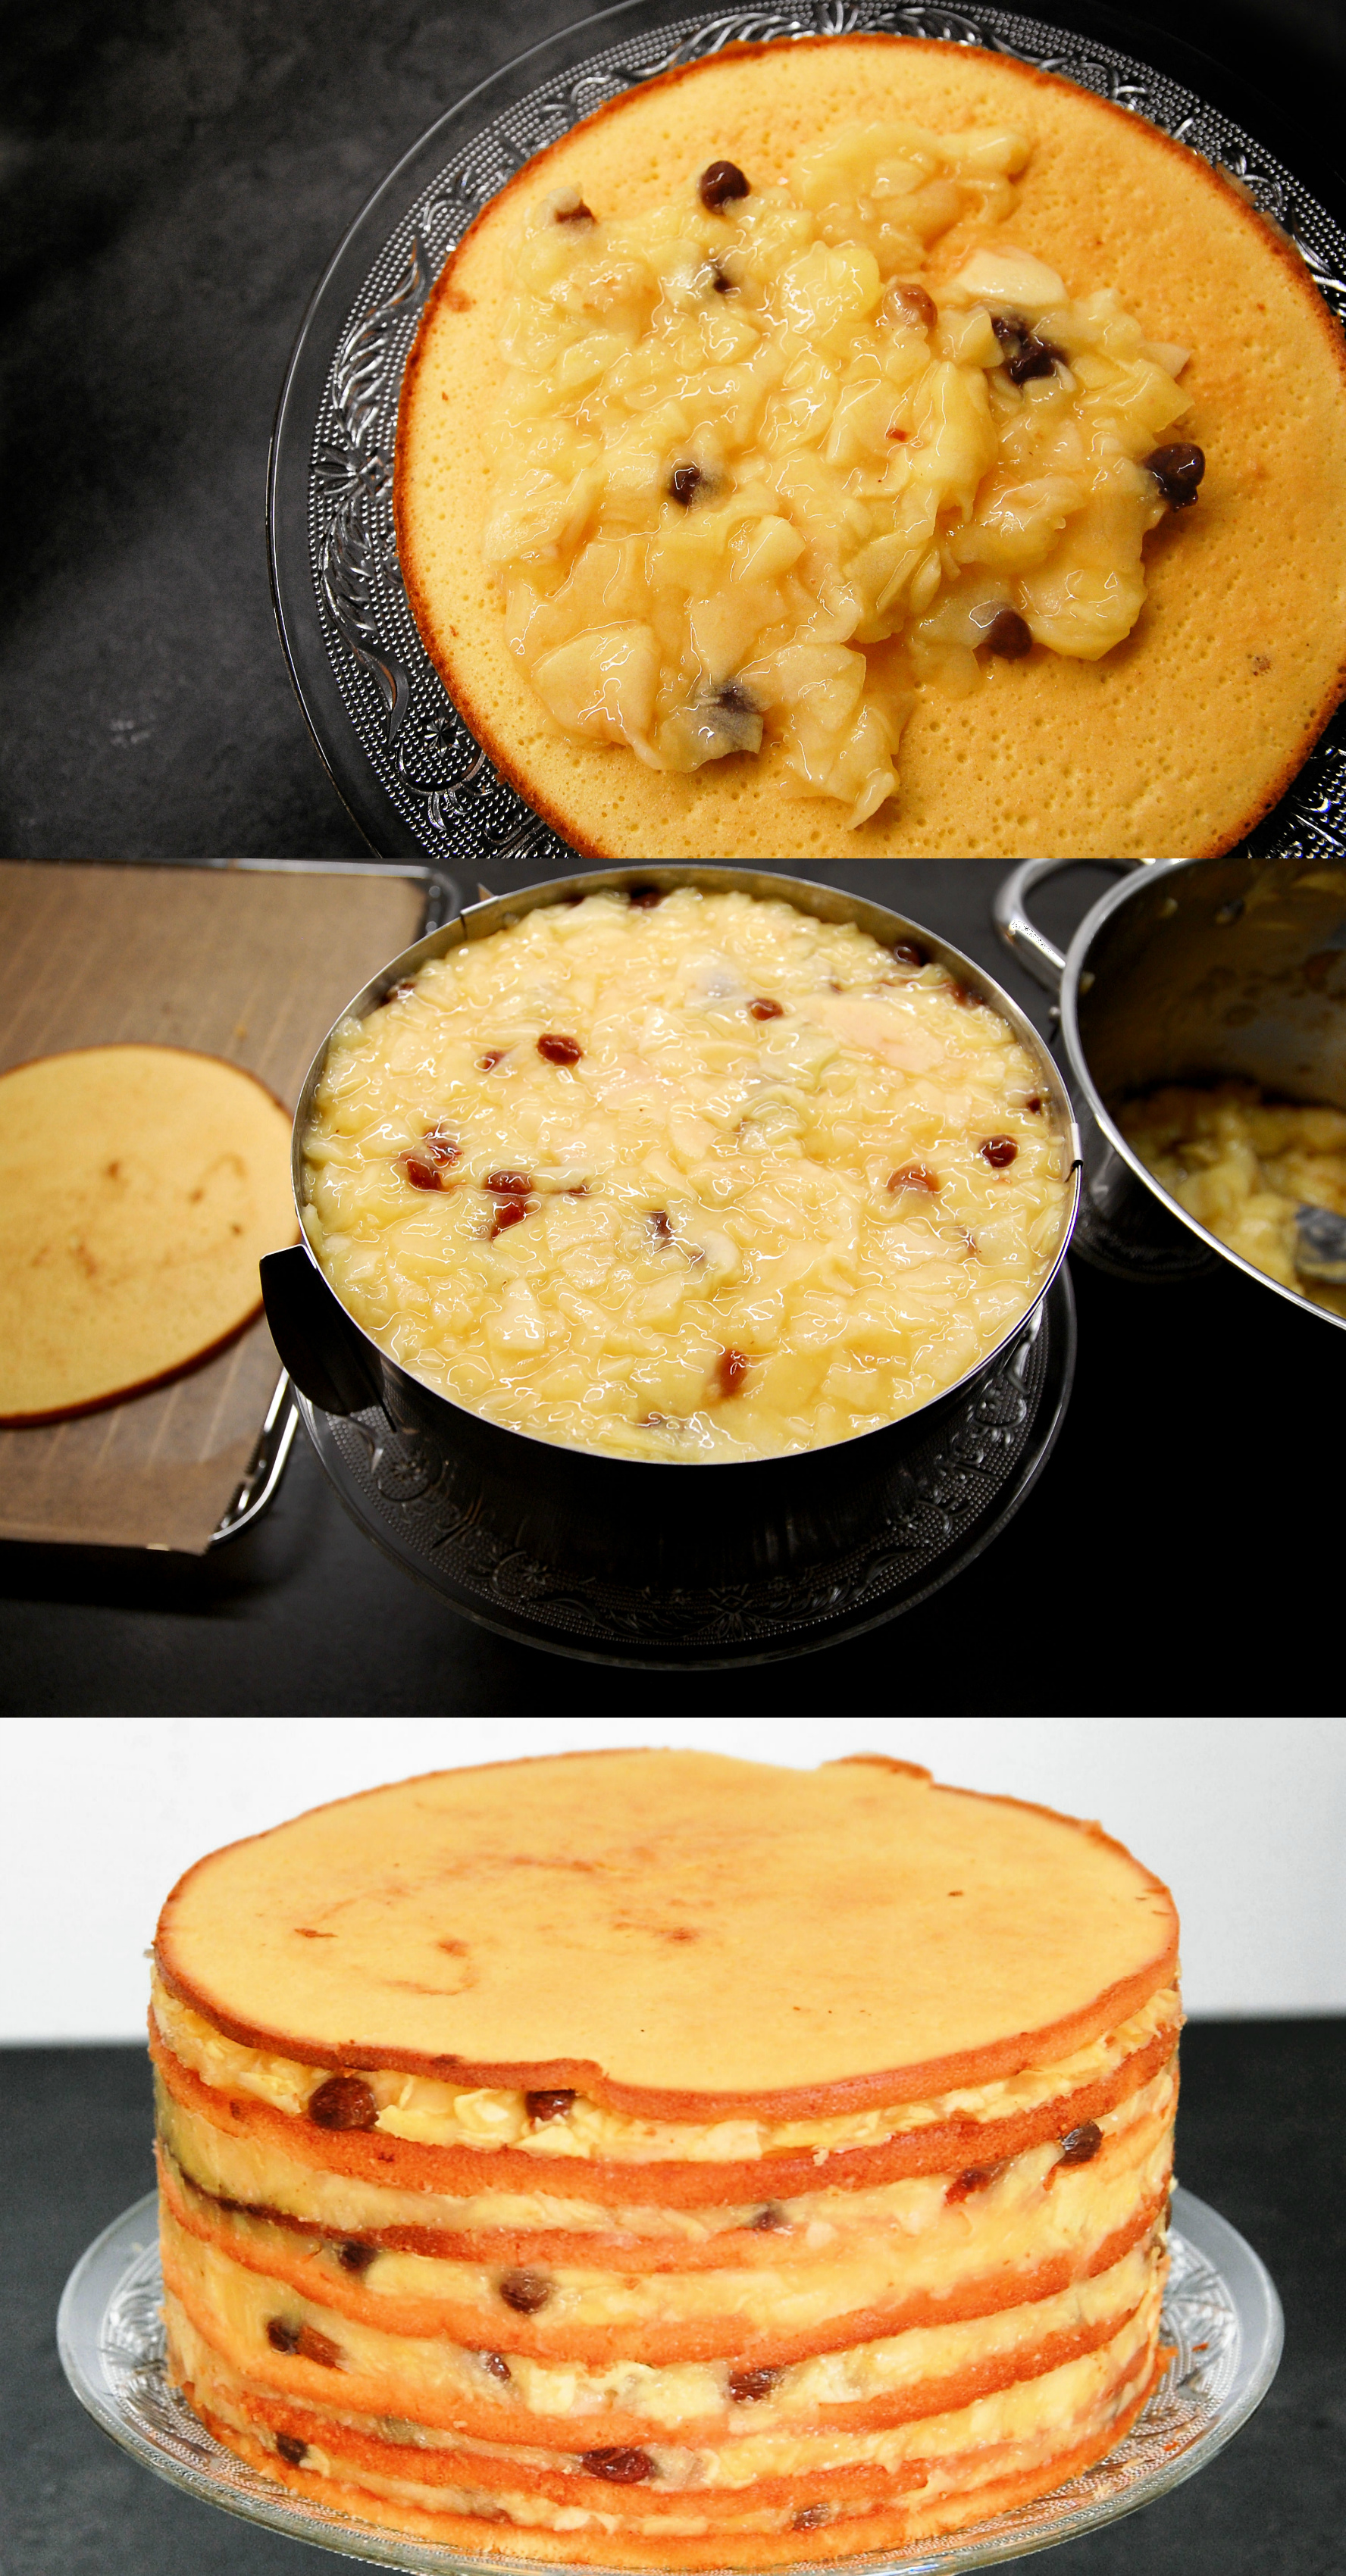
Put the first layer of sponge cake onto a pretty cake platter. Now place an adjustable cake ring around the first layer. It should encircle the sponge layer tightly. The adjustable cake ring should be at least 5 inches high (about 13 cm). This cake will be a high one, especially if you use a smaller baking tin. Of course, you can also assemble your cake without an adjustable cake ring, but it will look a little messy. As long as you don’t mind, you can leave the ring.
Now spread a layer of your apple filling onto the first layer of sponge cake. The apple layer should be about as thick as the sponge. Place another sponge layer onto the apple filling. Repeat until you have no sponge layers left, alternating between sponge and apple filling layers. Your last layer should be a sponge layer.
With the cake ring still attached, let your cake cool and rest for at least two hours in the fridge.
the whipped cream
Using an electric mixer, whisk the heavy cream. Gradually add the sugar (and vanilla, if desired) and beat until stiff peaks form. Don’t overmix, or you’ll get butter. Make sure your heavy cream is very cold. Or you’ll get butter, too. I find it helpful to put the whisk attachments of my mixer and the bowl I want to use into the freezer for a few hours before whipping the cream.
finishing touches
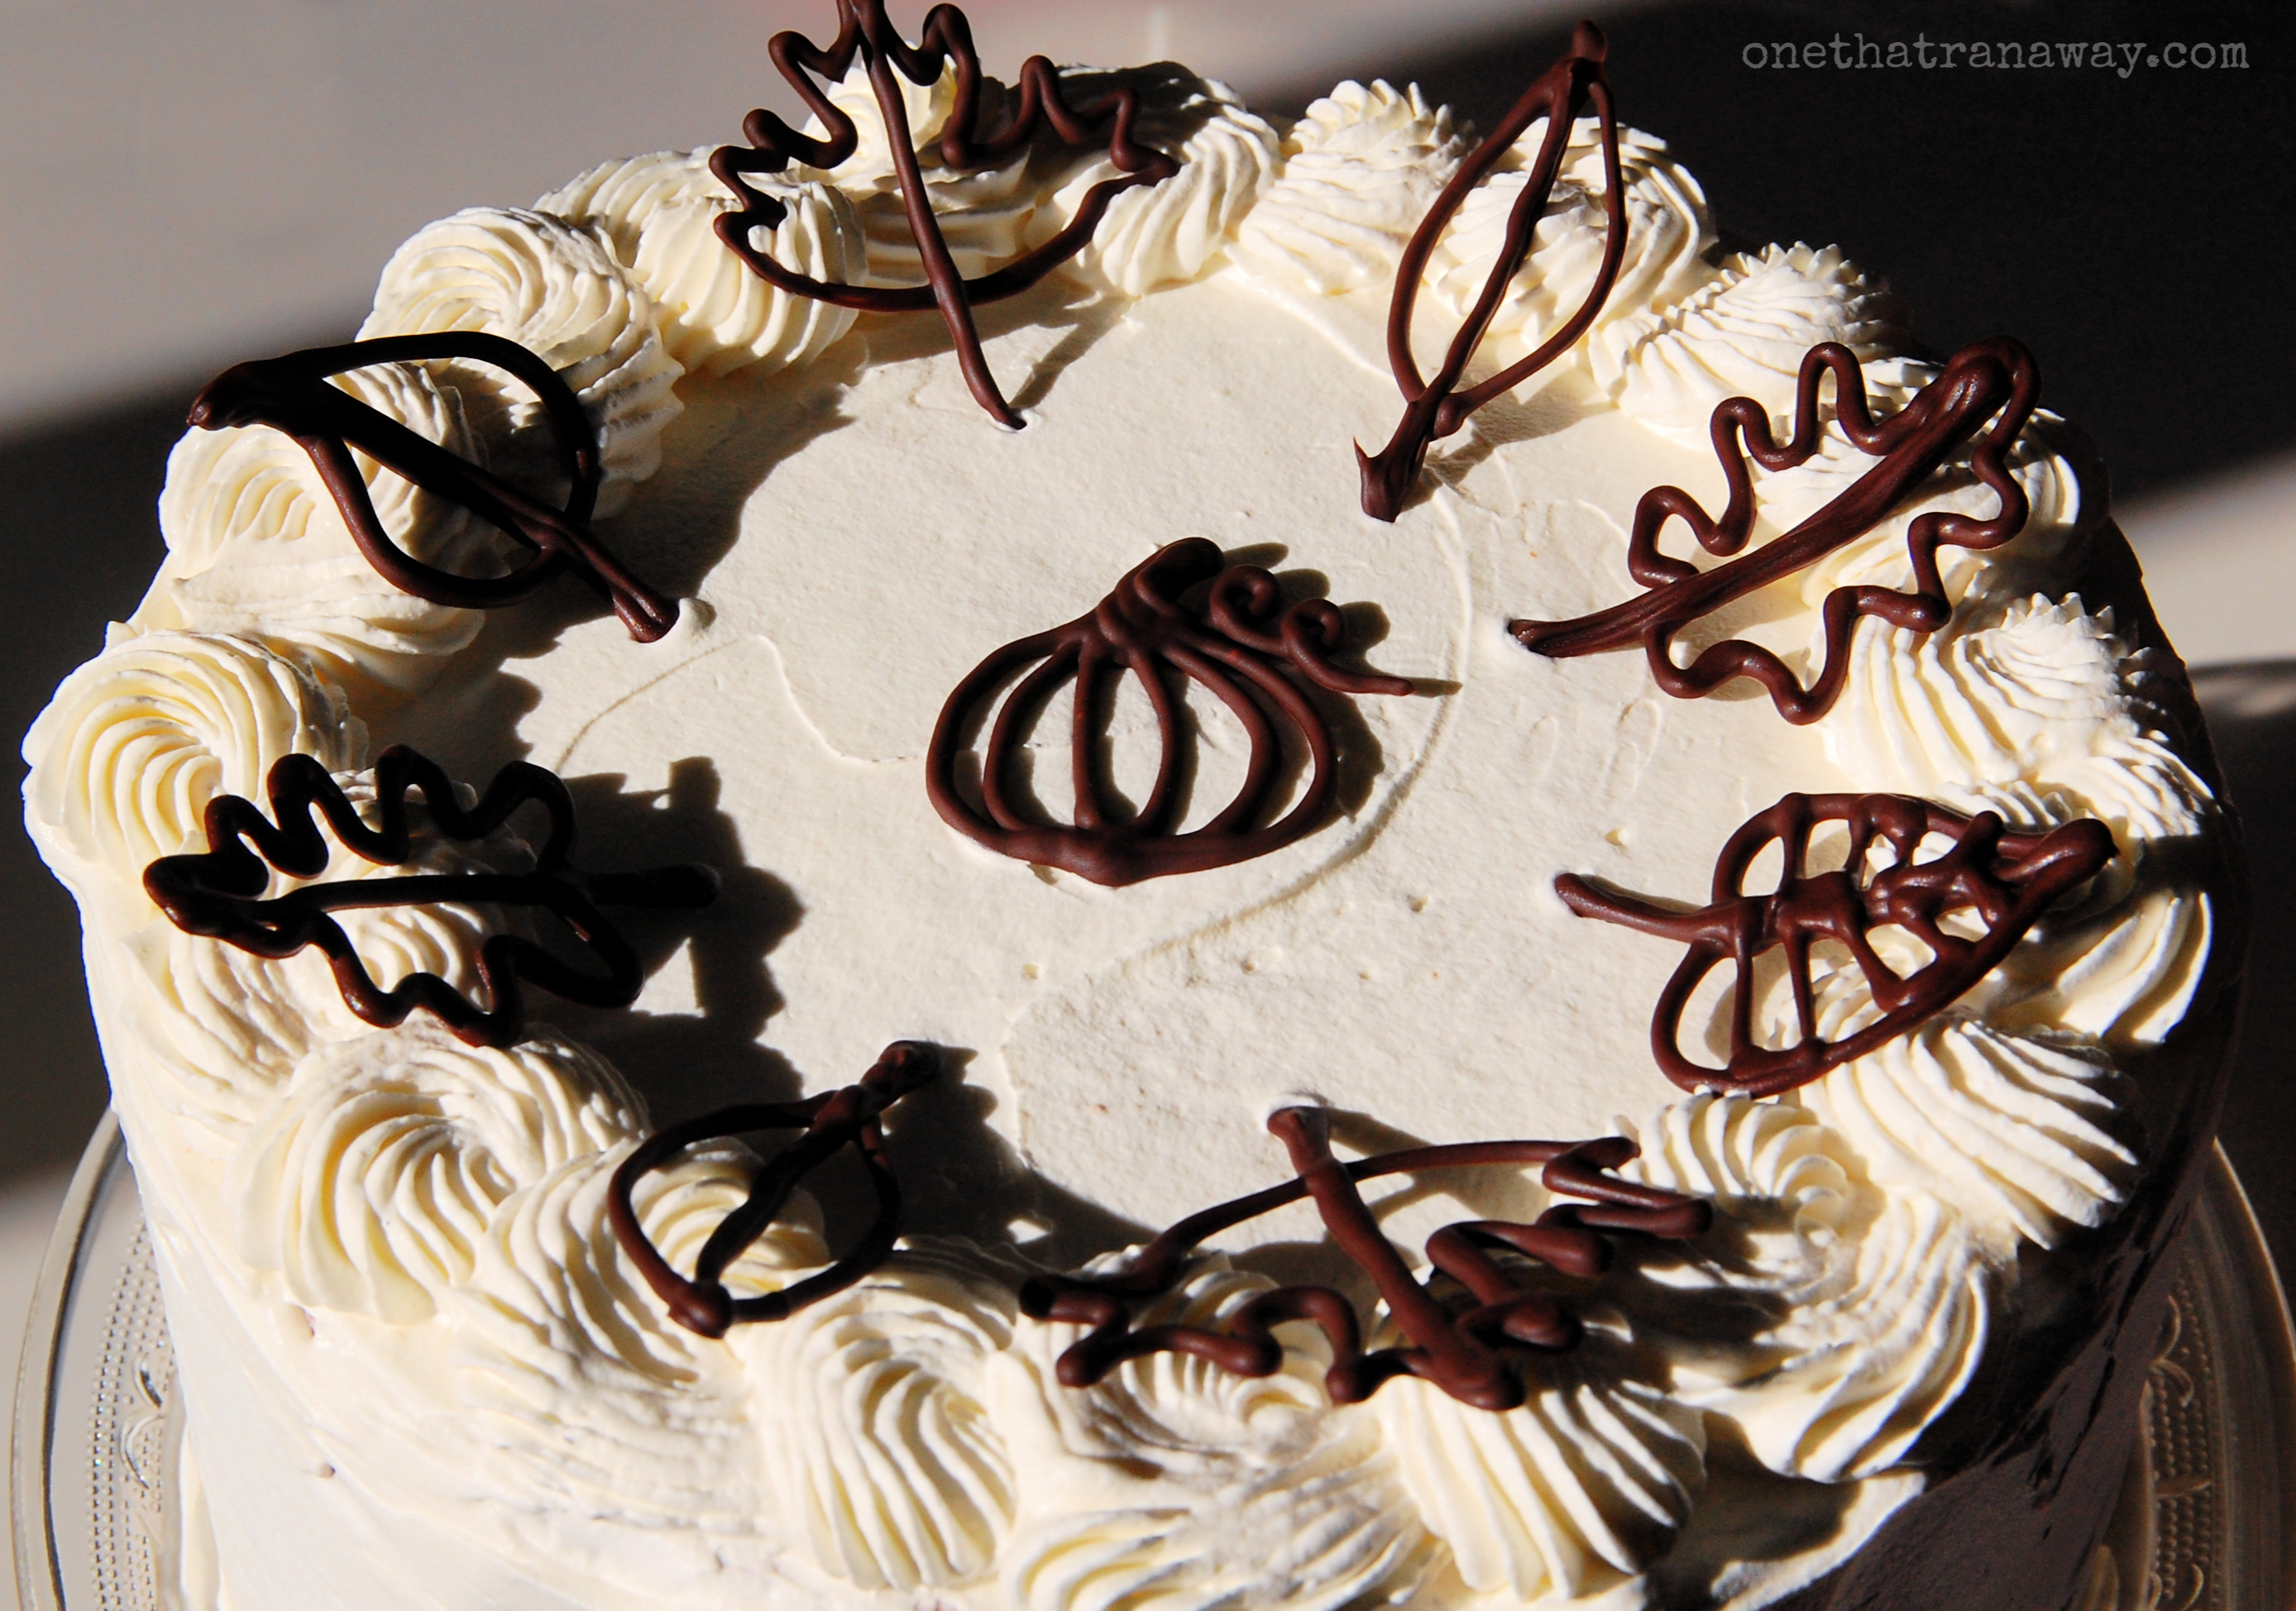
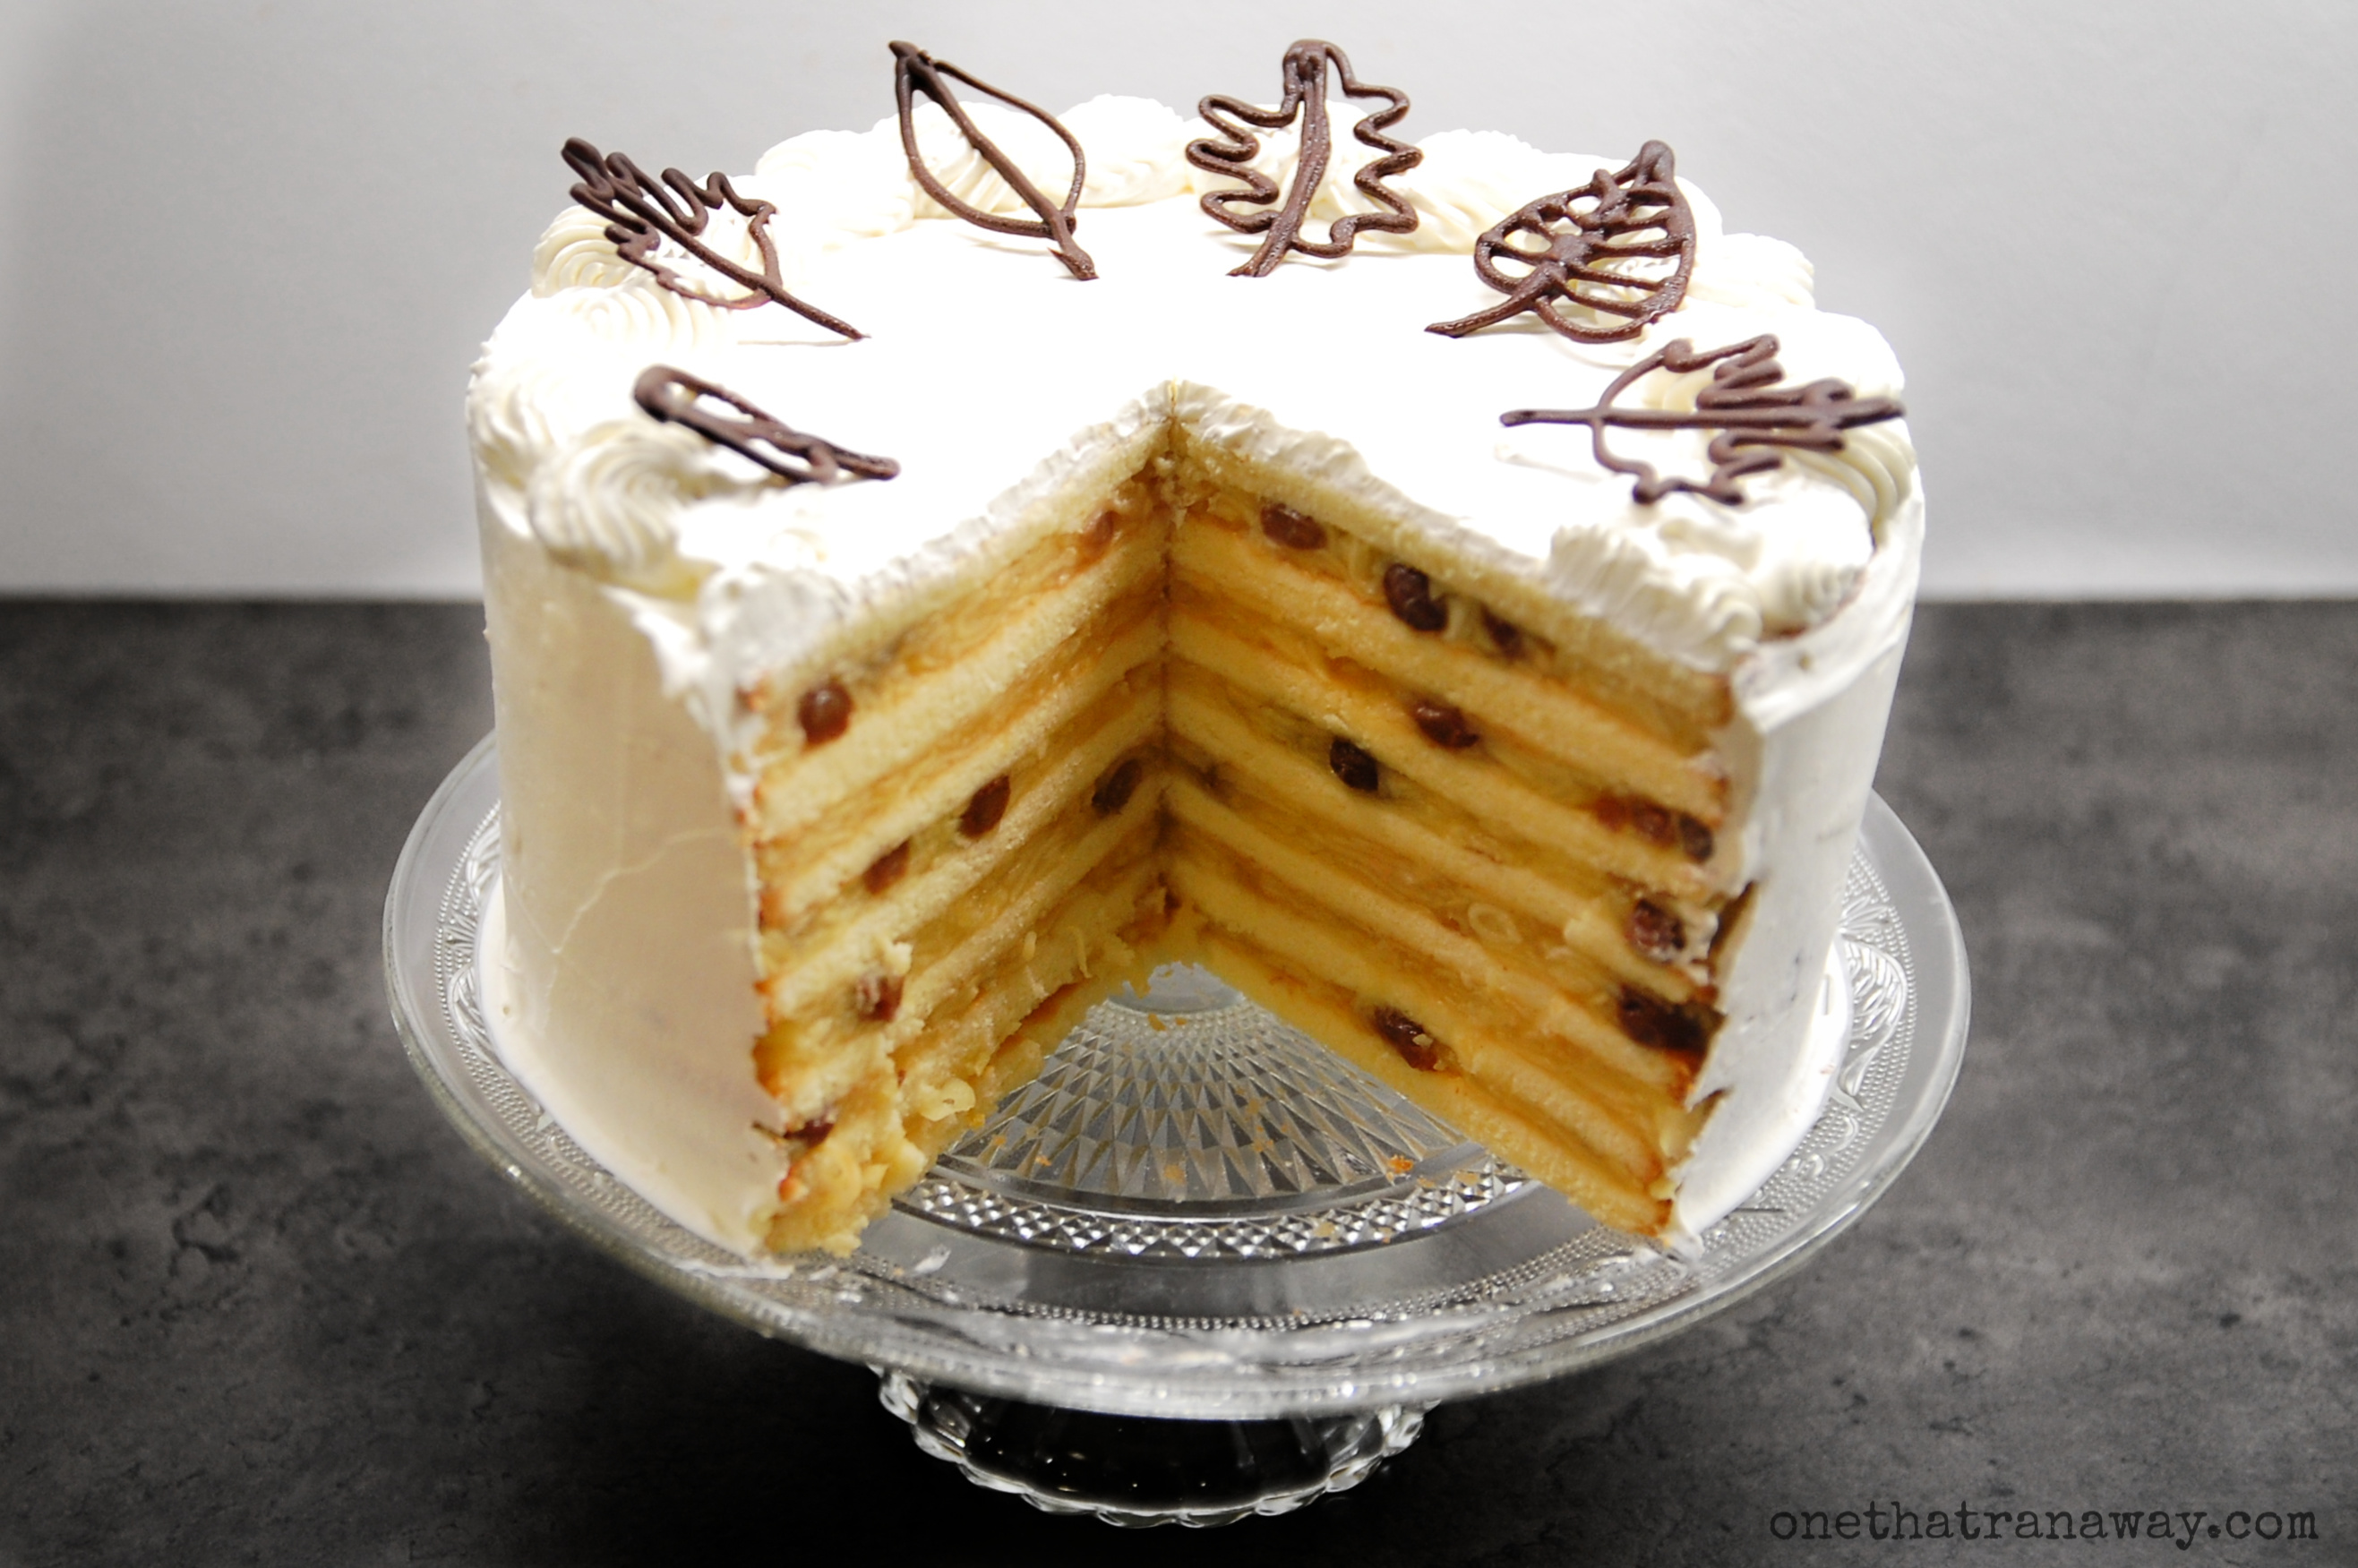
After at least two hours in the fridge, remove the cake ring very carefully. The apple filling should be firm enough now to make the cake stable. Frost your cake with the whipped cream. You can either only frost the top and decorate it using a piping tip and piping bag – or you can frost the whole cake (however, you might need some additional whipped cream for that). Now place your chocolate leaves carefully on top of your beautiful layered autumn apple cake. Once you’re done, don’t forget to like and subscribe if you enjoyed this recipe 😉
And don’t eat everything at once!
Once again, I use the metric system for its accuracy. Seriously, if you don’t have one already, get a kitchen scale. It’s so much more accurate than using measuring cups, and you will need accuracy for this recipe. But if you still want to use the cup-method, you can find cups-to-grams-converters online.
Note that due to the white wine and rum, this layered autumn apple cake is not suitable for children or people who can’t or don’t wish to drink alcohol, but for an alcohol-free version you can easily use apple juice or white grape juice instead of the white wine and soak your raisins in alcohol-free rum flavoured syrup.

2 Comments
Add Yours →Beautiful cake! Looks so very delicious.
Oh, thank you so much! That’s so sweet! Let me know should you give it a try!