As I am writing this, autumn has announced itself with brute force. It’s a beautifully gloomy day, with dark rain clouds floating in the sky and a storm so strong that it knocked over some heave planters in our garden. Yes, this is autumn how I love it. Dramatic, wild and beautiful.
Inside, glistening fairy lights spread a golden shimmer against the grey beyond the windows. We have started watching horror movies, the Halloween countdown has begun. I am sleepy, but happy.
Halloween isn’t huge in Germany, where I live, but I wish it were. It’s still hard to find Halloween-themed candy or food in the stores during October. And once August comes, the stores are invaded by Christmas items, and Christmas items alone, it seems. We do have trick-or-treaters, but they are few. There are a some people that really celebrate Halloween season with decorations around their houses and gardens, but it’s not as common, and they only pop up by the very end of October.
Last Saturday, I sneakily put out my sturdy jack-o-lantern to greet visitors from our doorstep, but I felt a little guilty, because it was still technically September. No, sadly, Halloween isn’t big in Germany.
Where am I going with this, you ask?
Well, while Halloween isn’t big in Germany, it is big for me.
Every year, with exceptions only made during the pandemic lockdowns or when half of our group was on a trip to Japan, we throw a small, but elaborate Halloween party. Yes, that’s unusual for our country, but it’s such an integral part of our year that I start planning this party months before. At some point, in 2012, we started giving the party a theme, and this year we will celebrate our tenth theme party.
Now, this post will be the first of three about last year’s theme (as this year’s party hasn’t happened yet).
So prepare yourself for this small series of posts about our fabulous, amazing and beautifully weird “Classic Horror Novels” party.
We’ll start with the individual elements of the food I served (silhouette cupcake toppers, the tentacle cake and a spooky char-BOO-terie board) and put it all together in one last post about throwing the party itself.
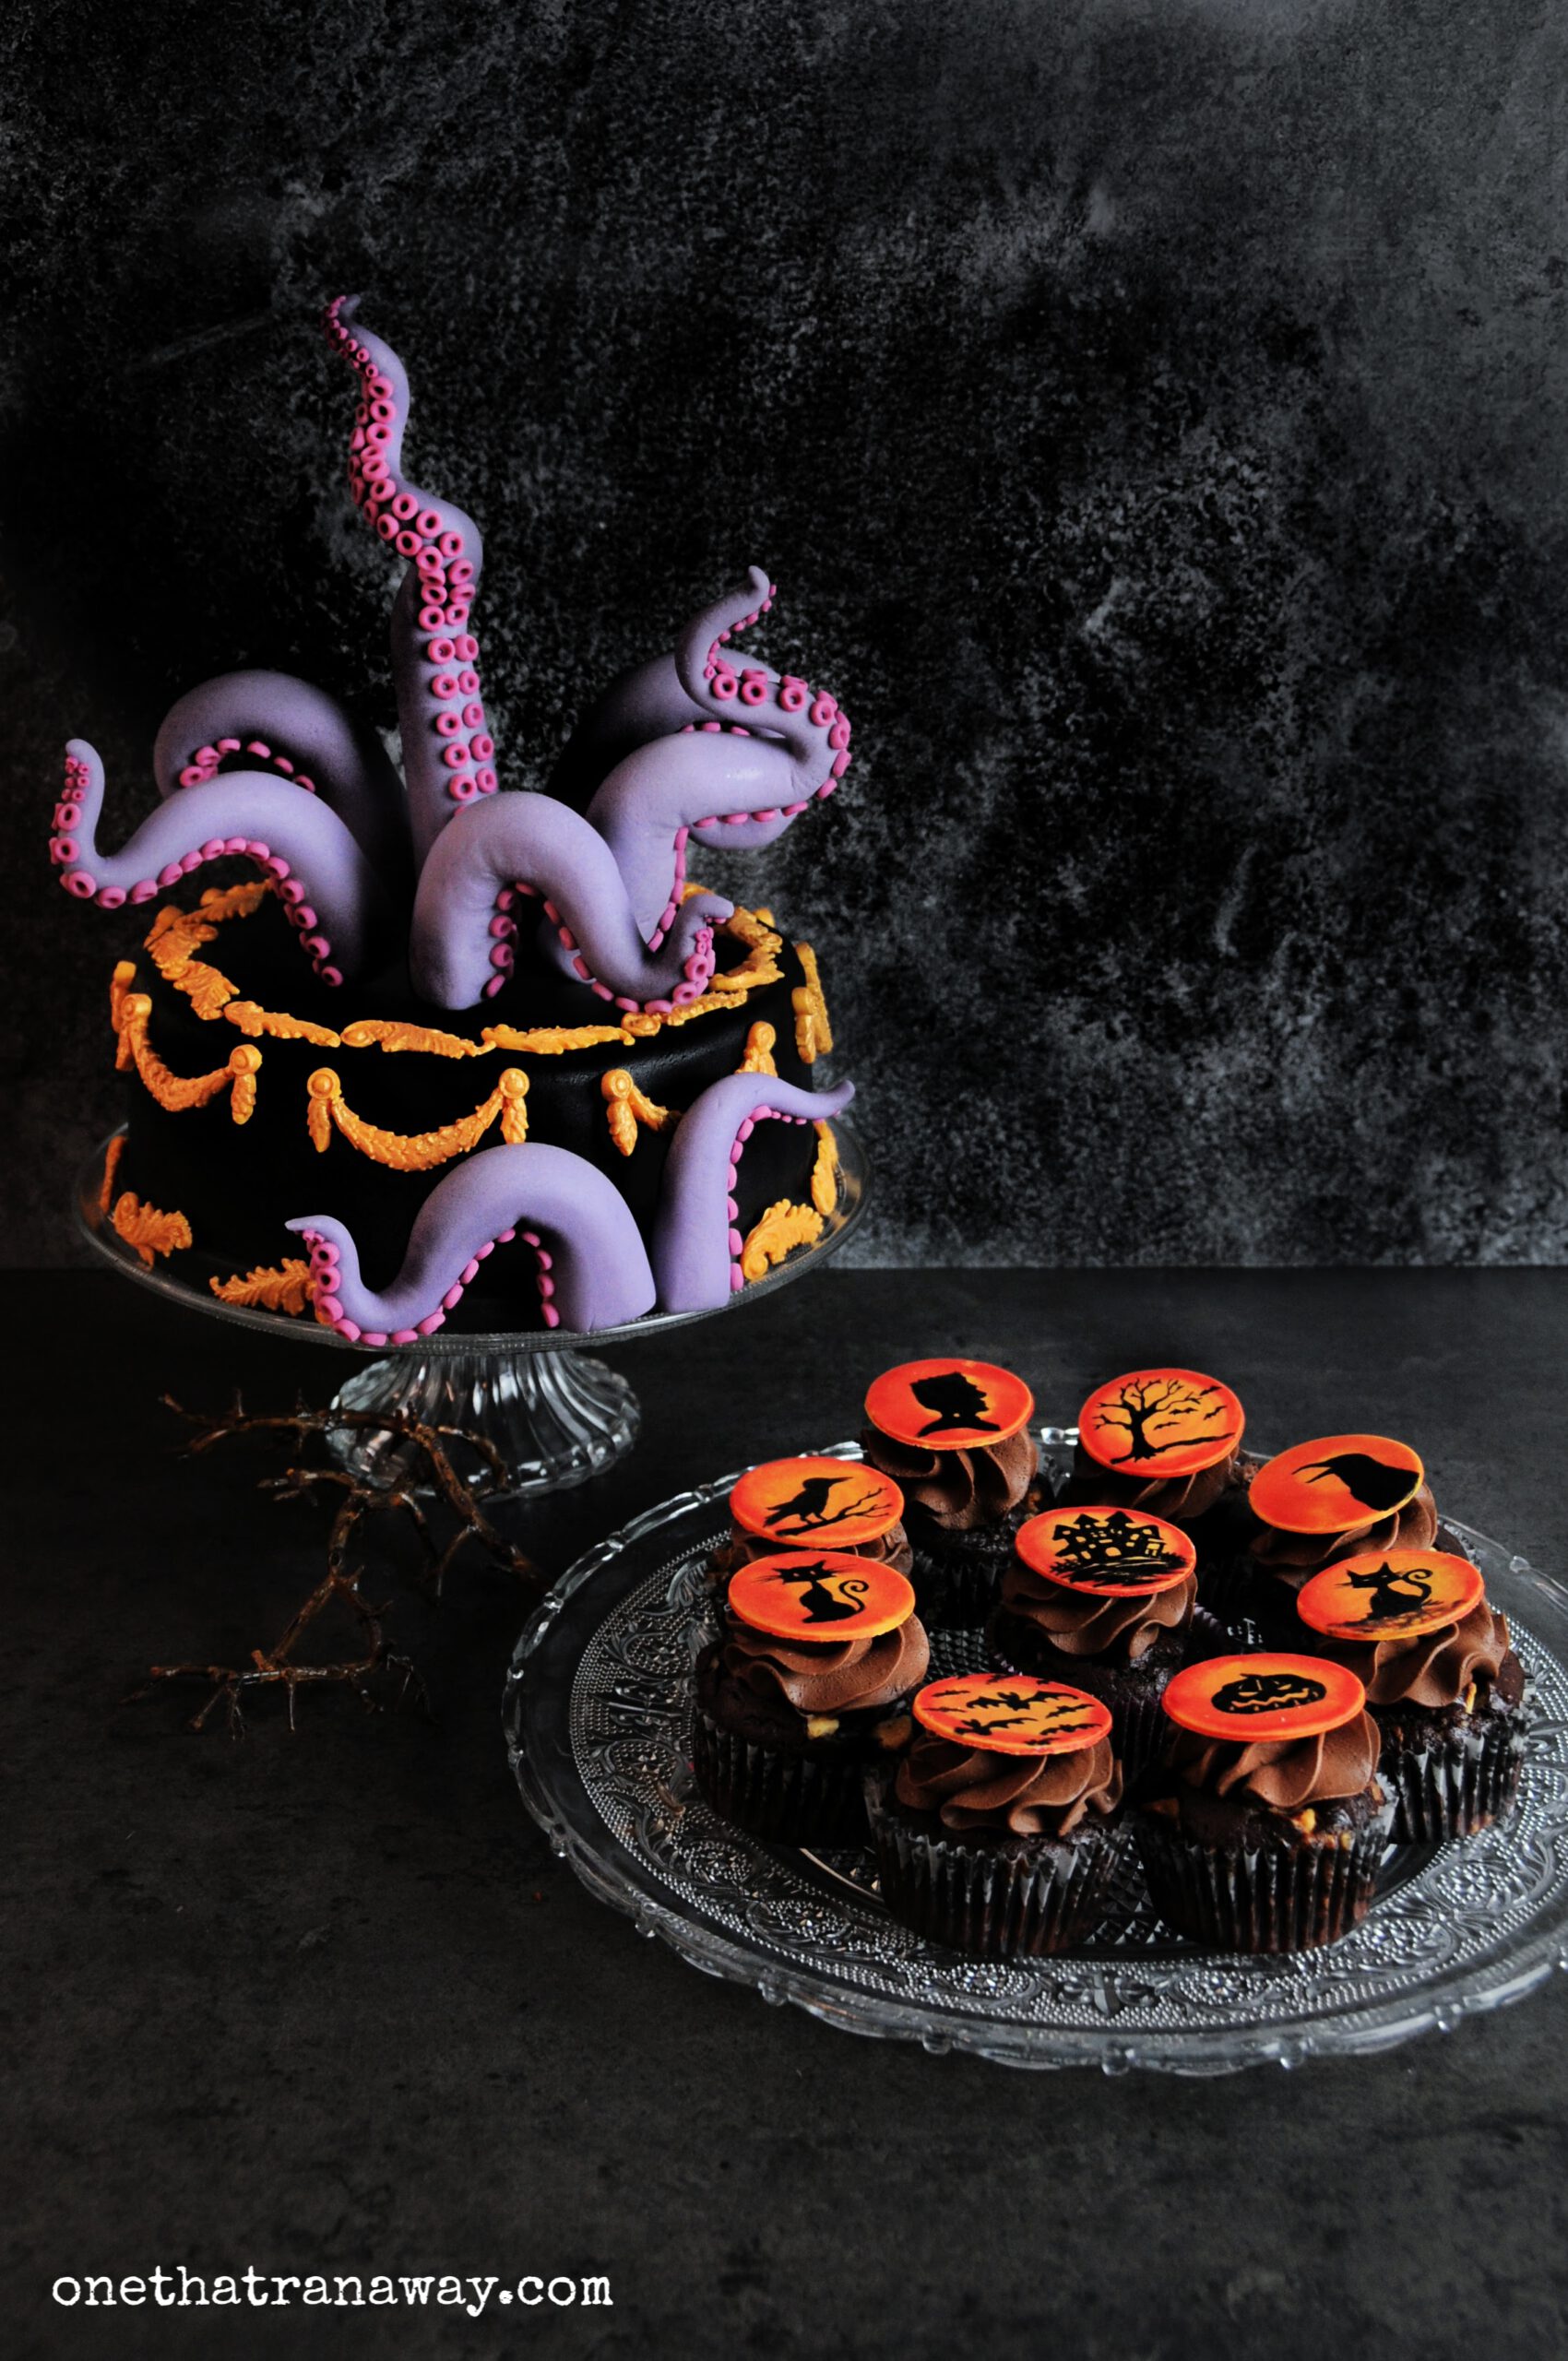
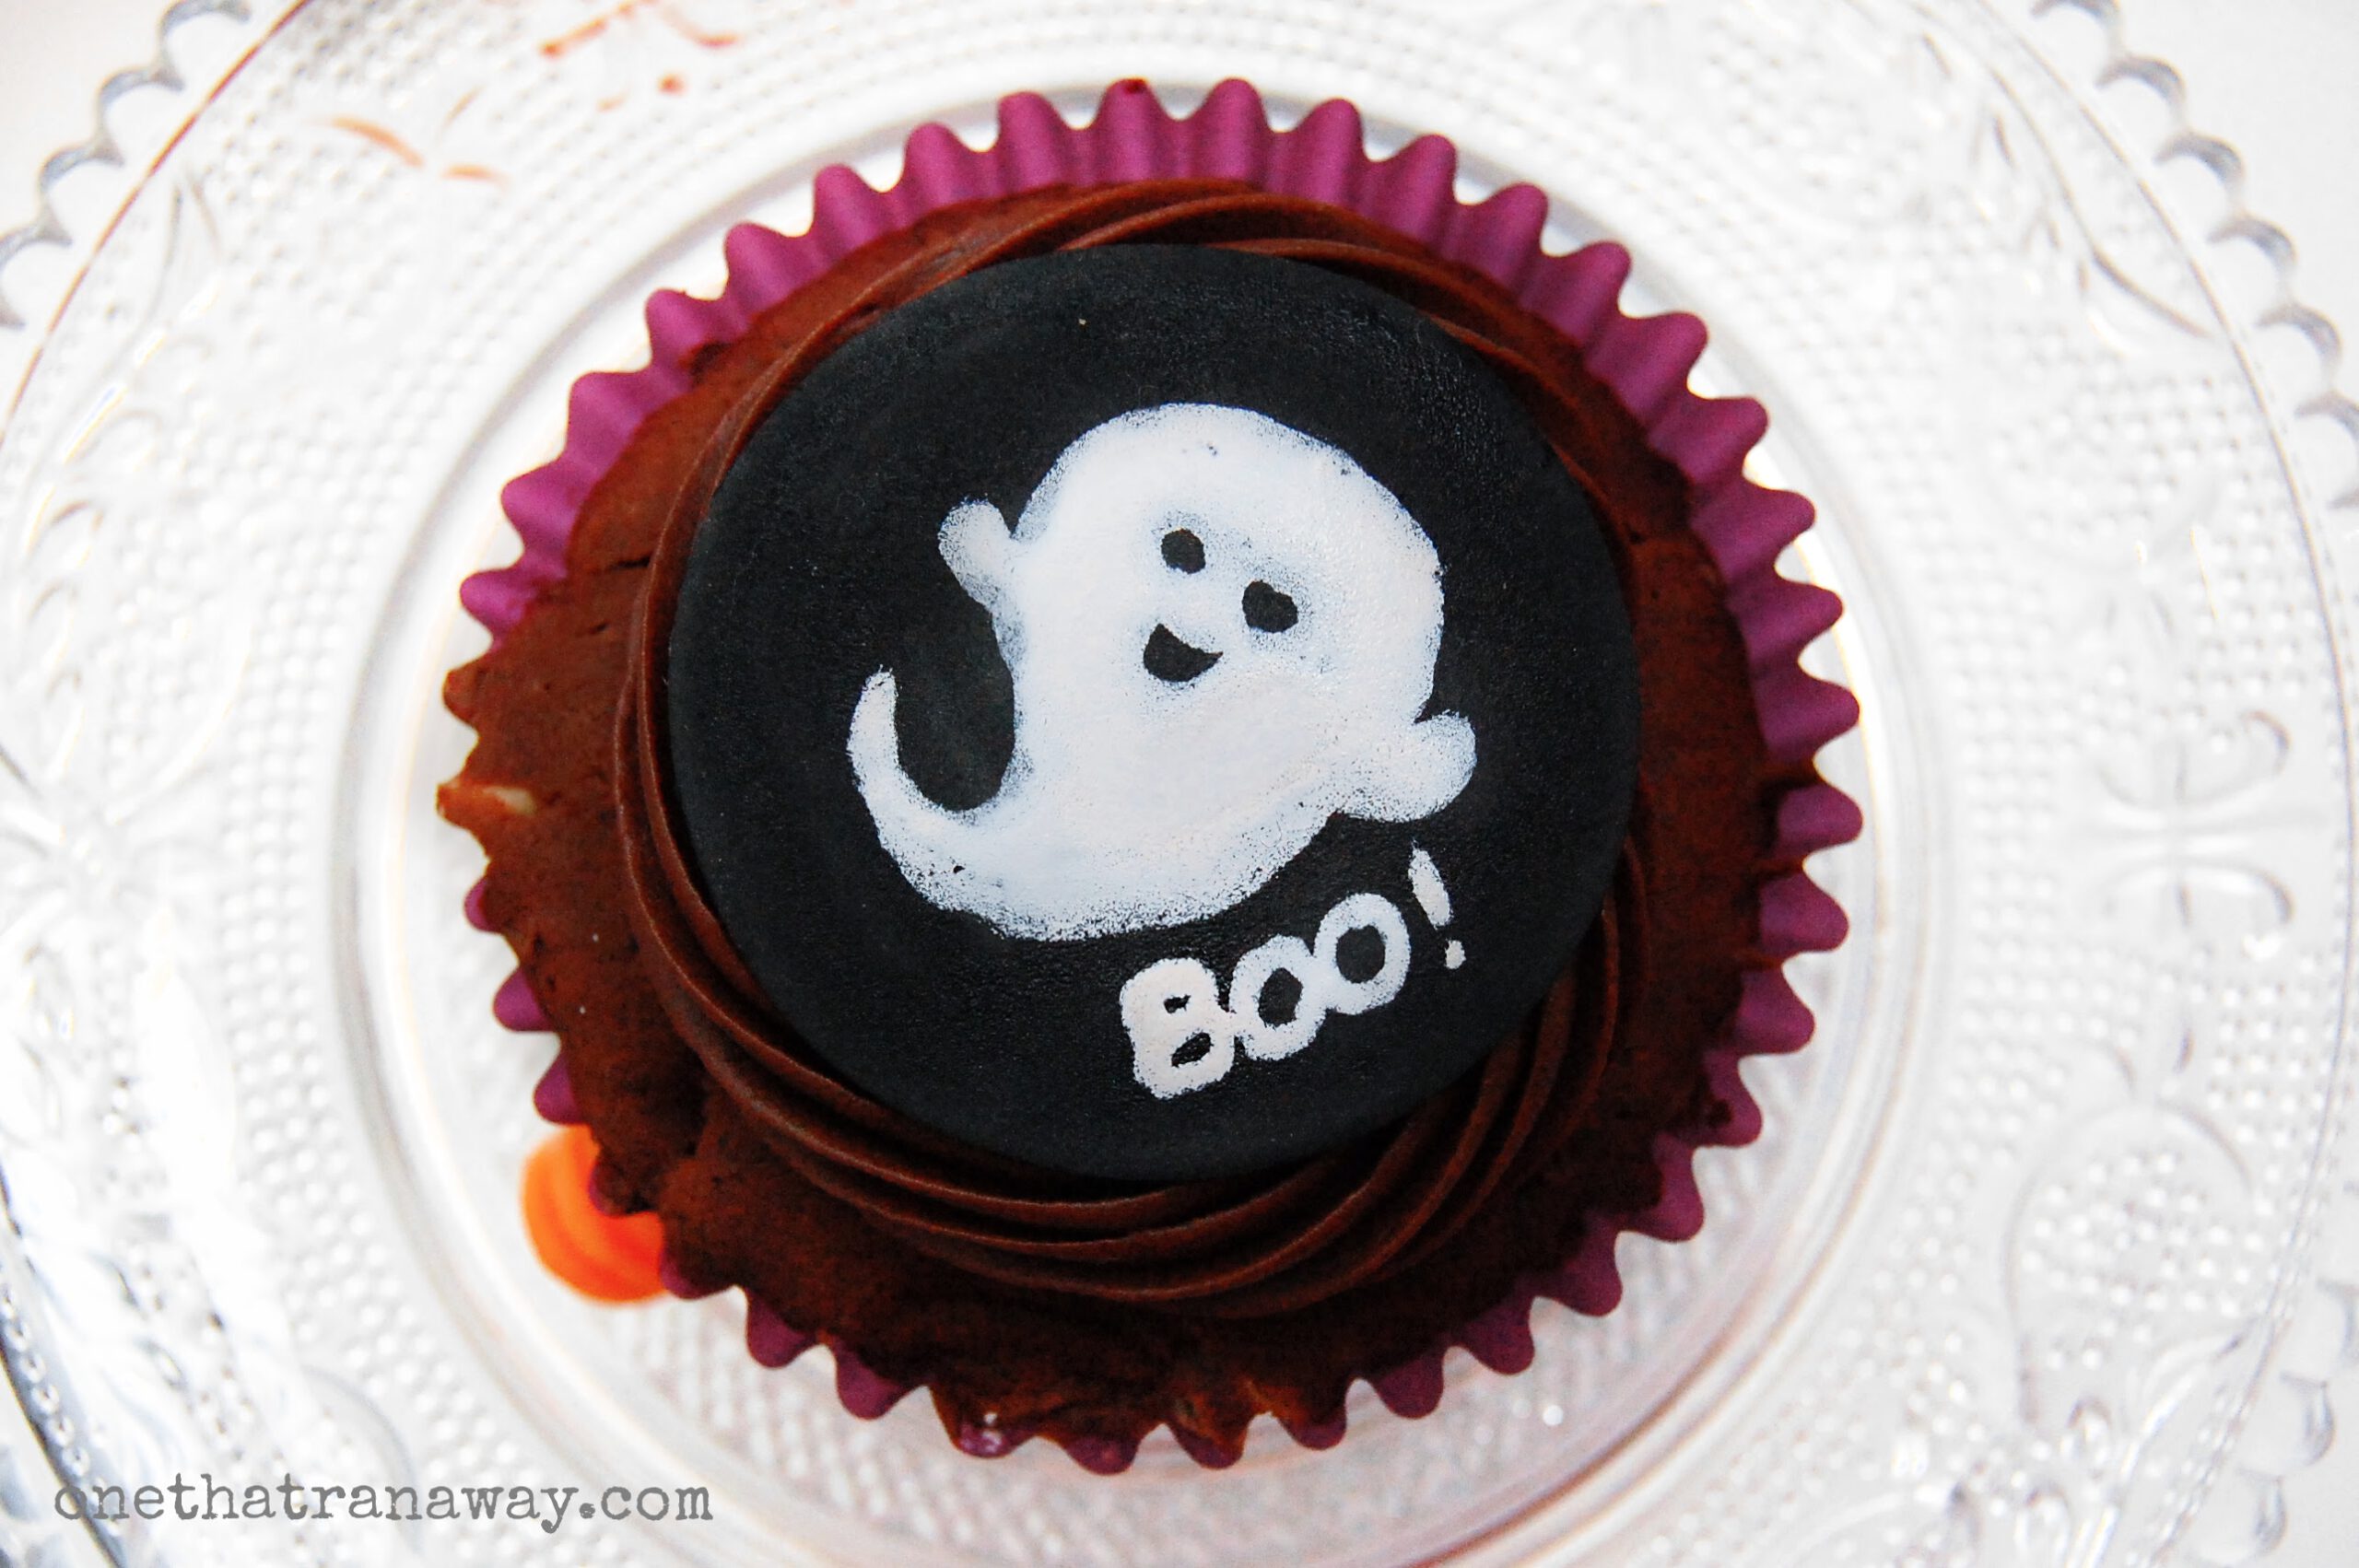
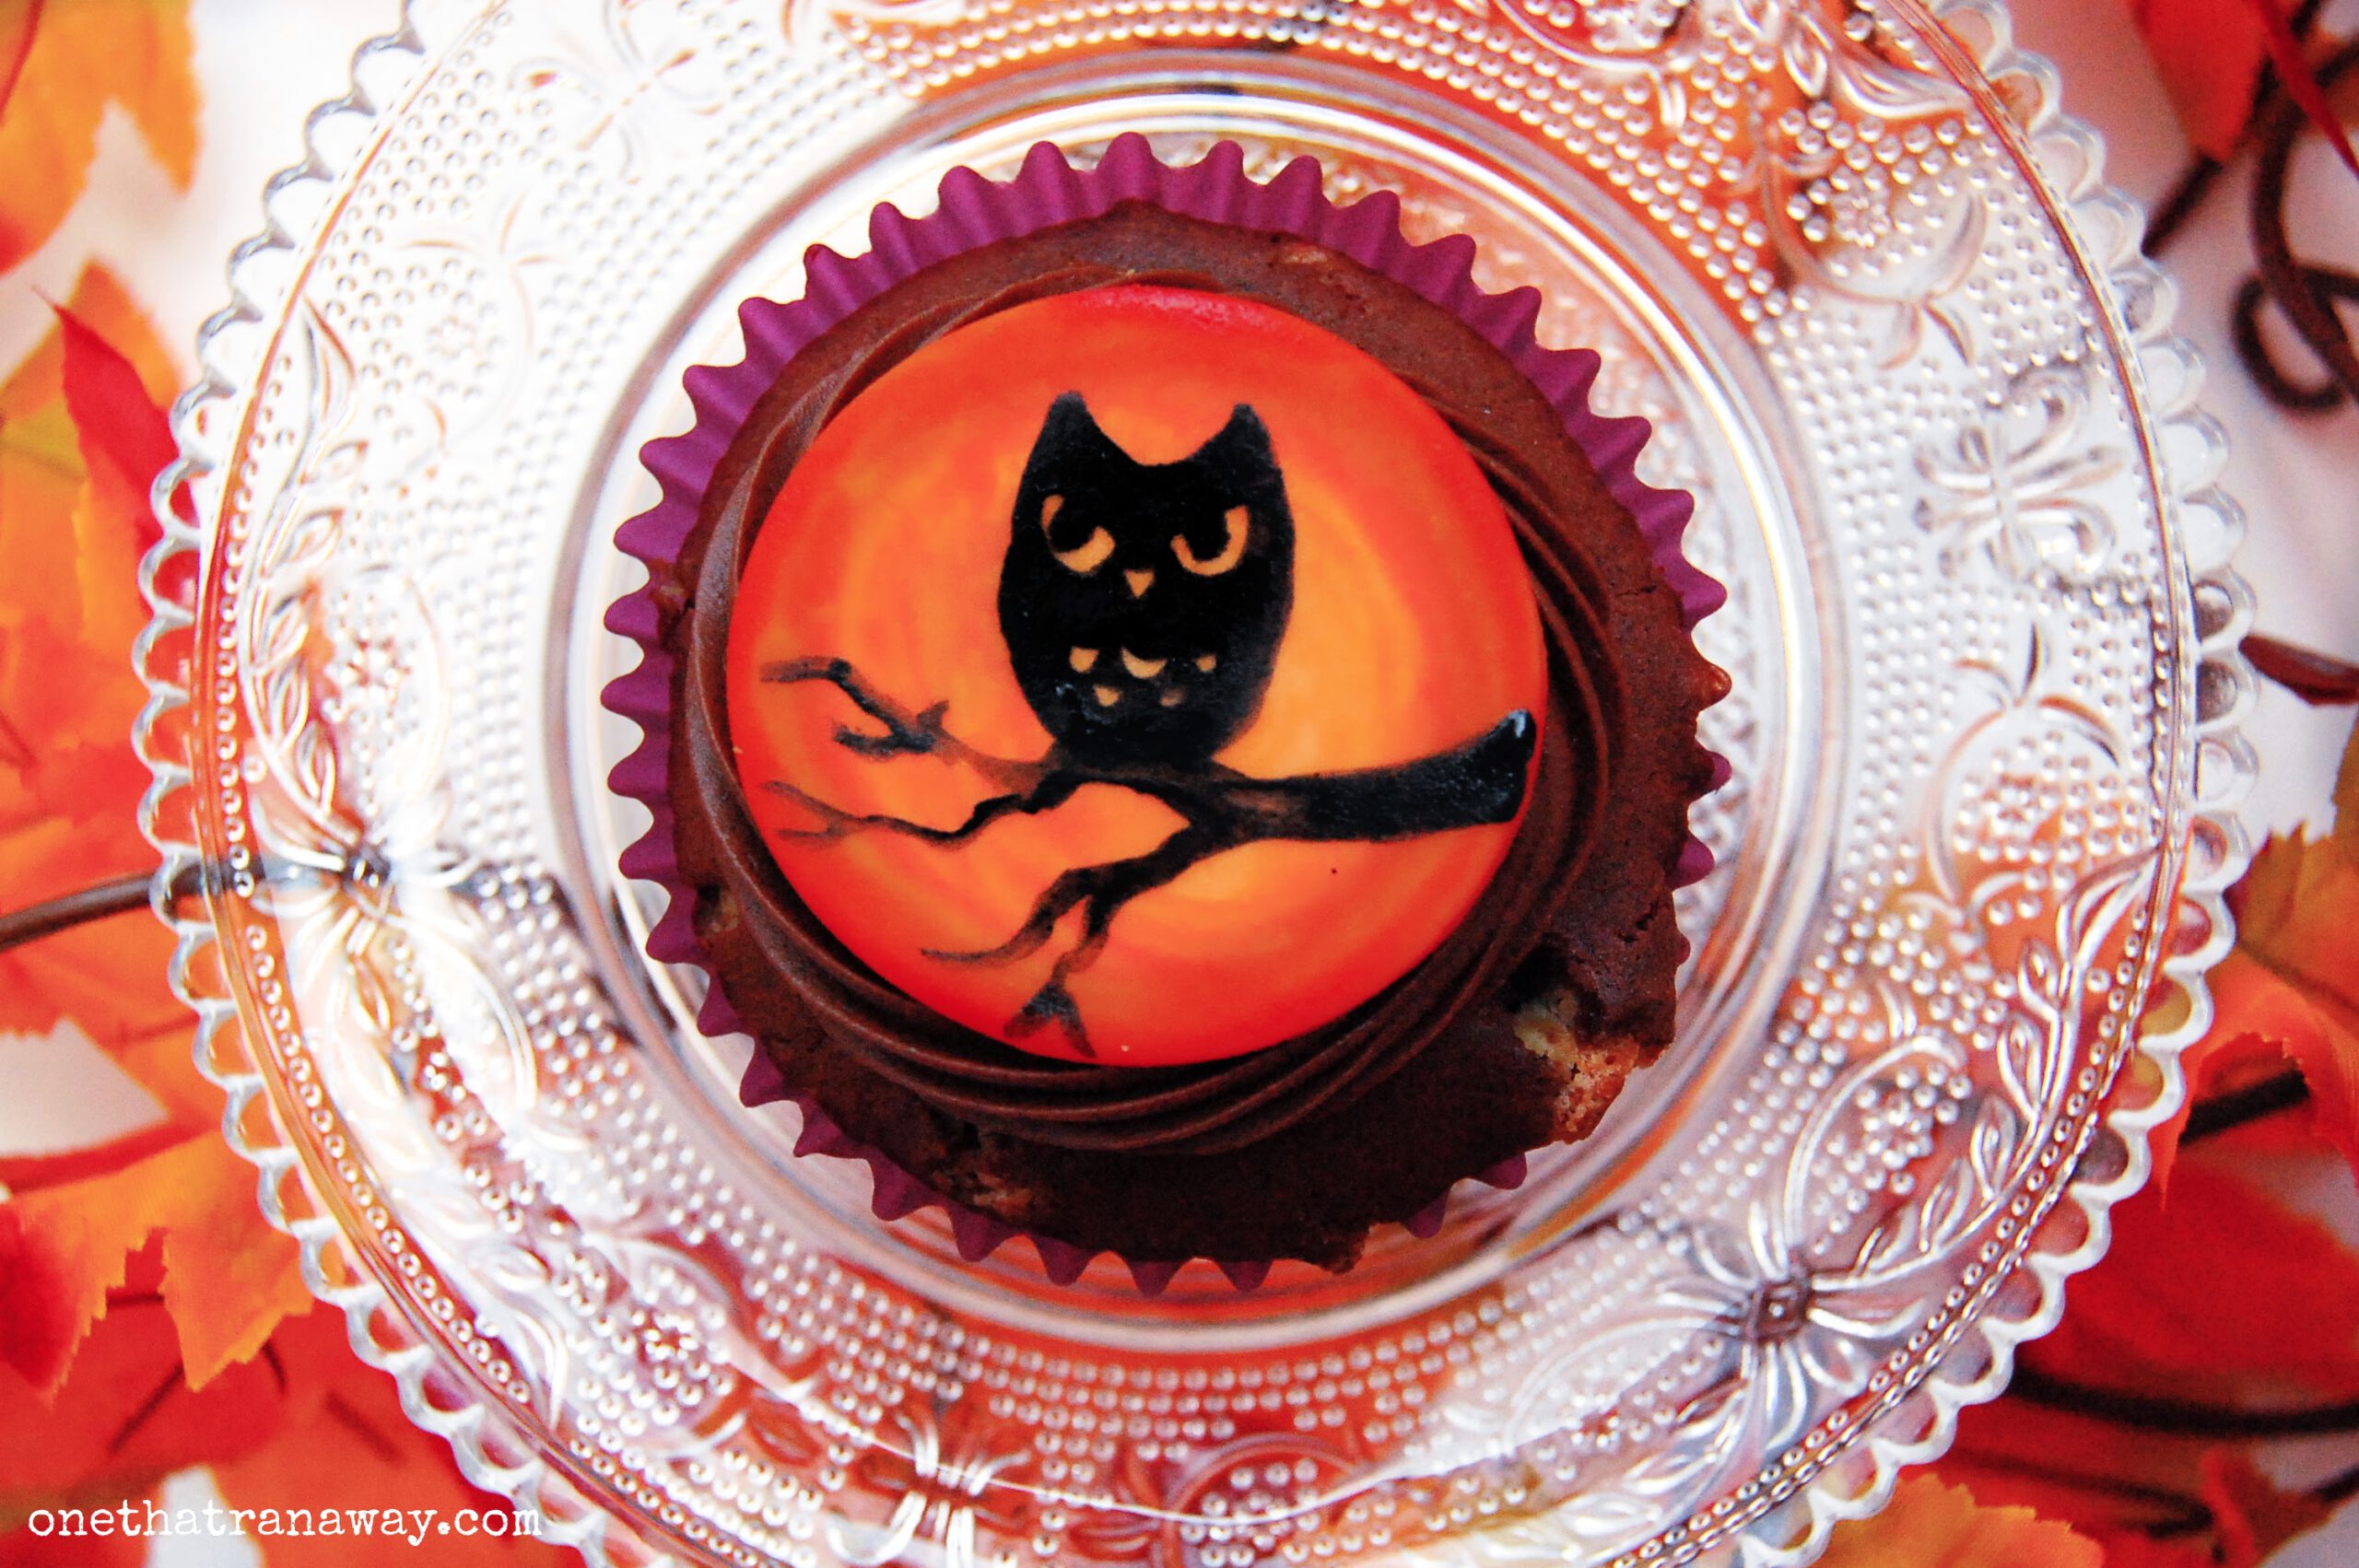
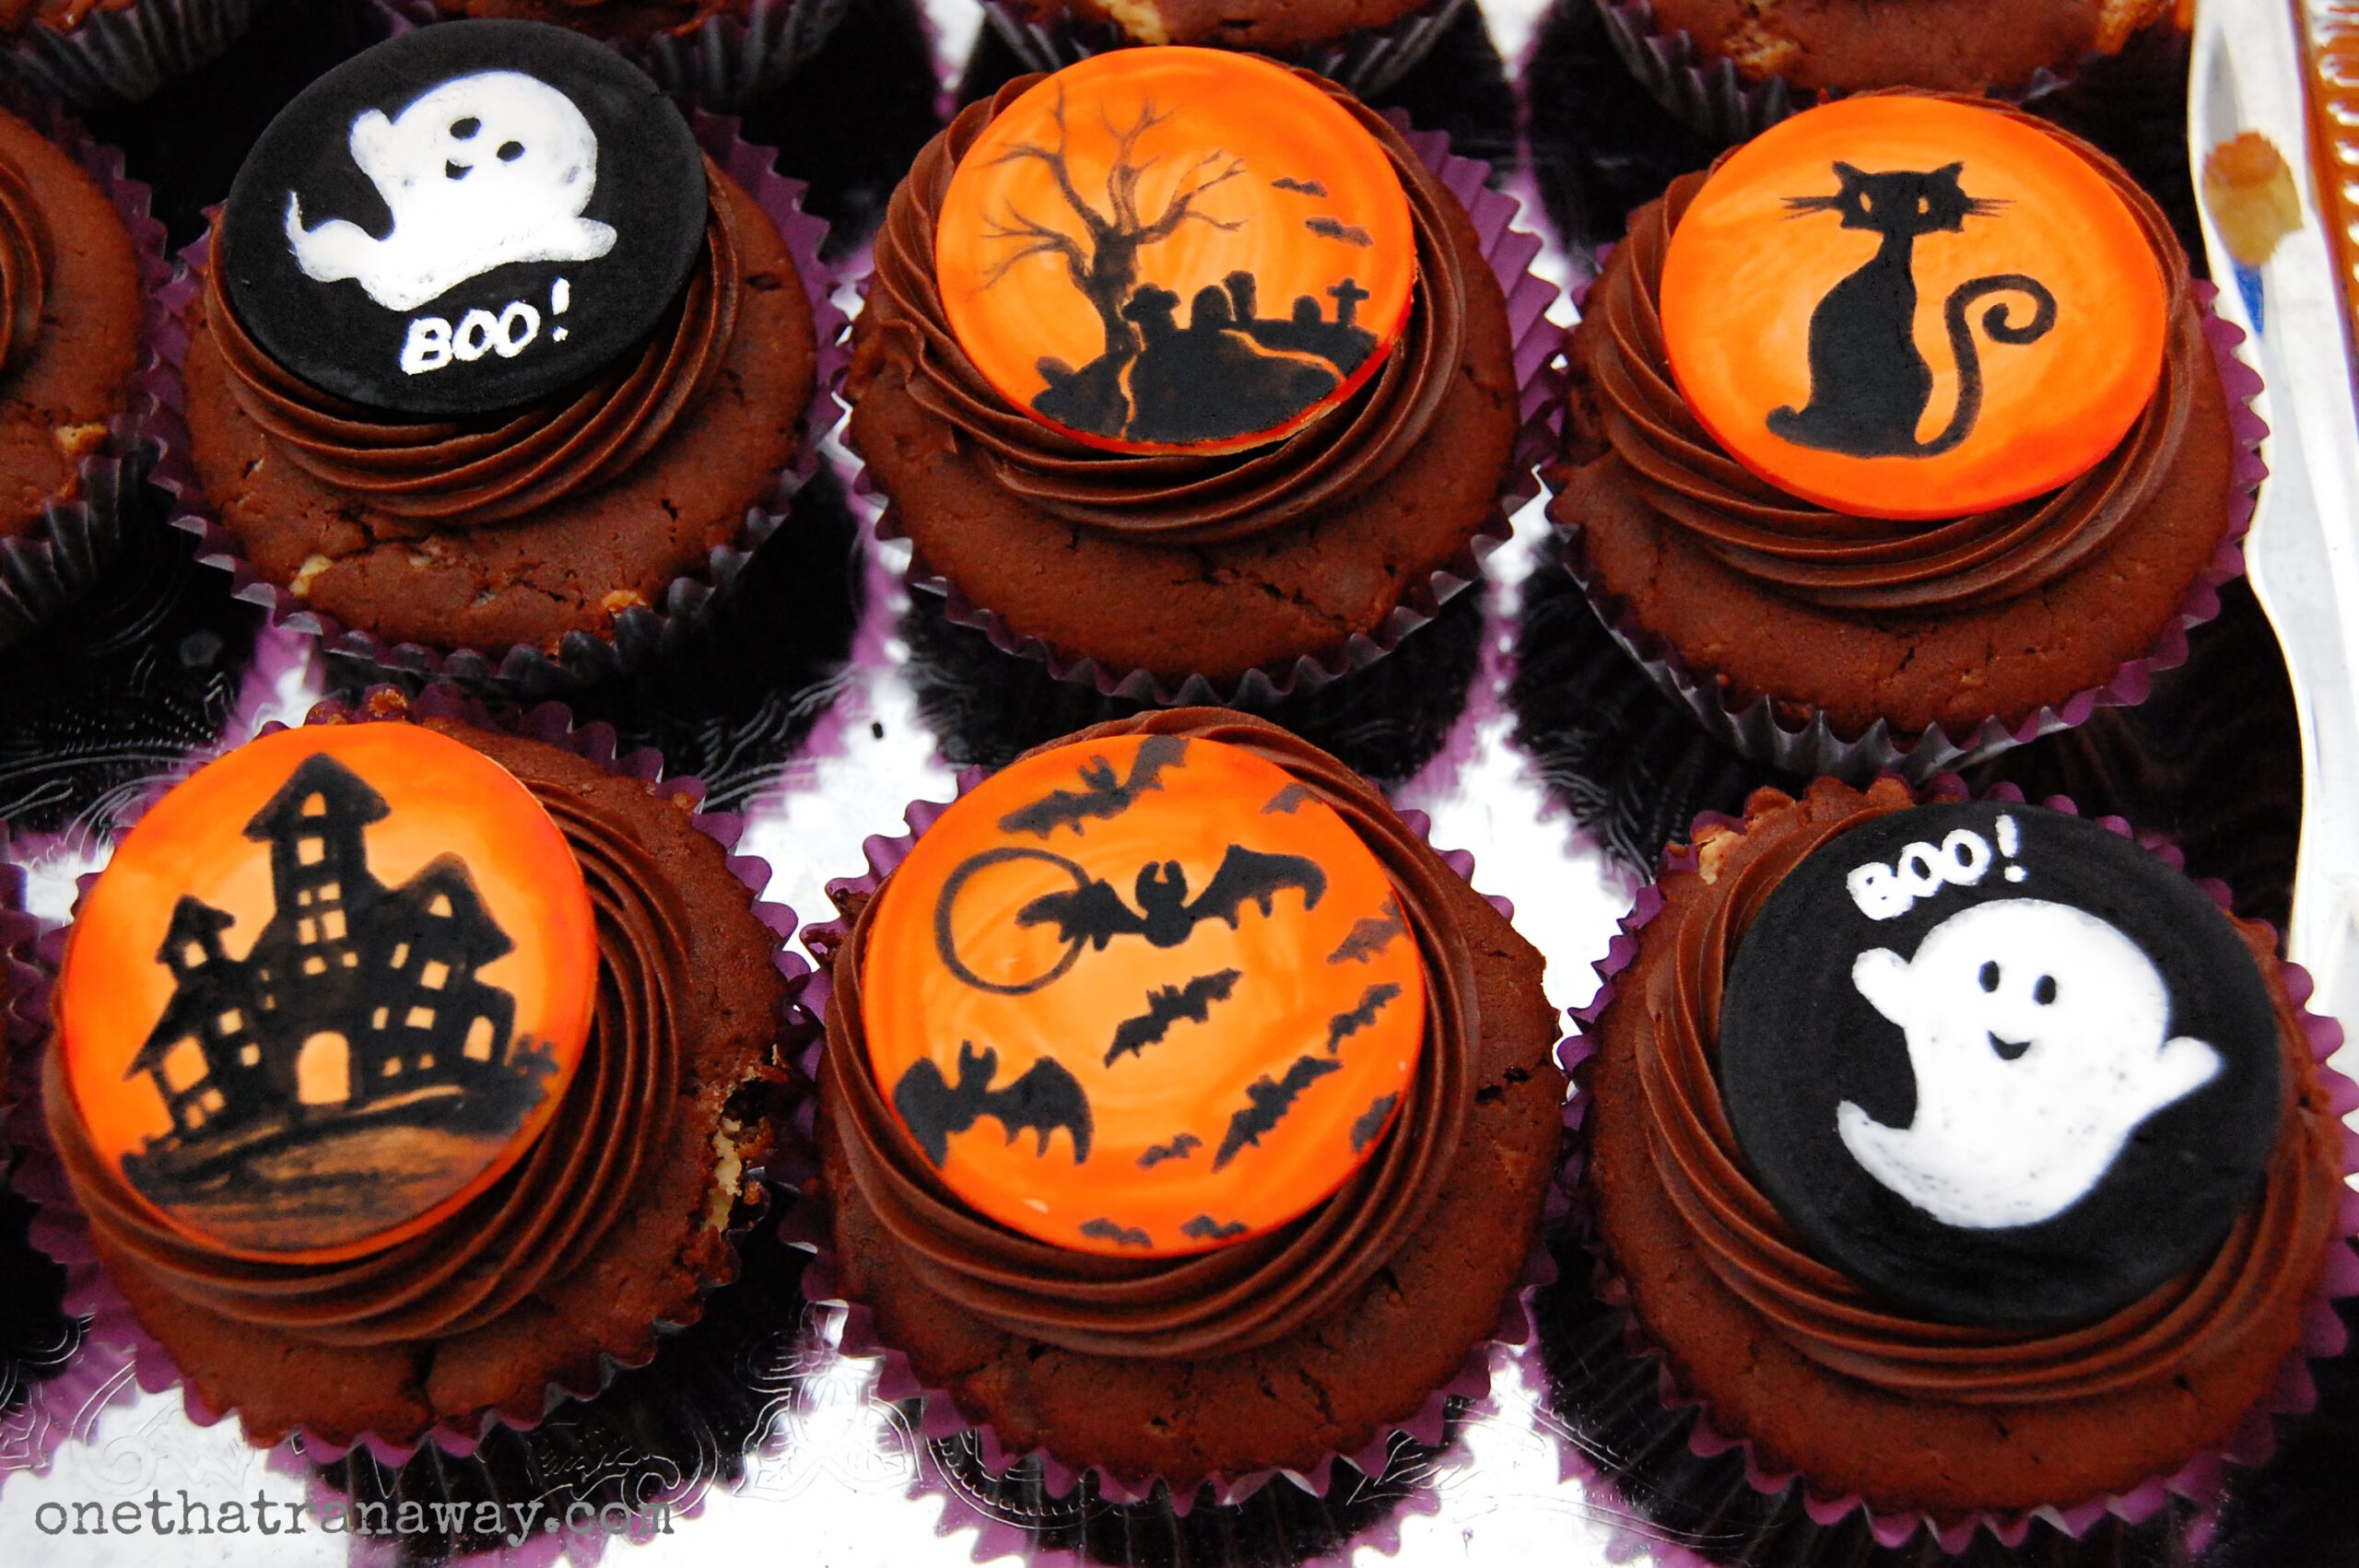
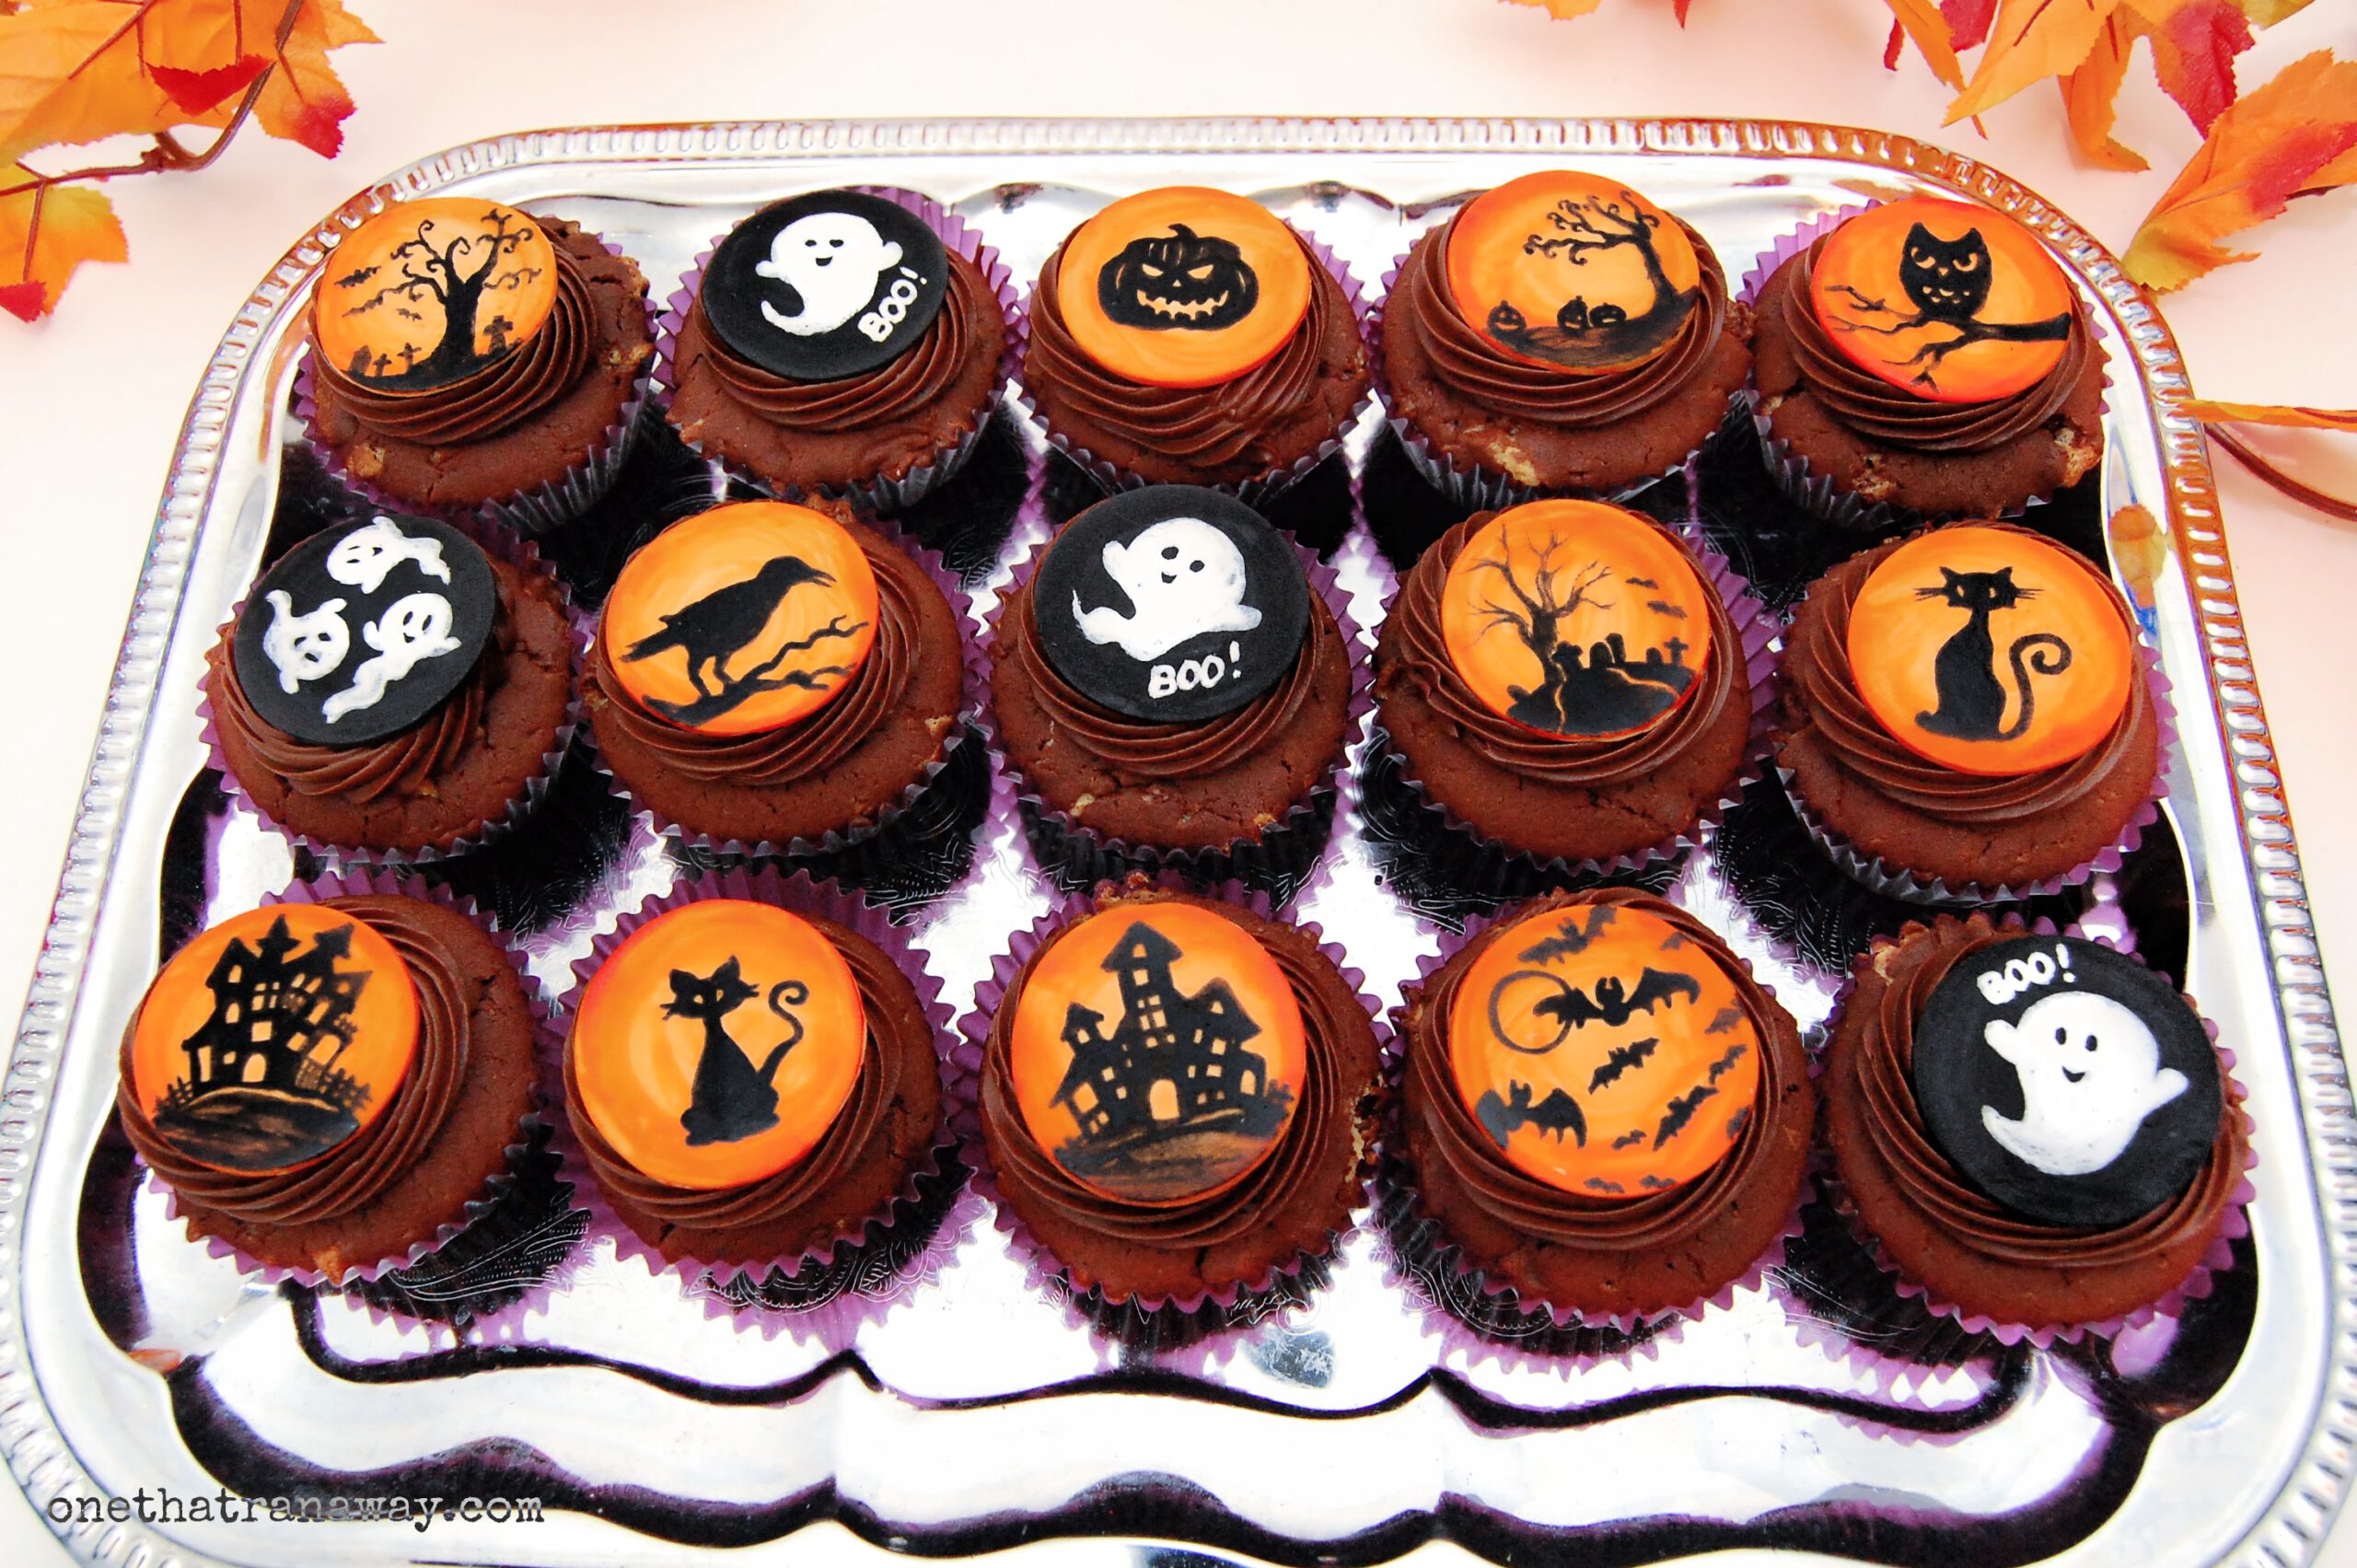
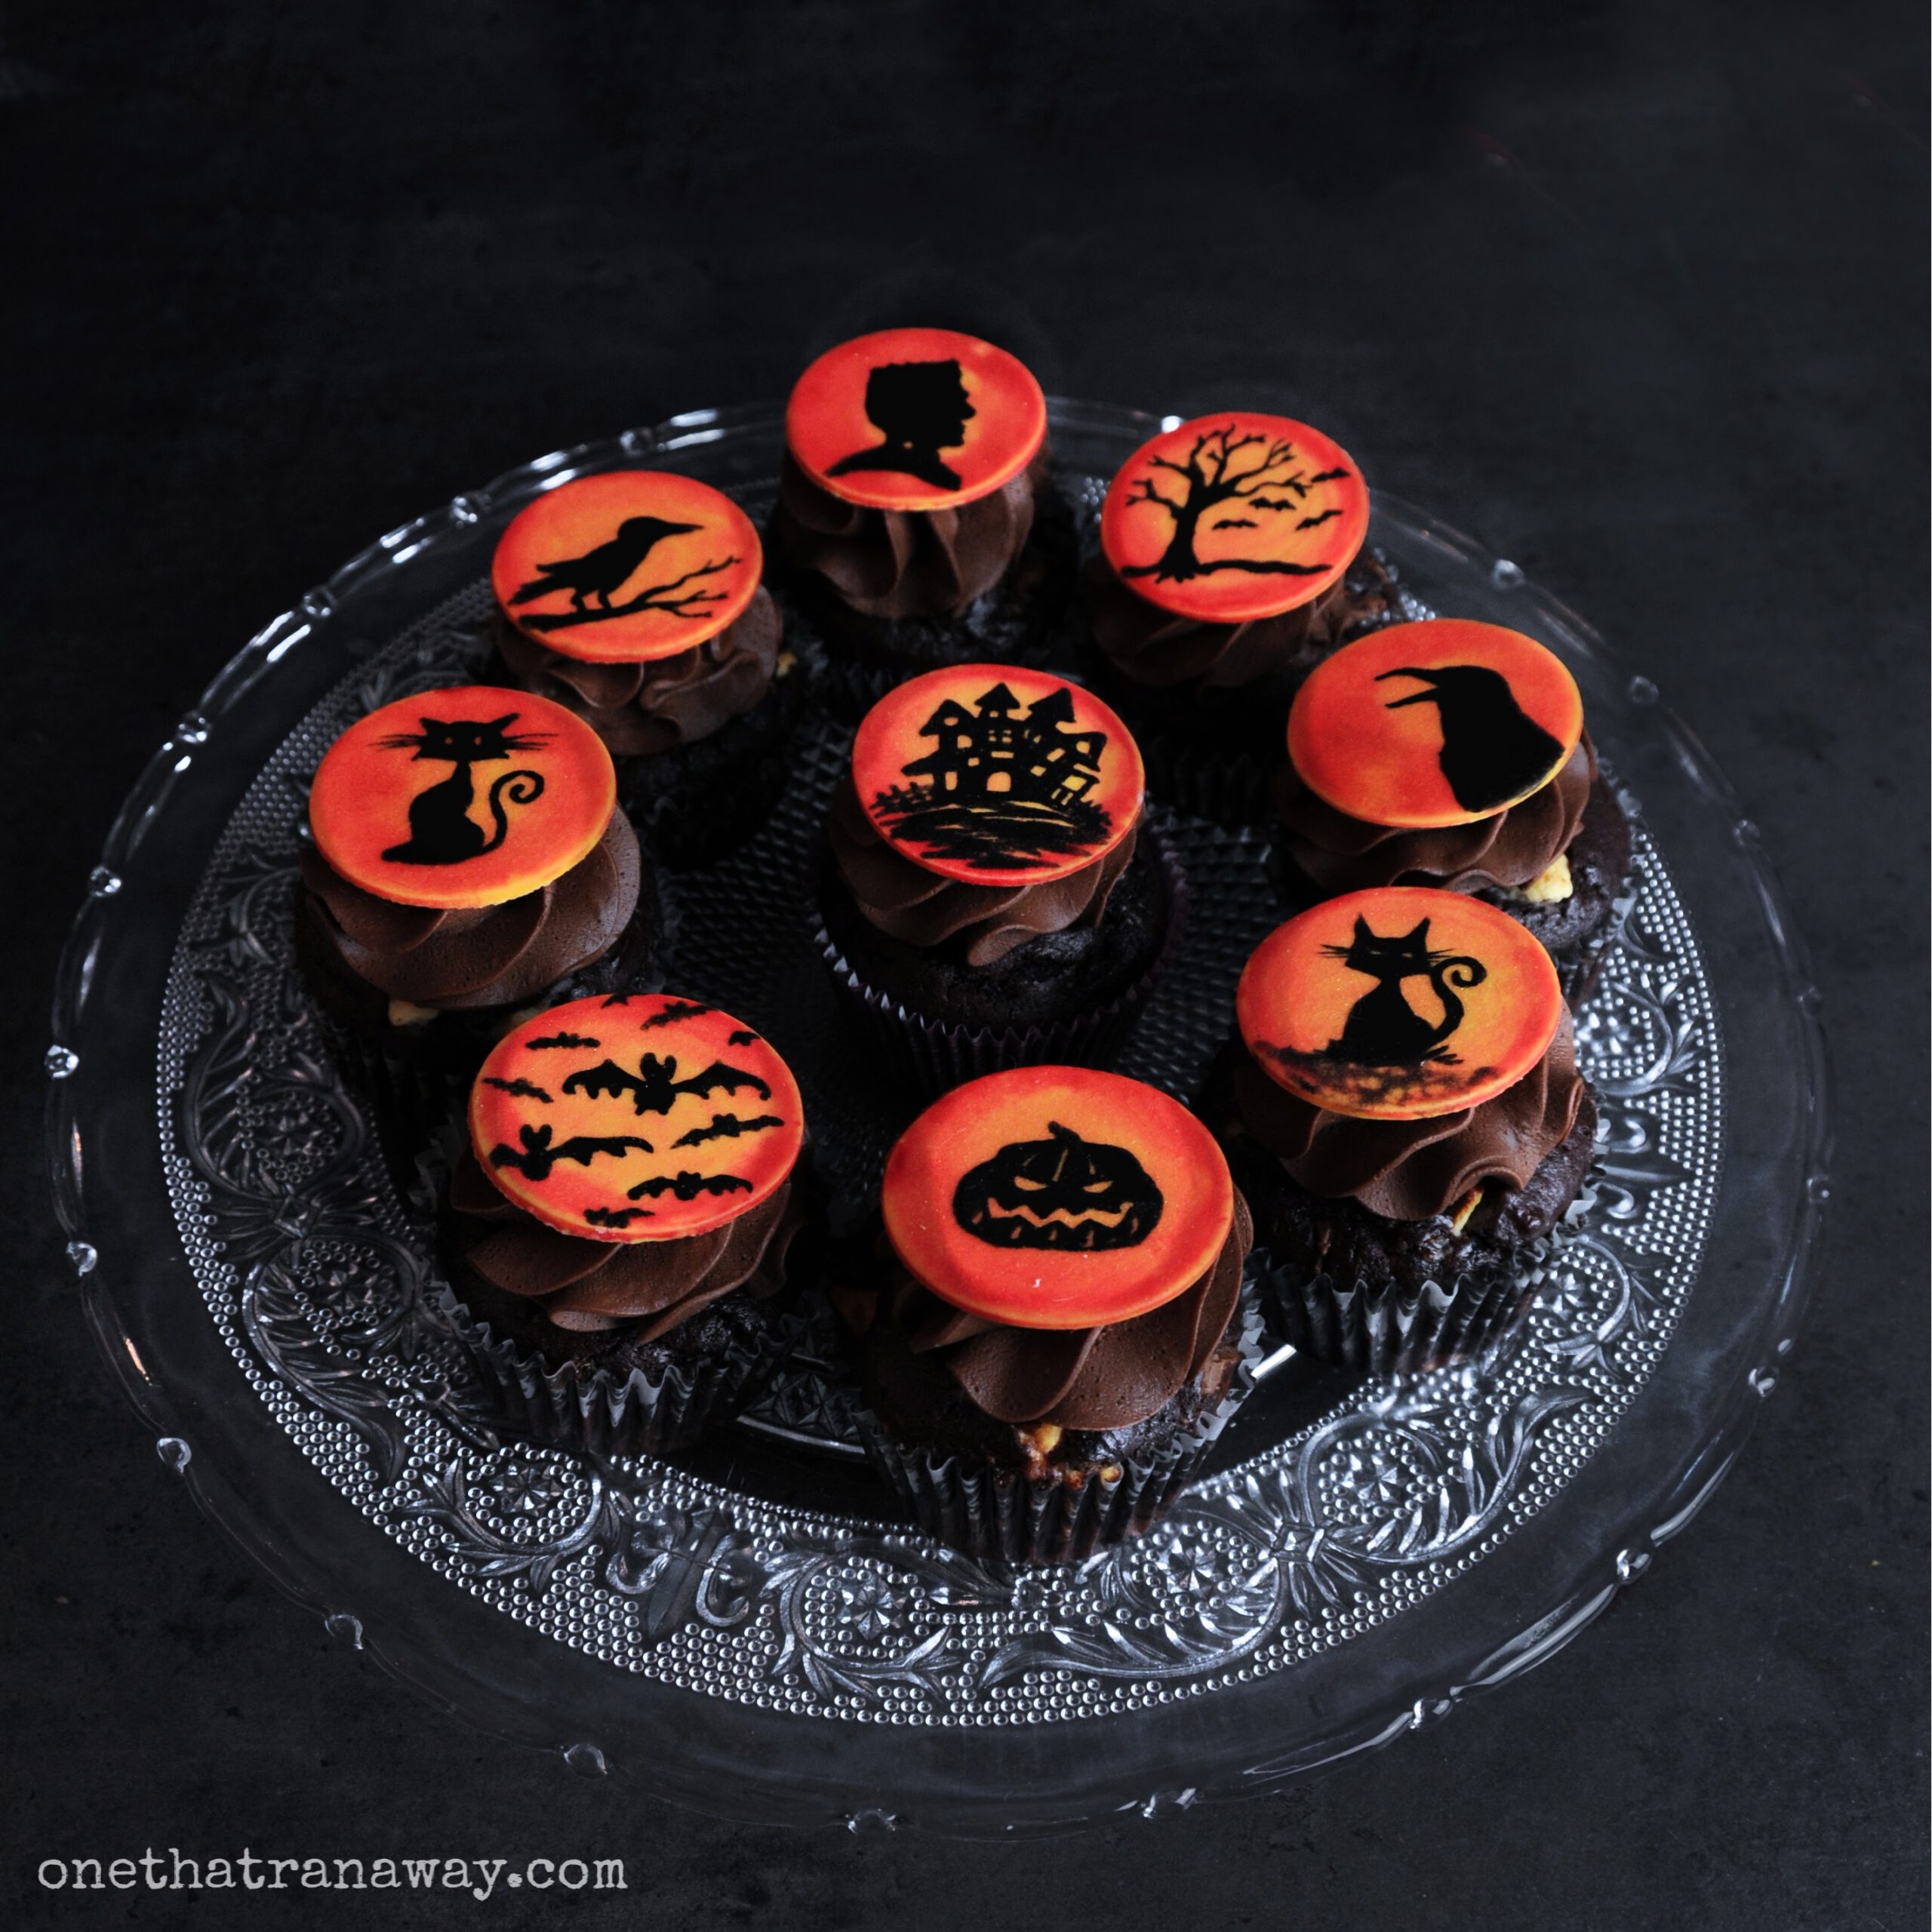
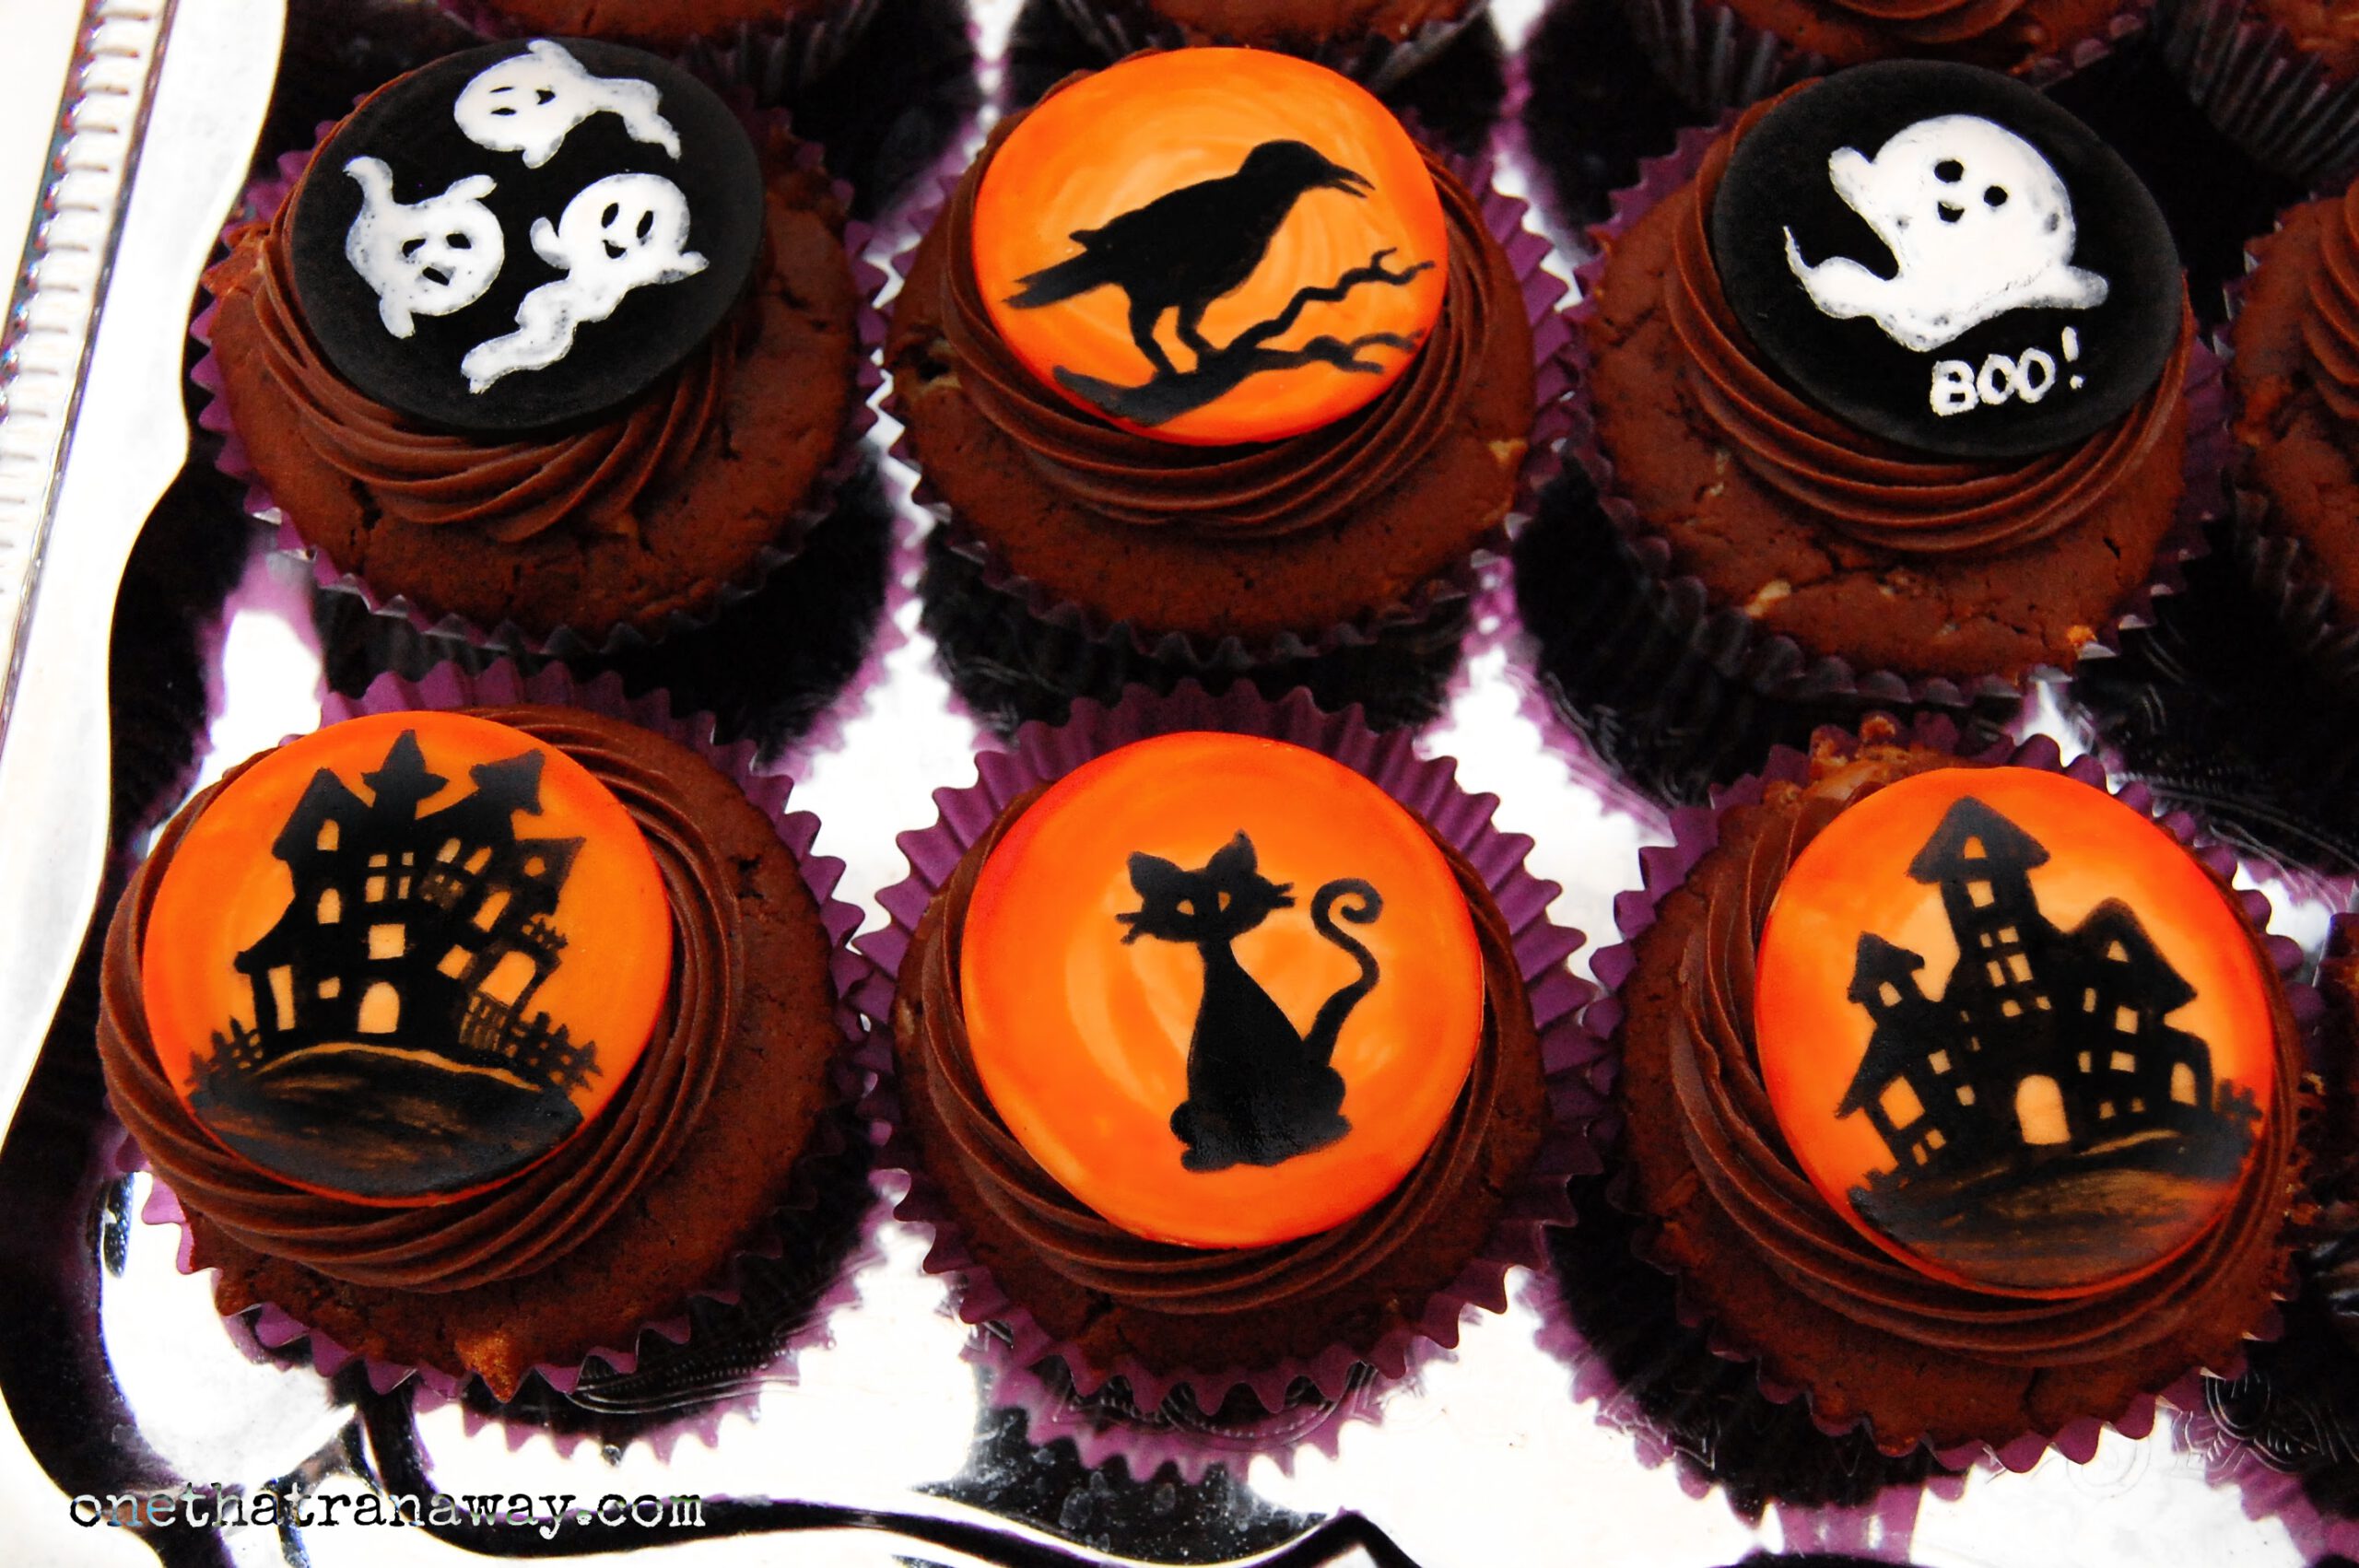
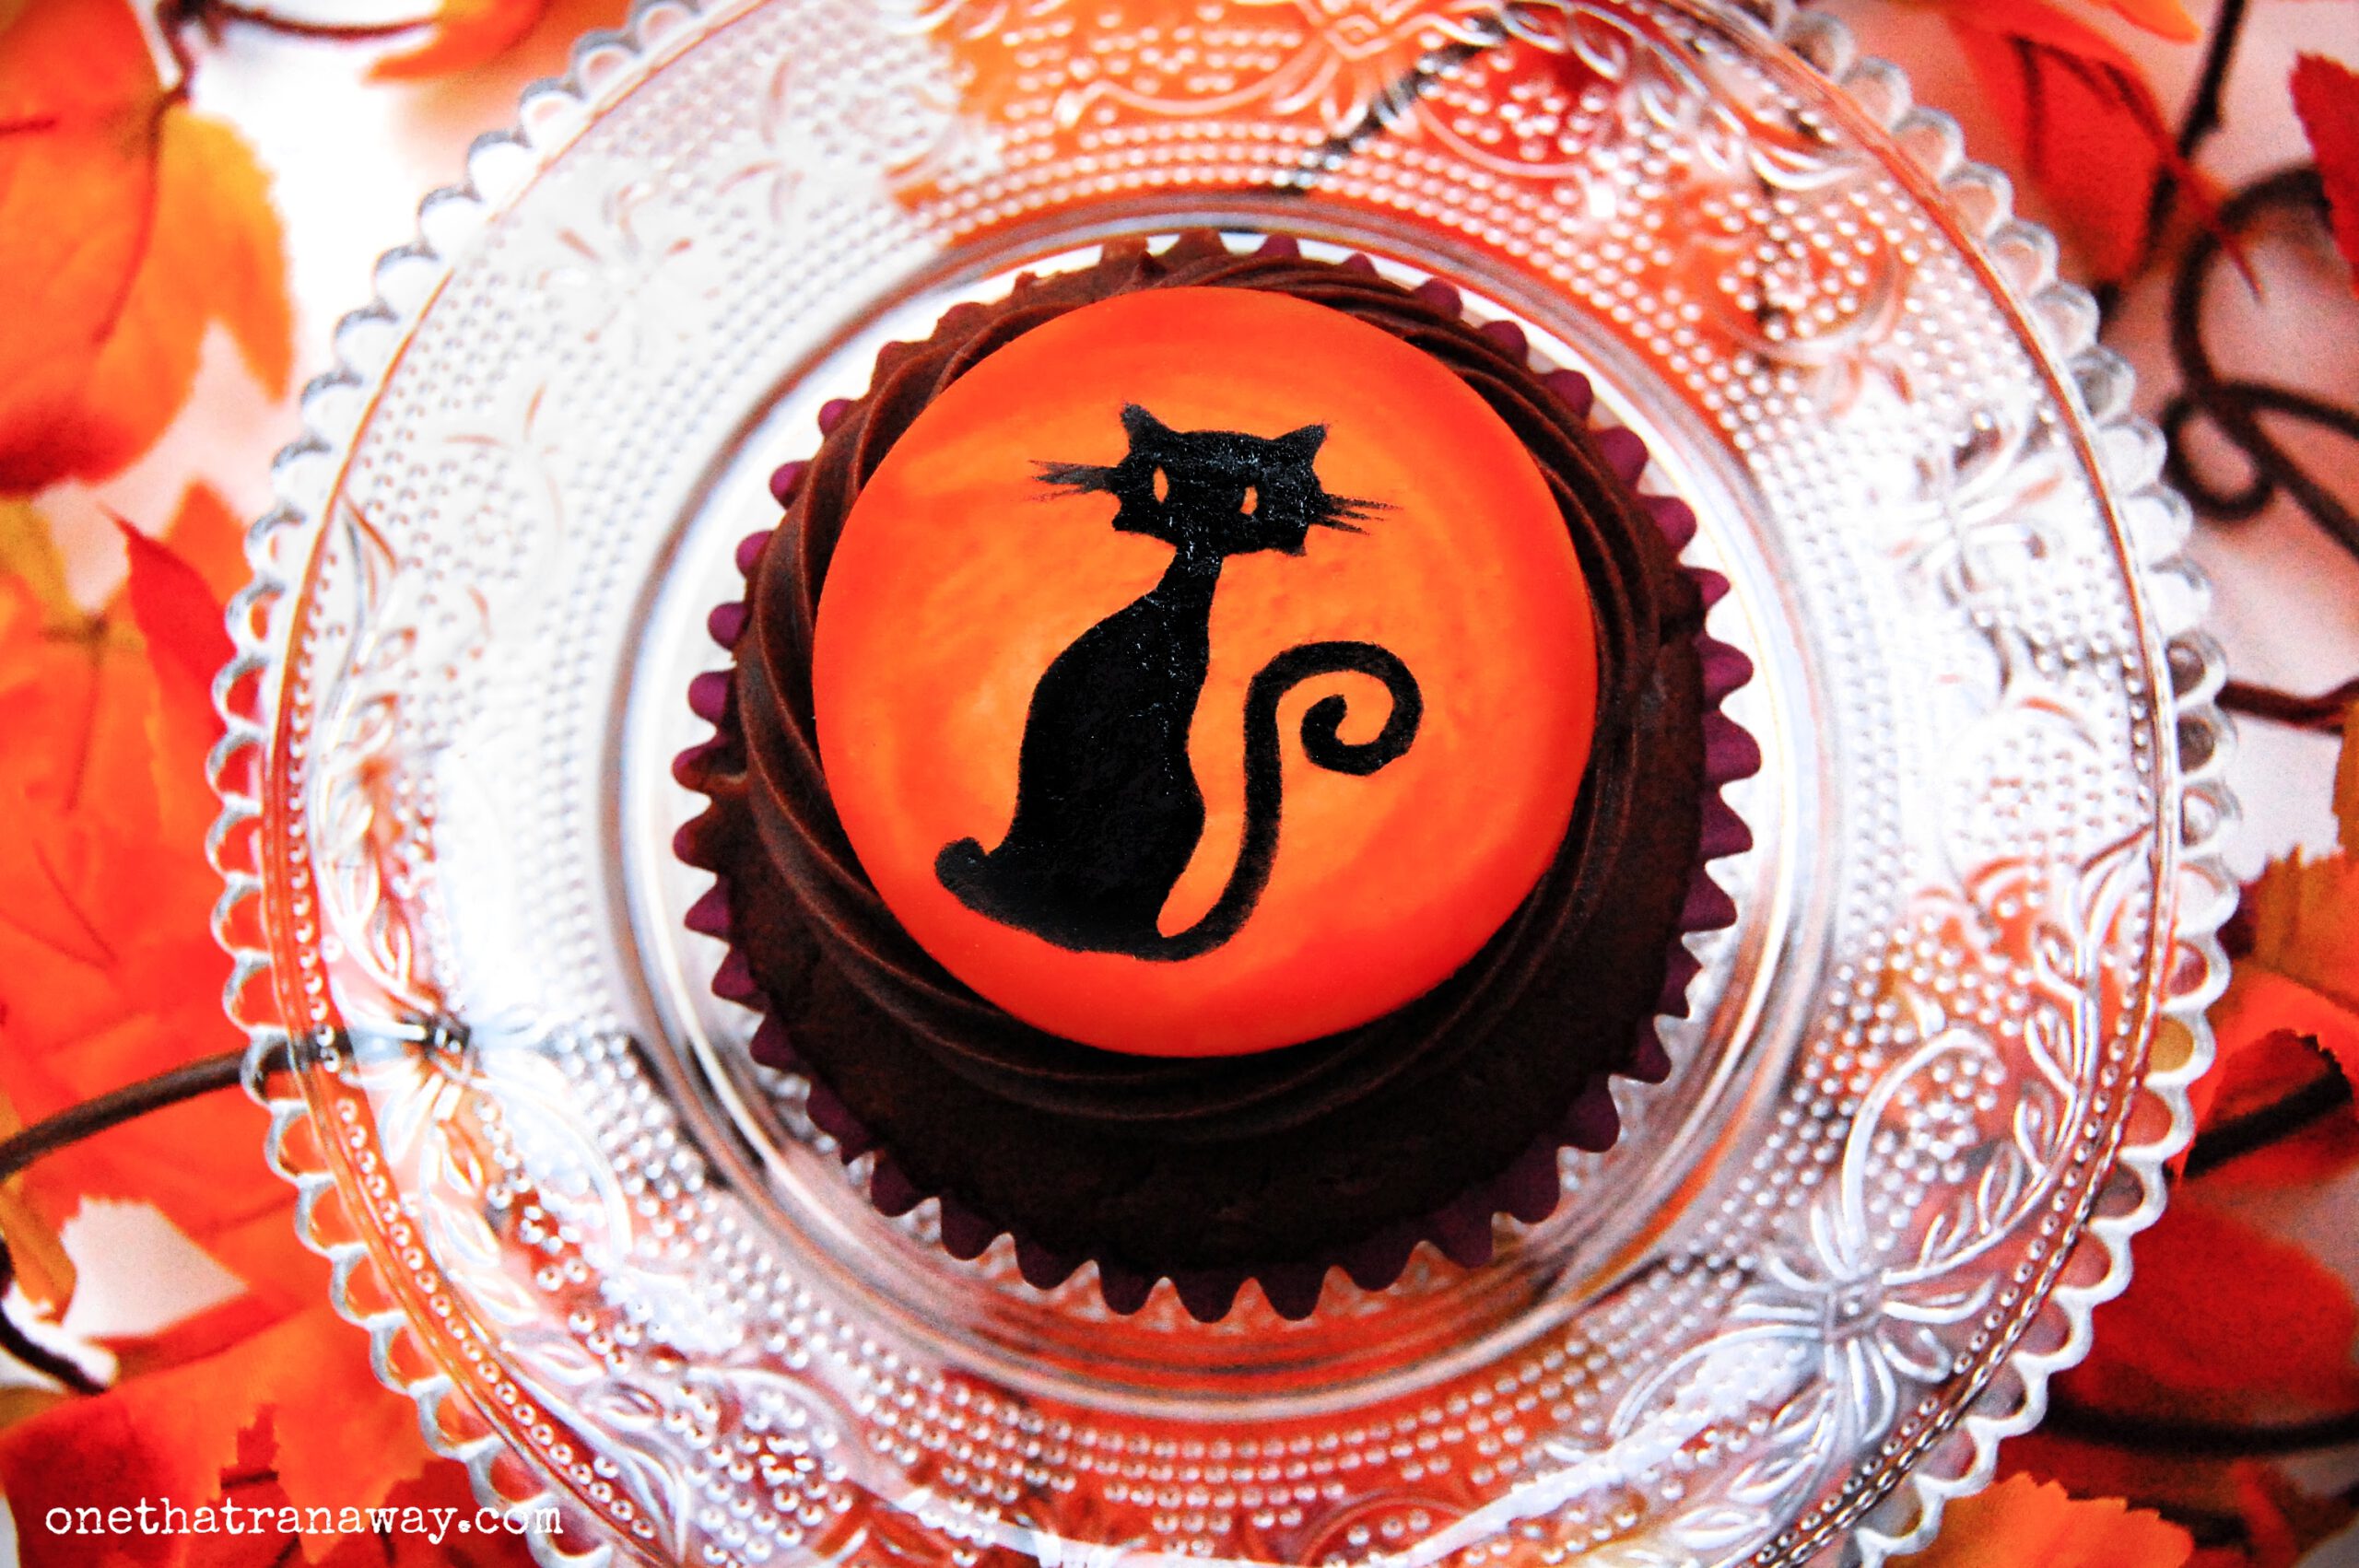
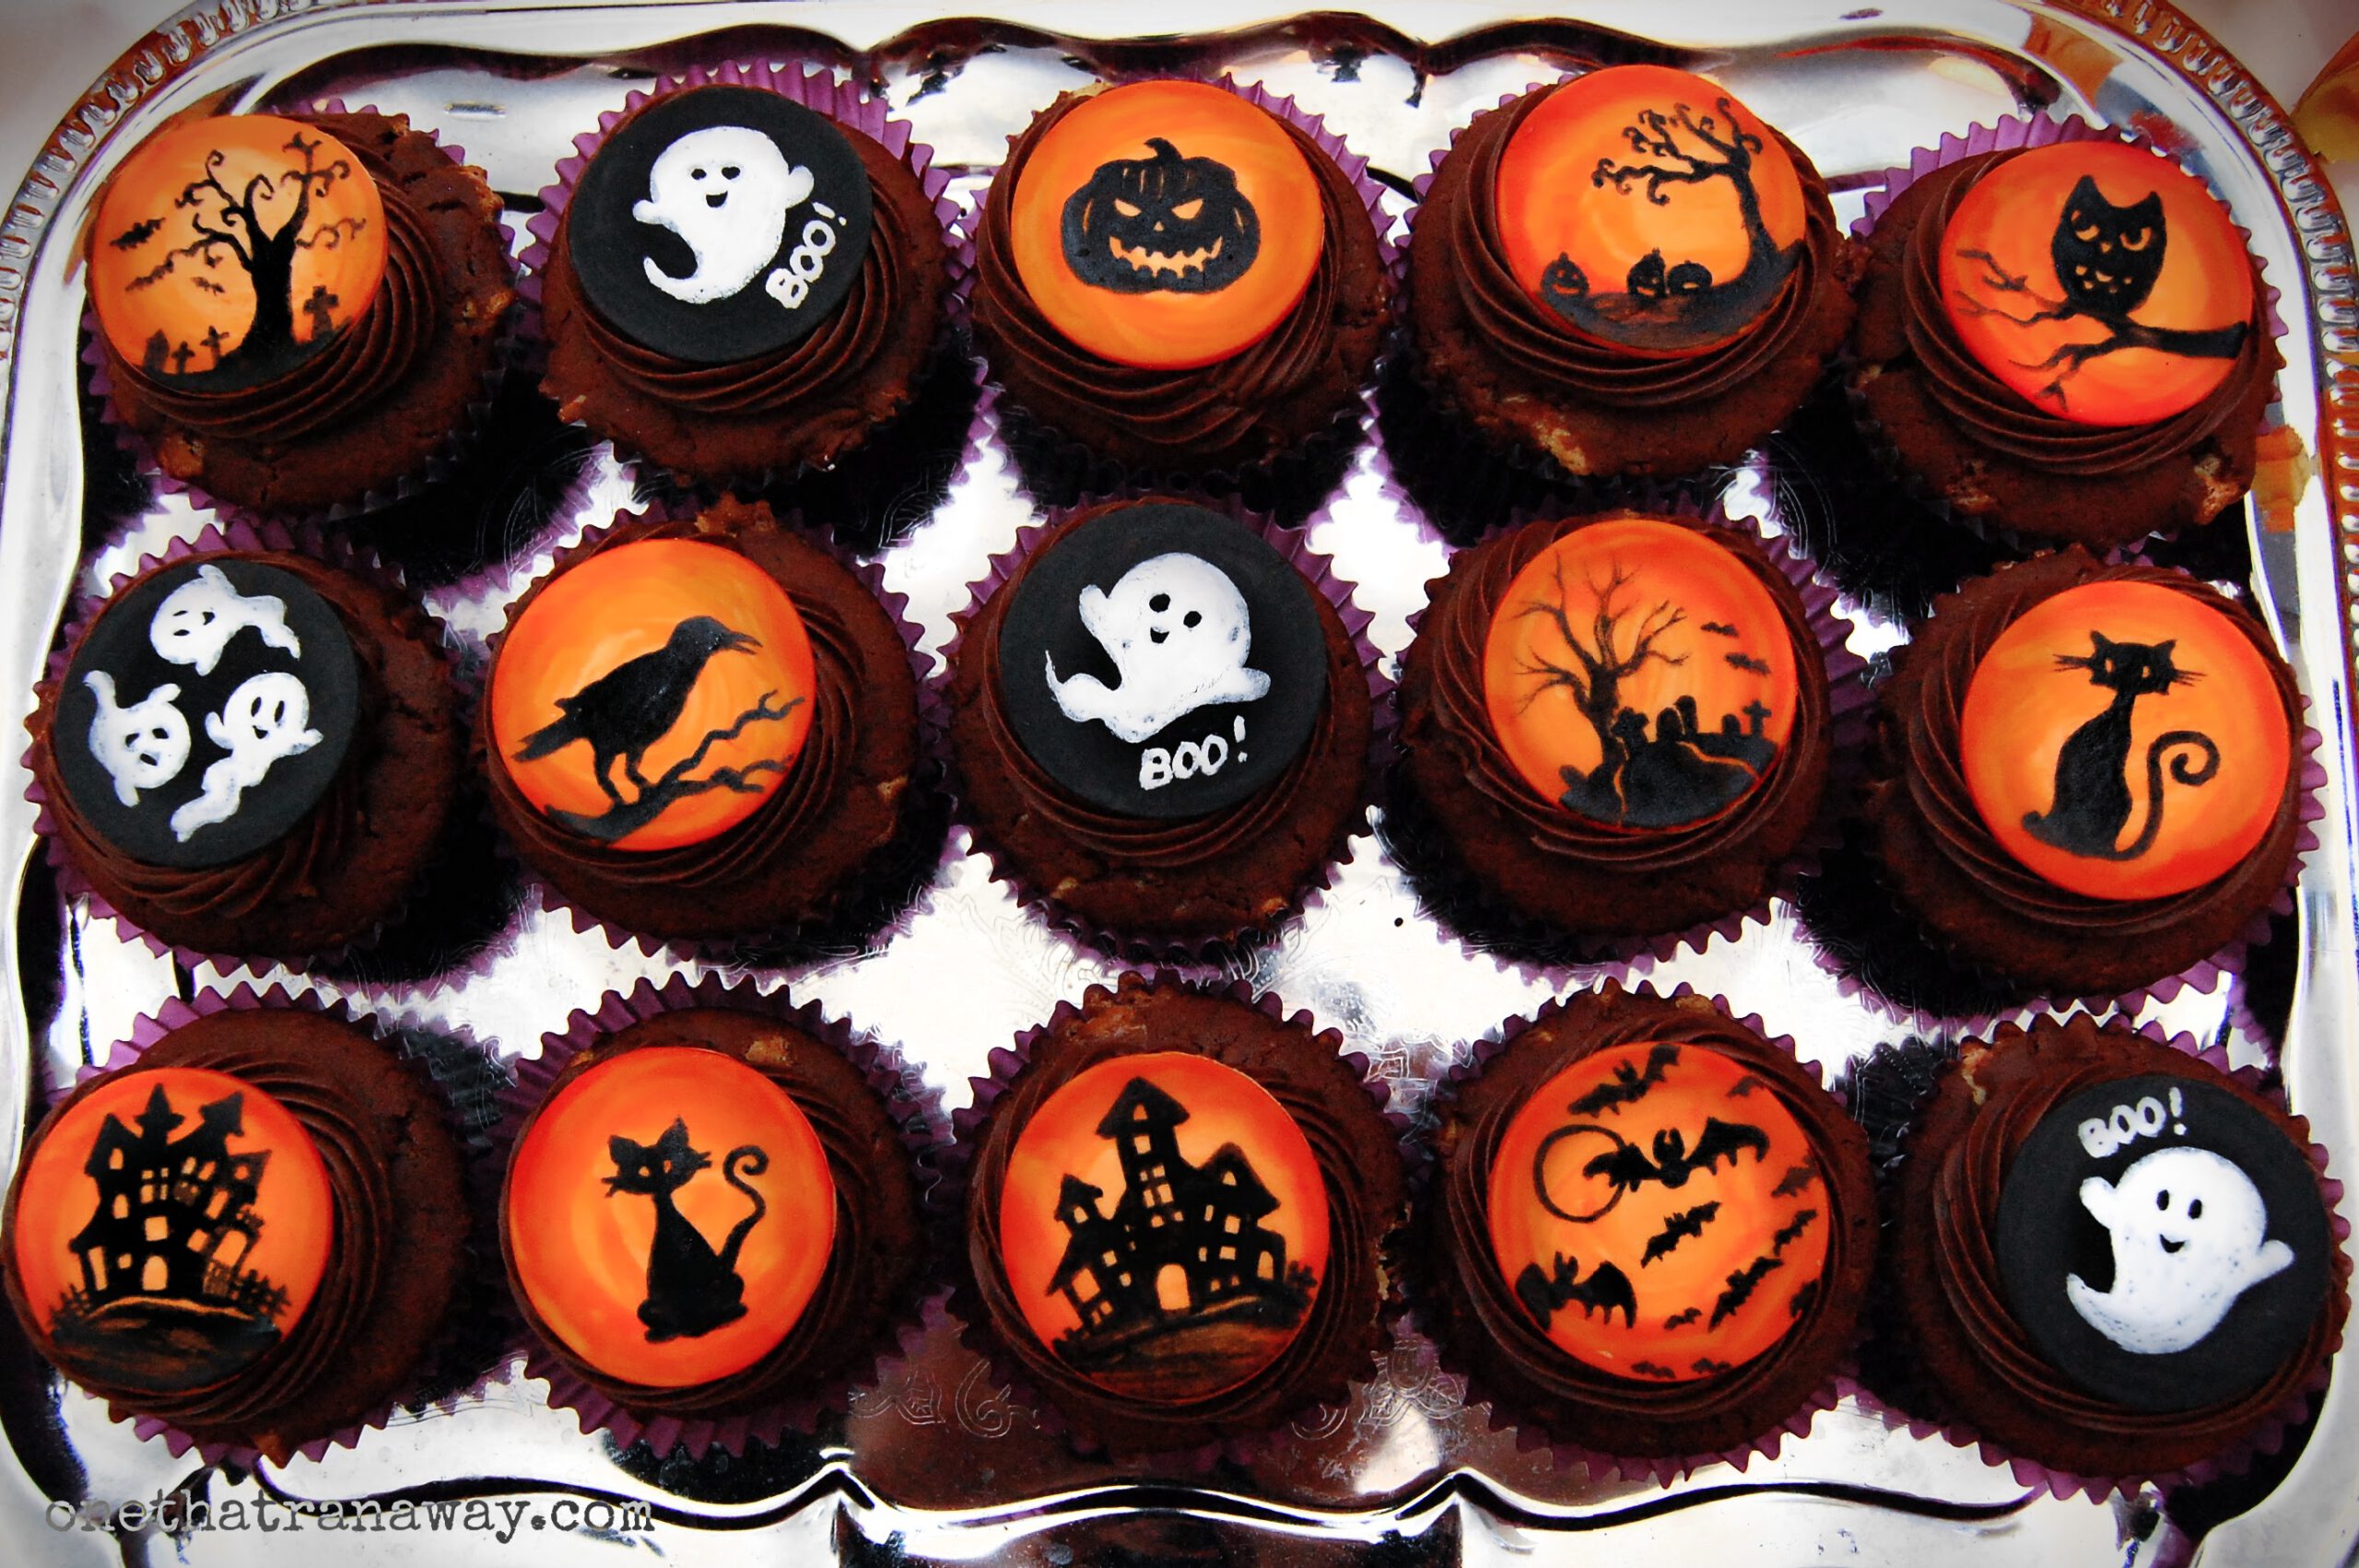
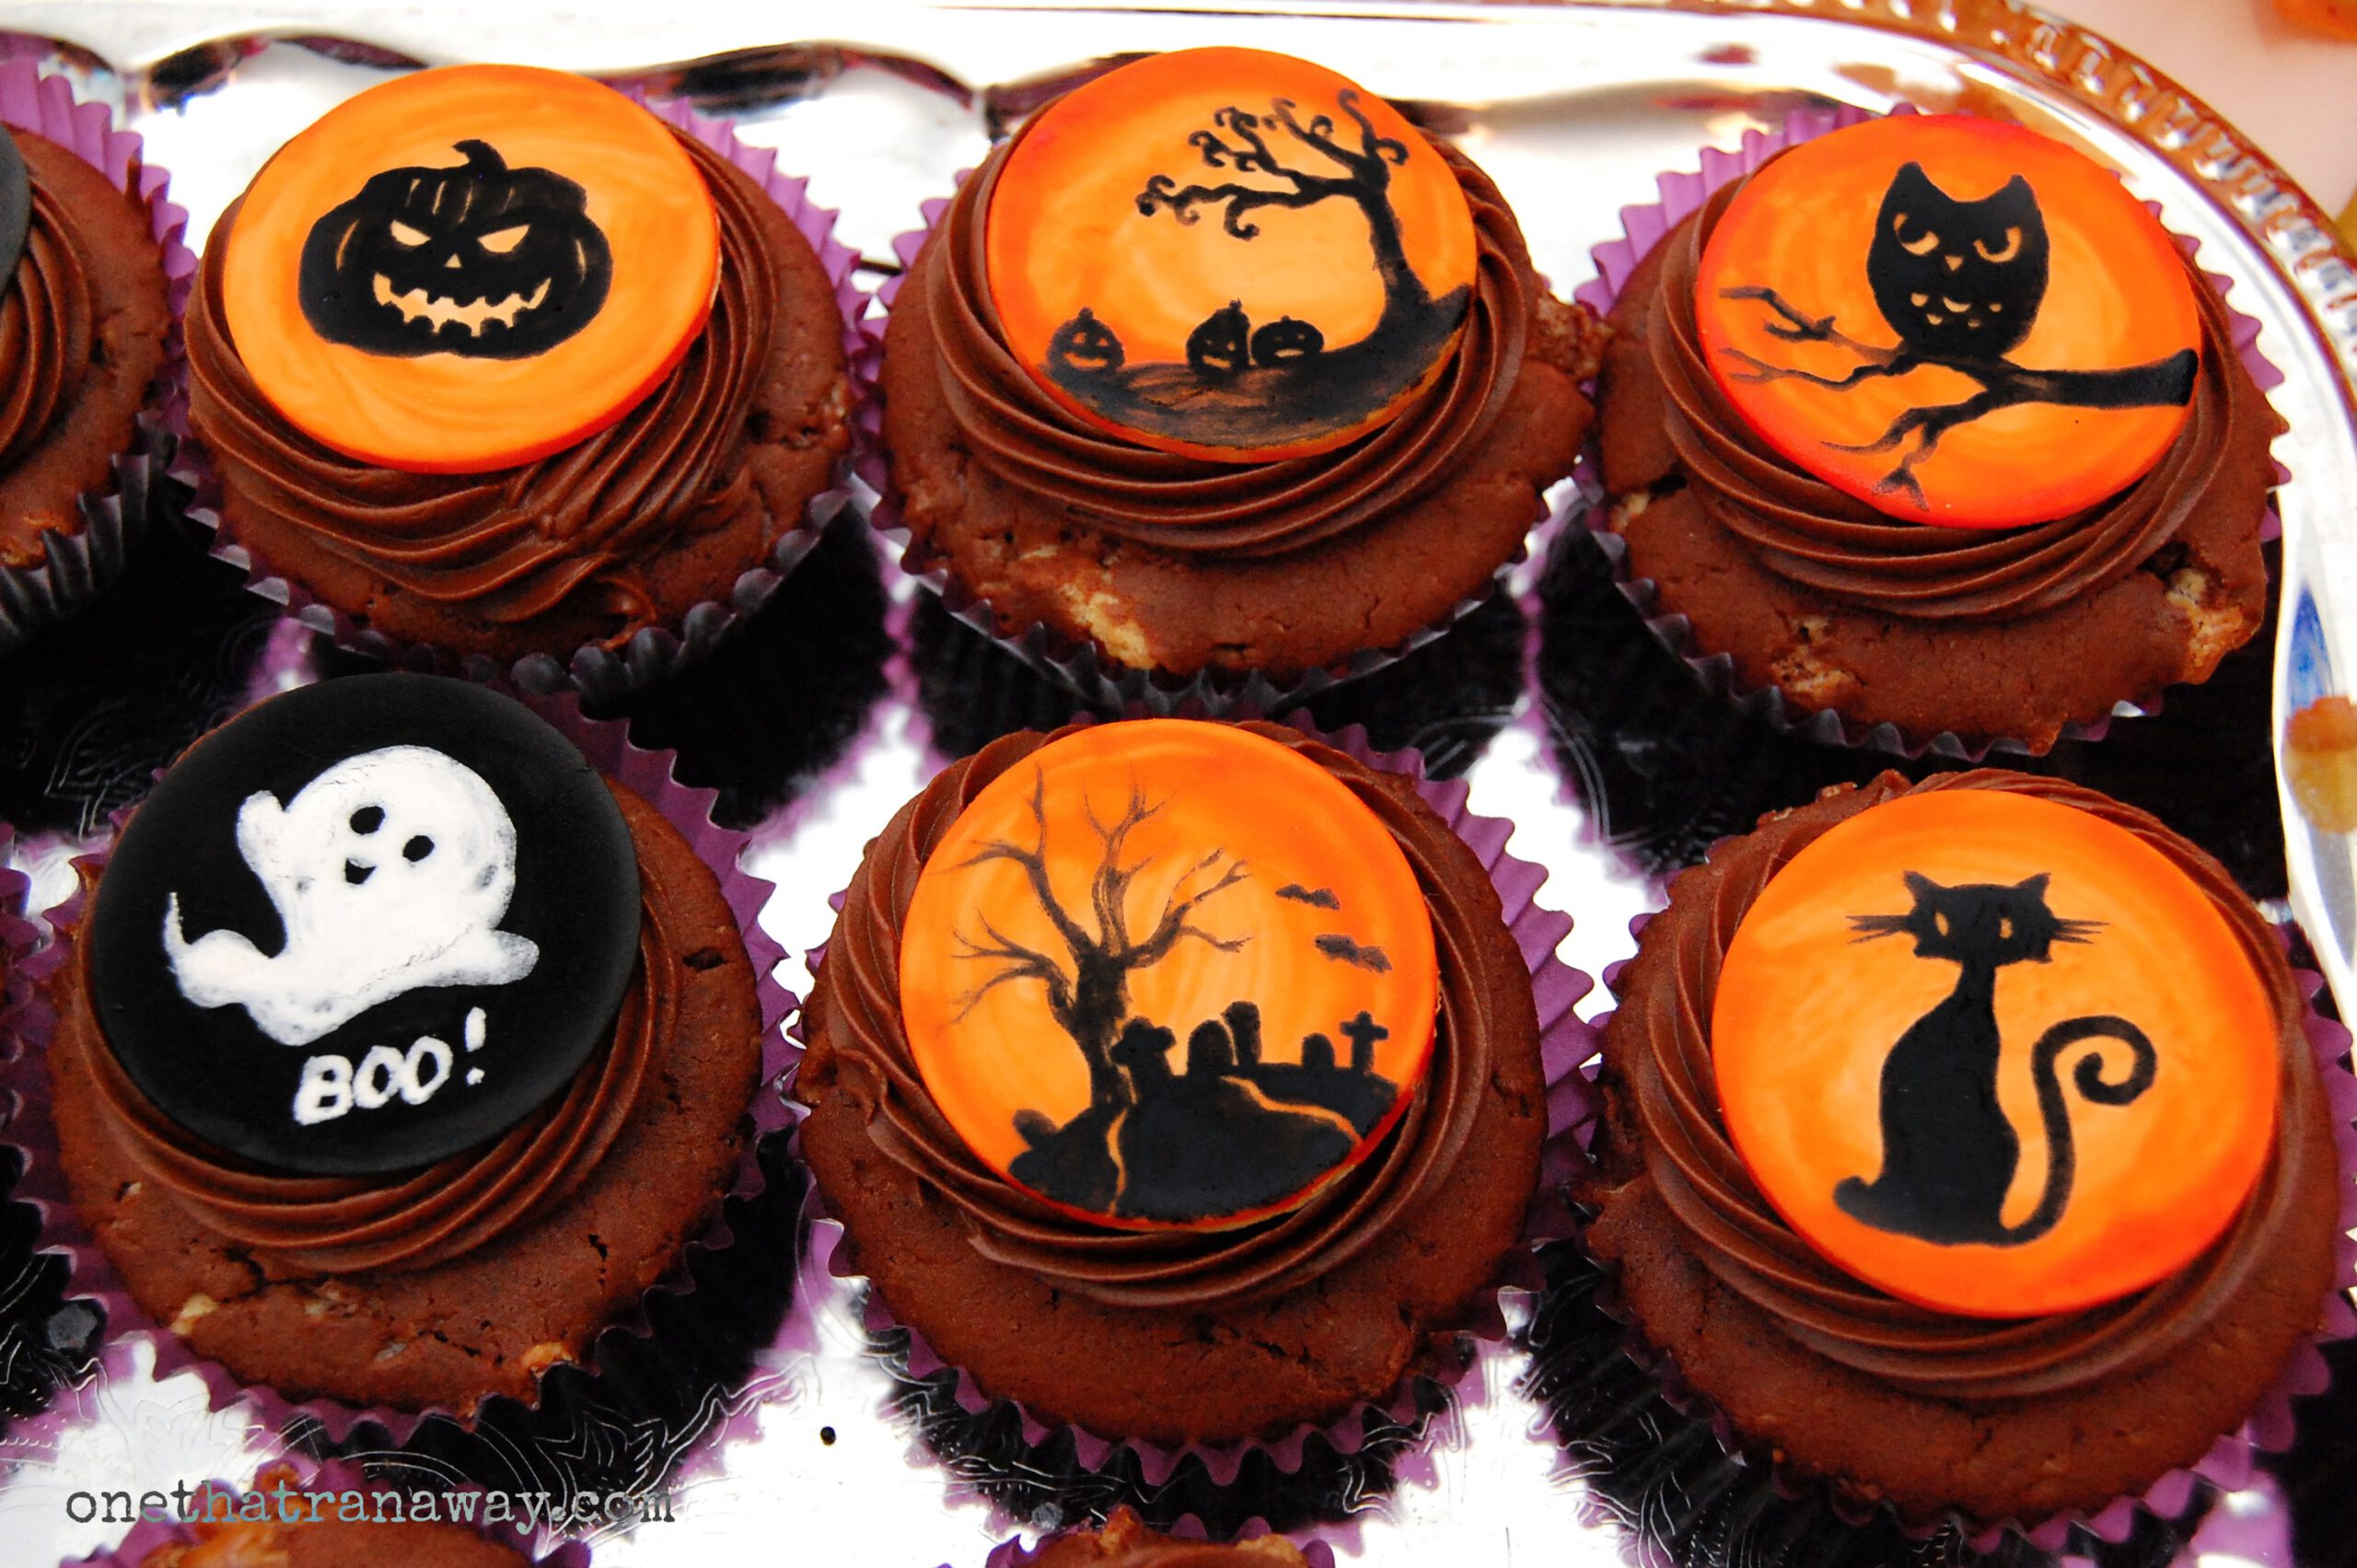
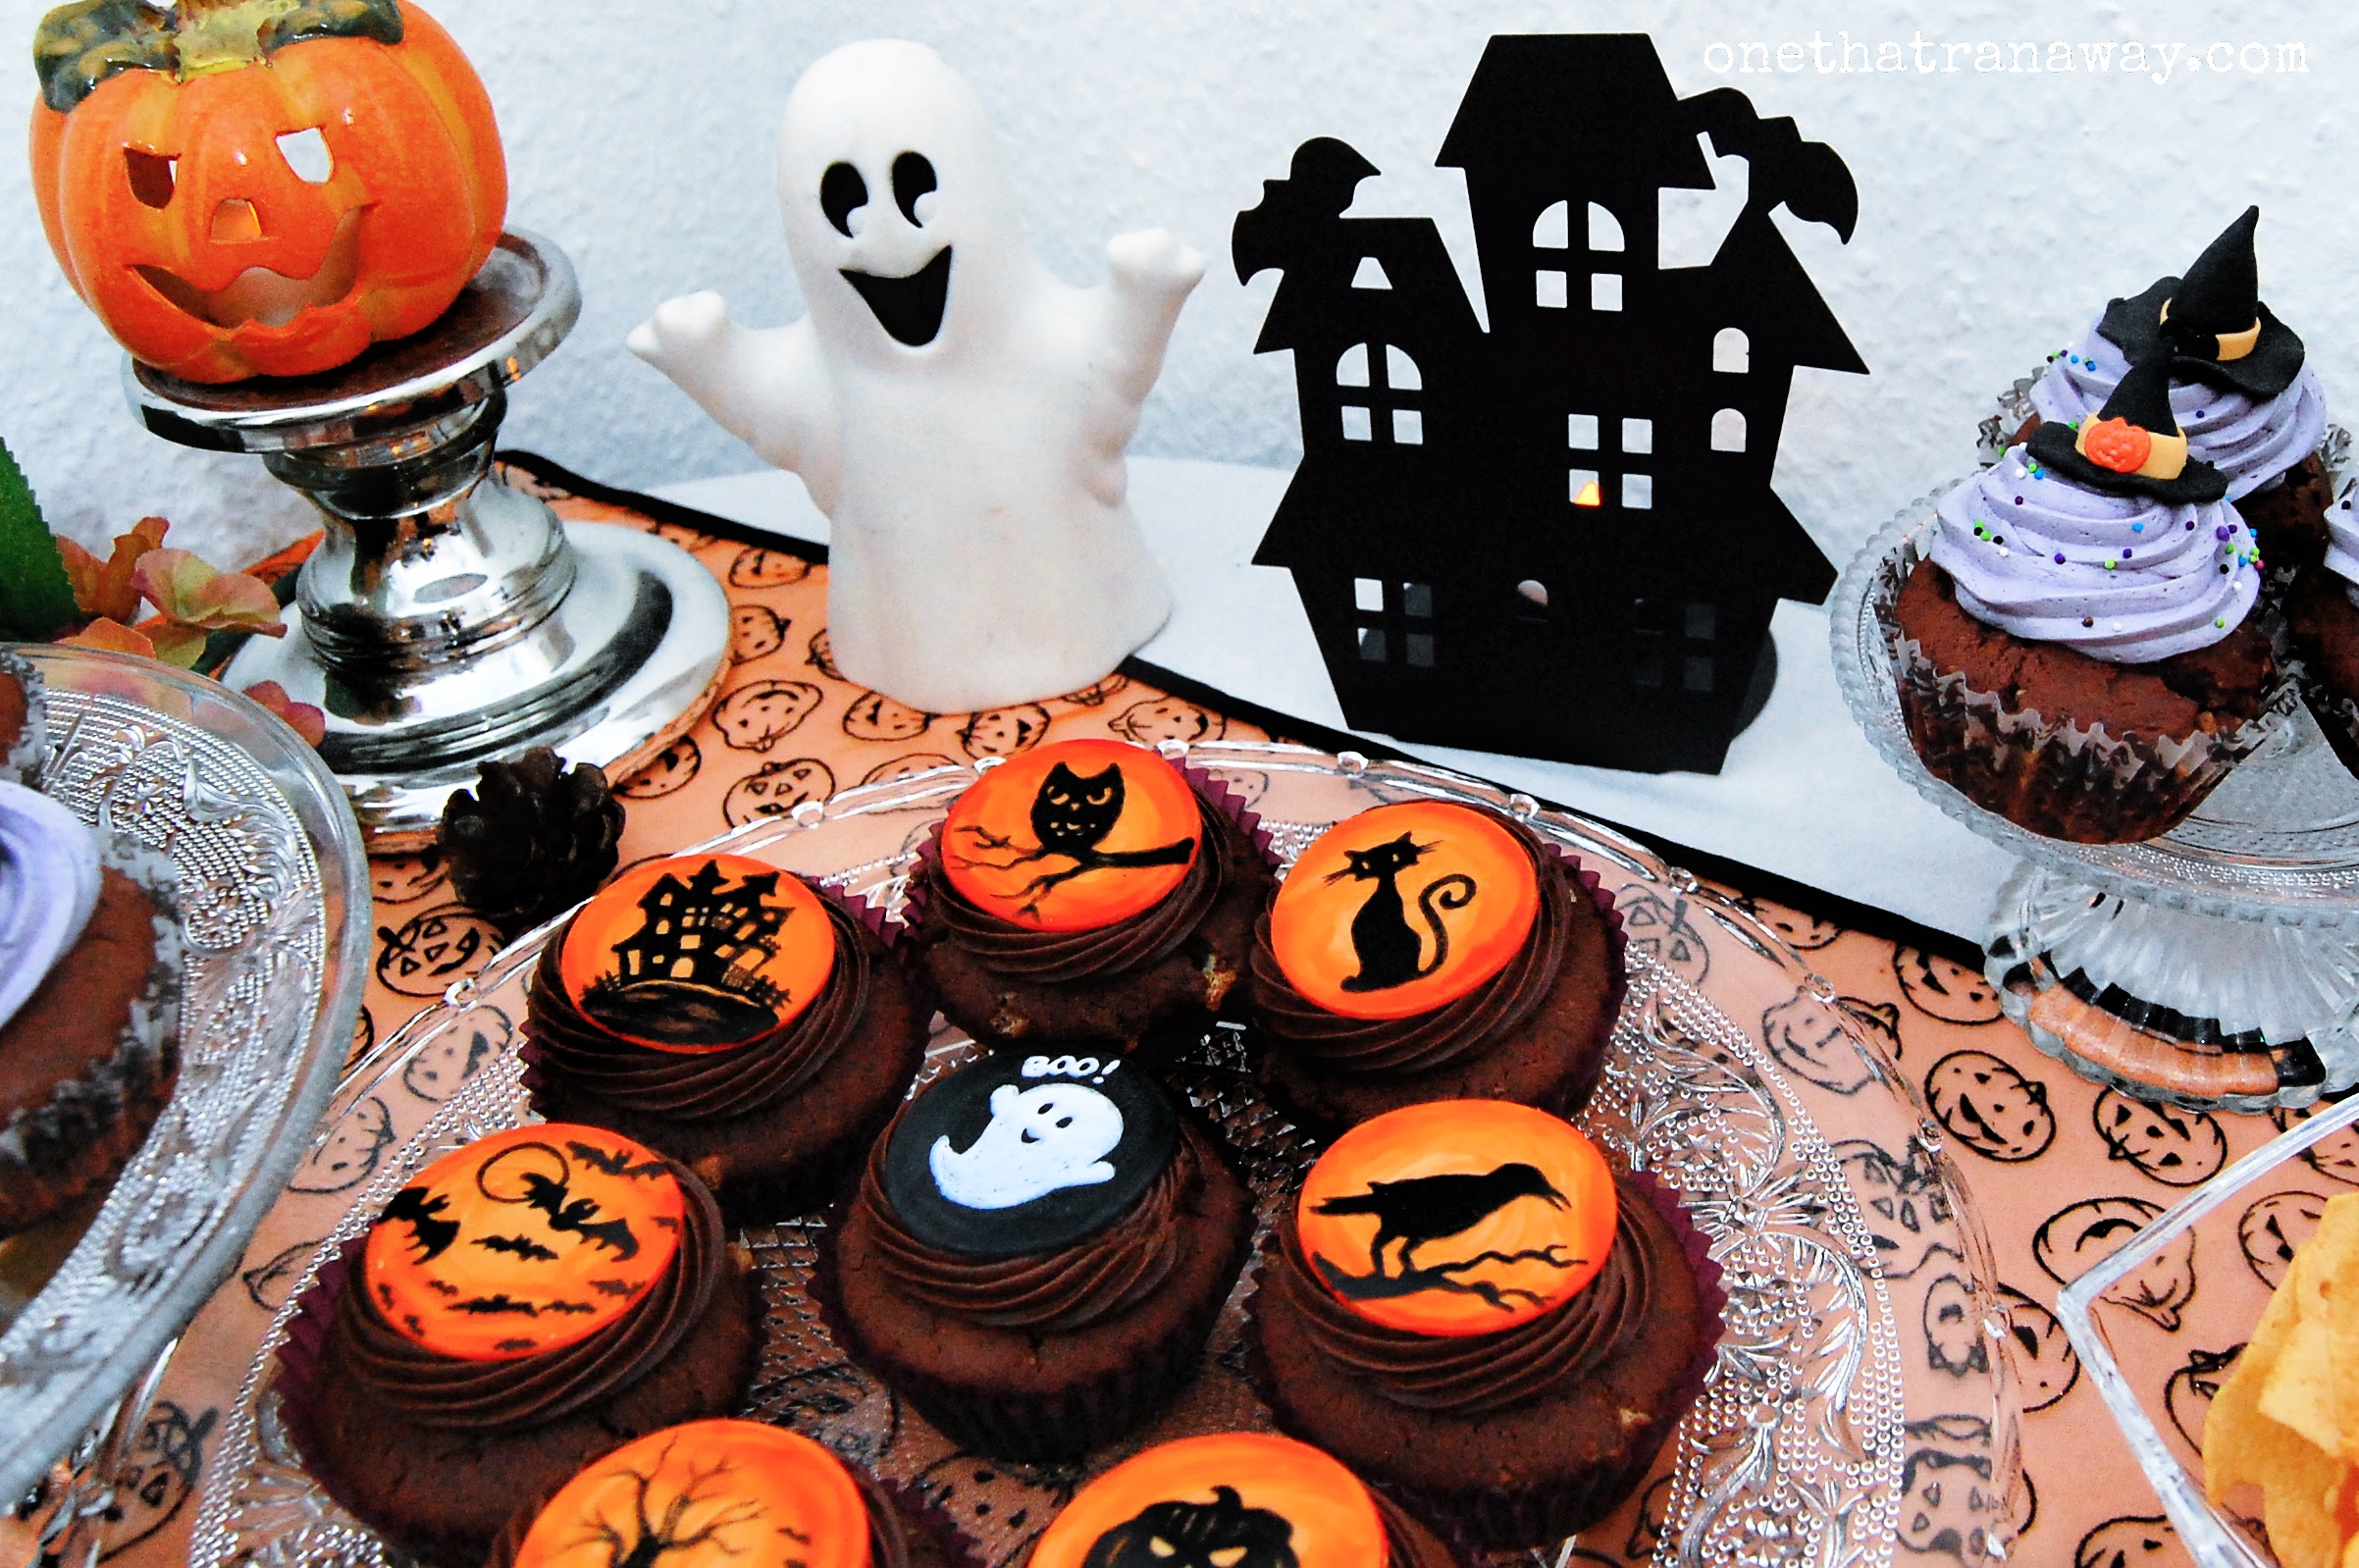
Today’s silhouette cupcake toppers are quite the showstopper on every Halloween party buffet, but they are easy to make and only require a few supplies and ingredients. By choosing different silhouettes, you can create small pieces of edible art to stun your guests. On top of that, you can adjust them easily to match almost any party theme. Depending on which silhouettes you choose for your designs, you can make them playful, scary or whimsical. In the past, I have not only made them for our “Classic Horror Novels” themed party, but also for a “Ghosts & Demons” party a few years ago. There is no theme you cannot use silhouette cupcake toppers for.
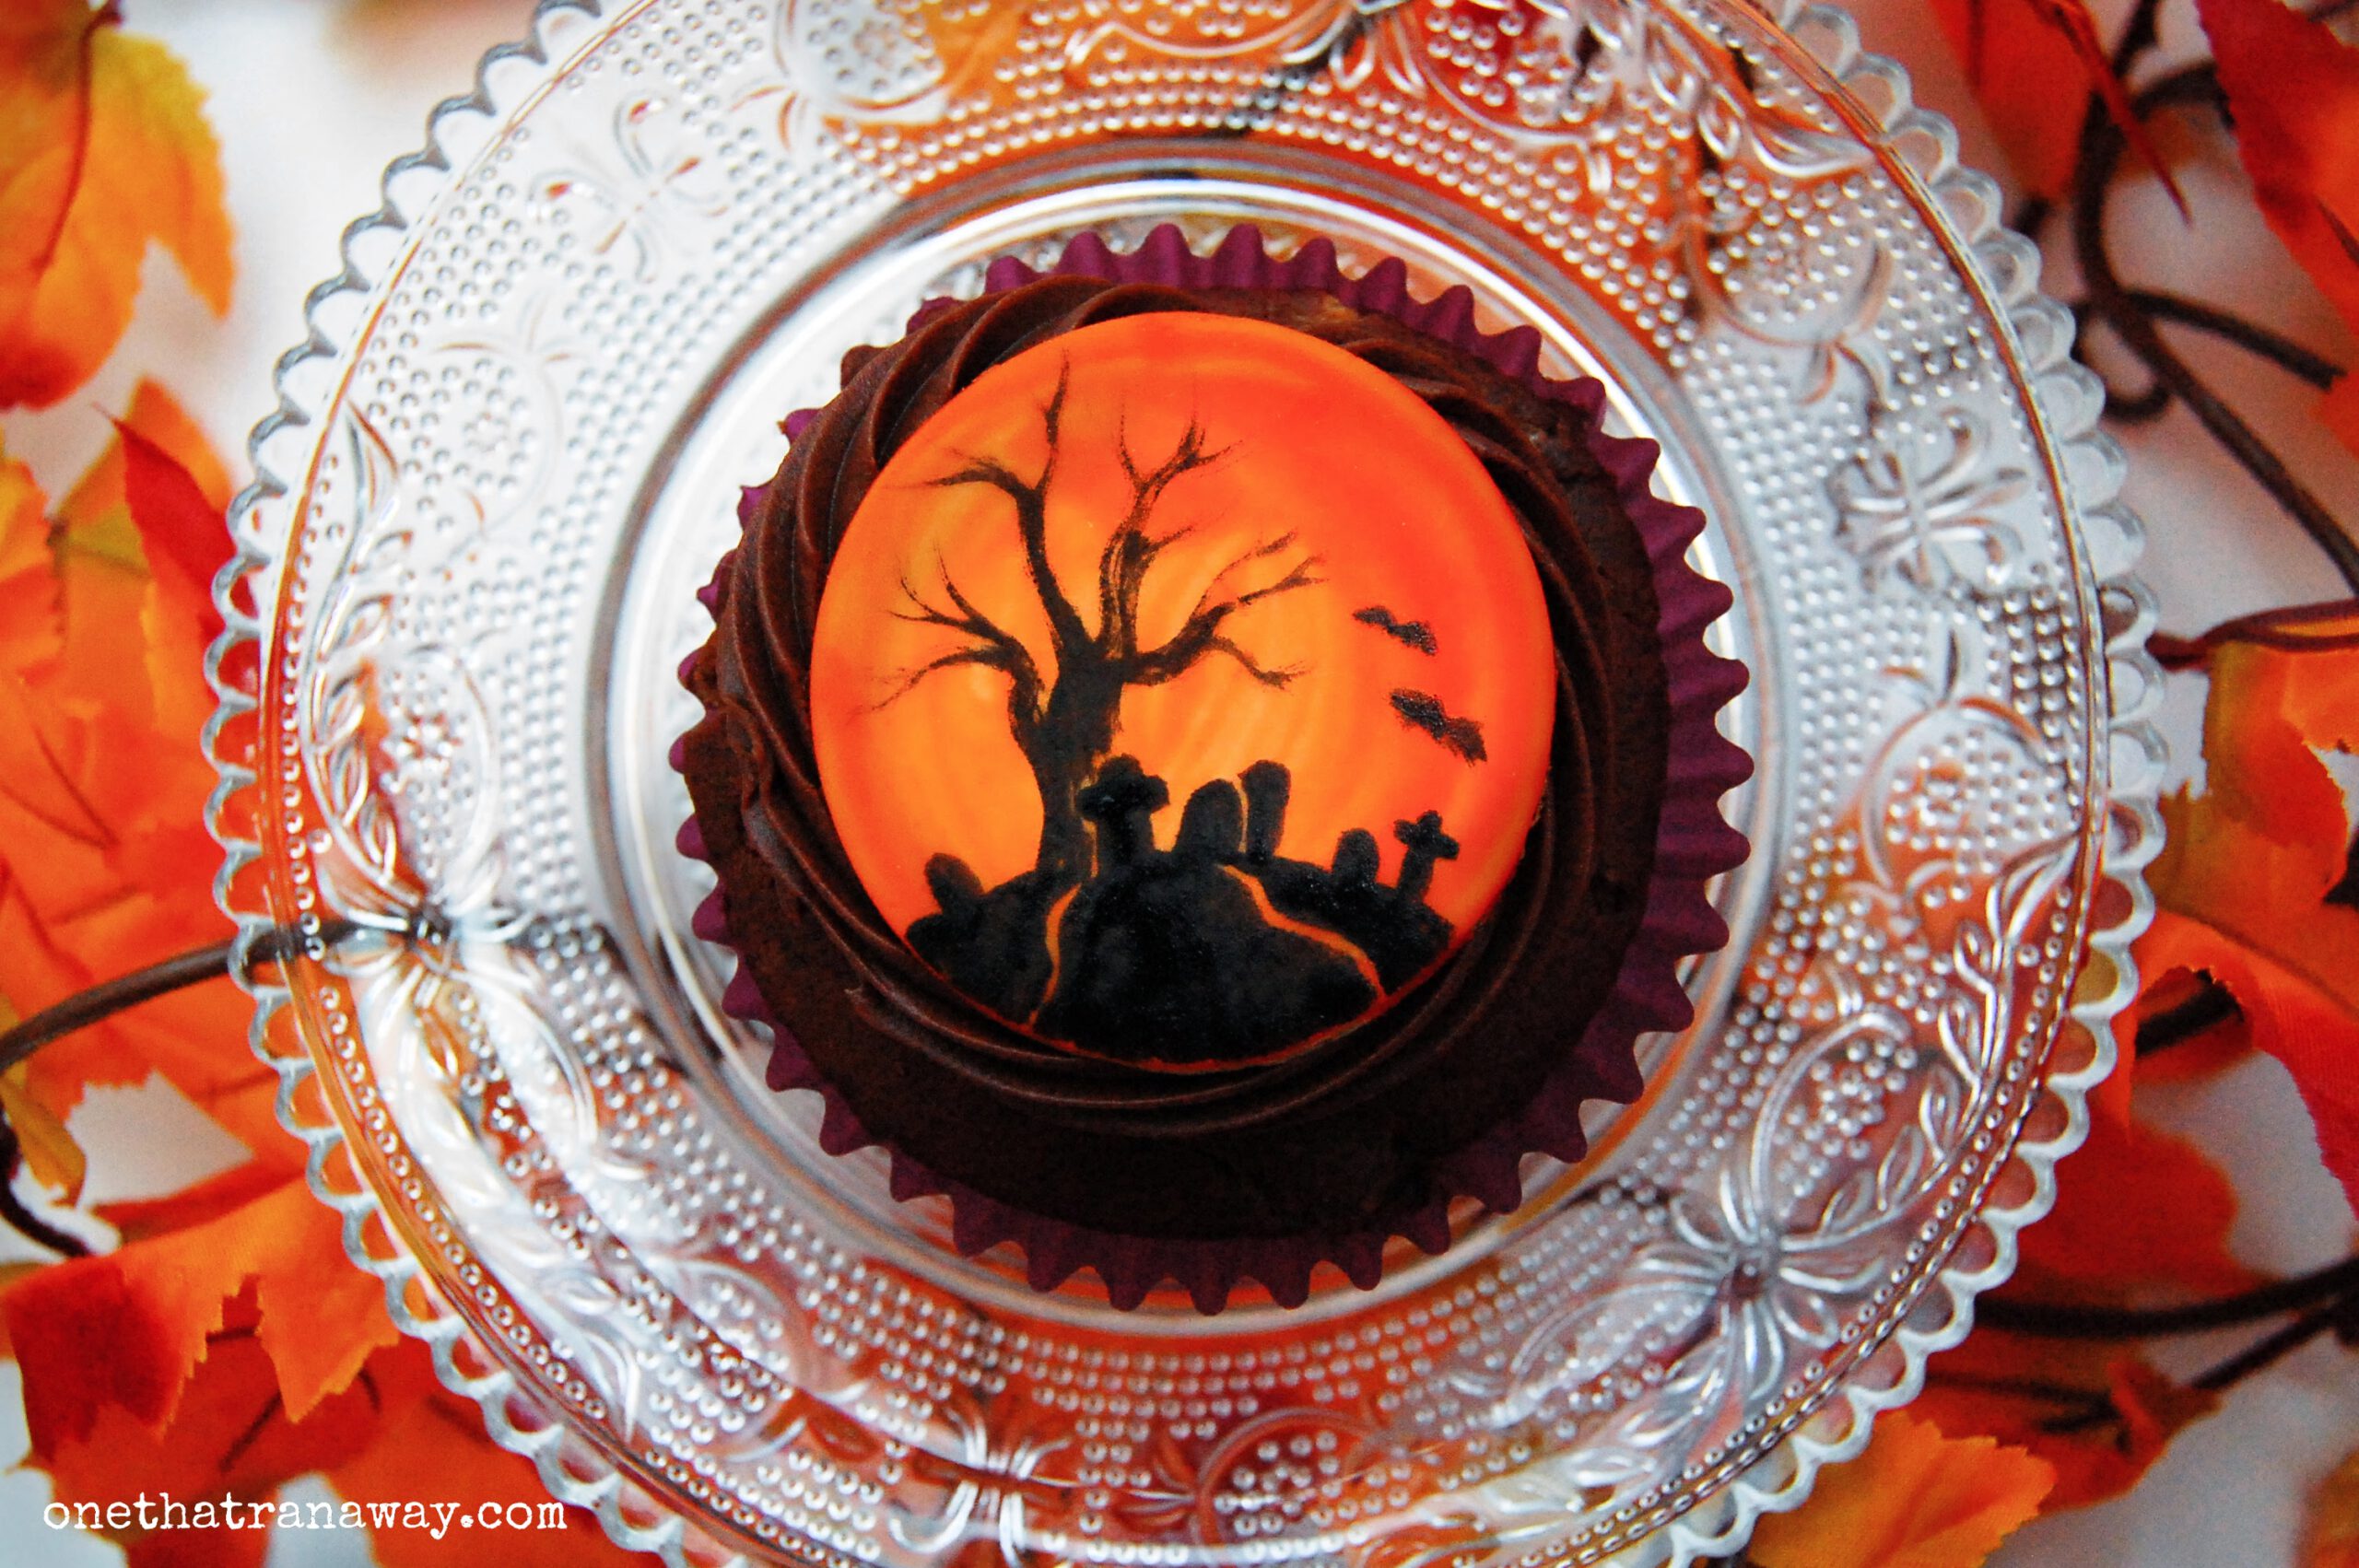
the transfer of the silhouettes
If you don’t feel inspired and don’t know which images you wish to use for your silhouette cupcake toppers, an internet search is your best friend. Just use a search engine of your choice and look for “Halloween silhouettes” and you’ll get a plethora of different and fun designs. Pumpkins, ravens, bats, graveyards or haunted houses – you will have a hard time choosing what you like best.
The best thing is: you can get really creative here, and as mentioned before, you can adapt them for almost every theme you could imagine.
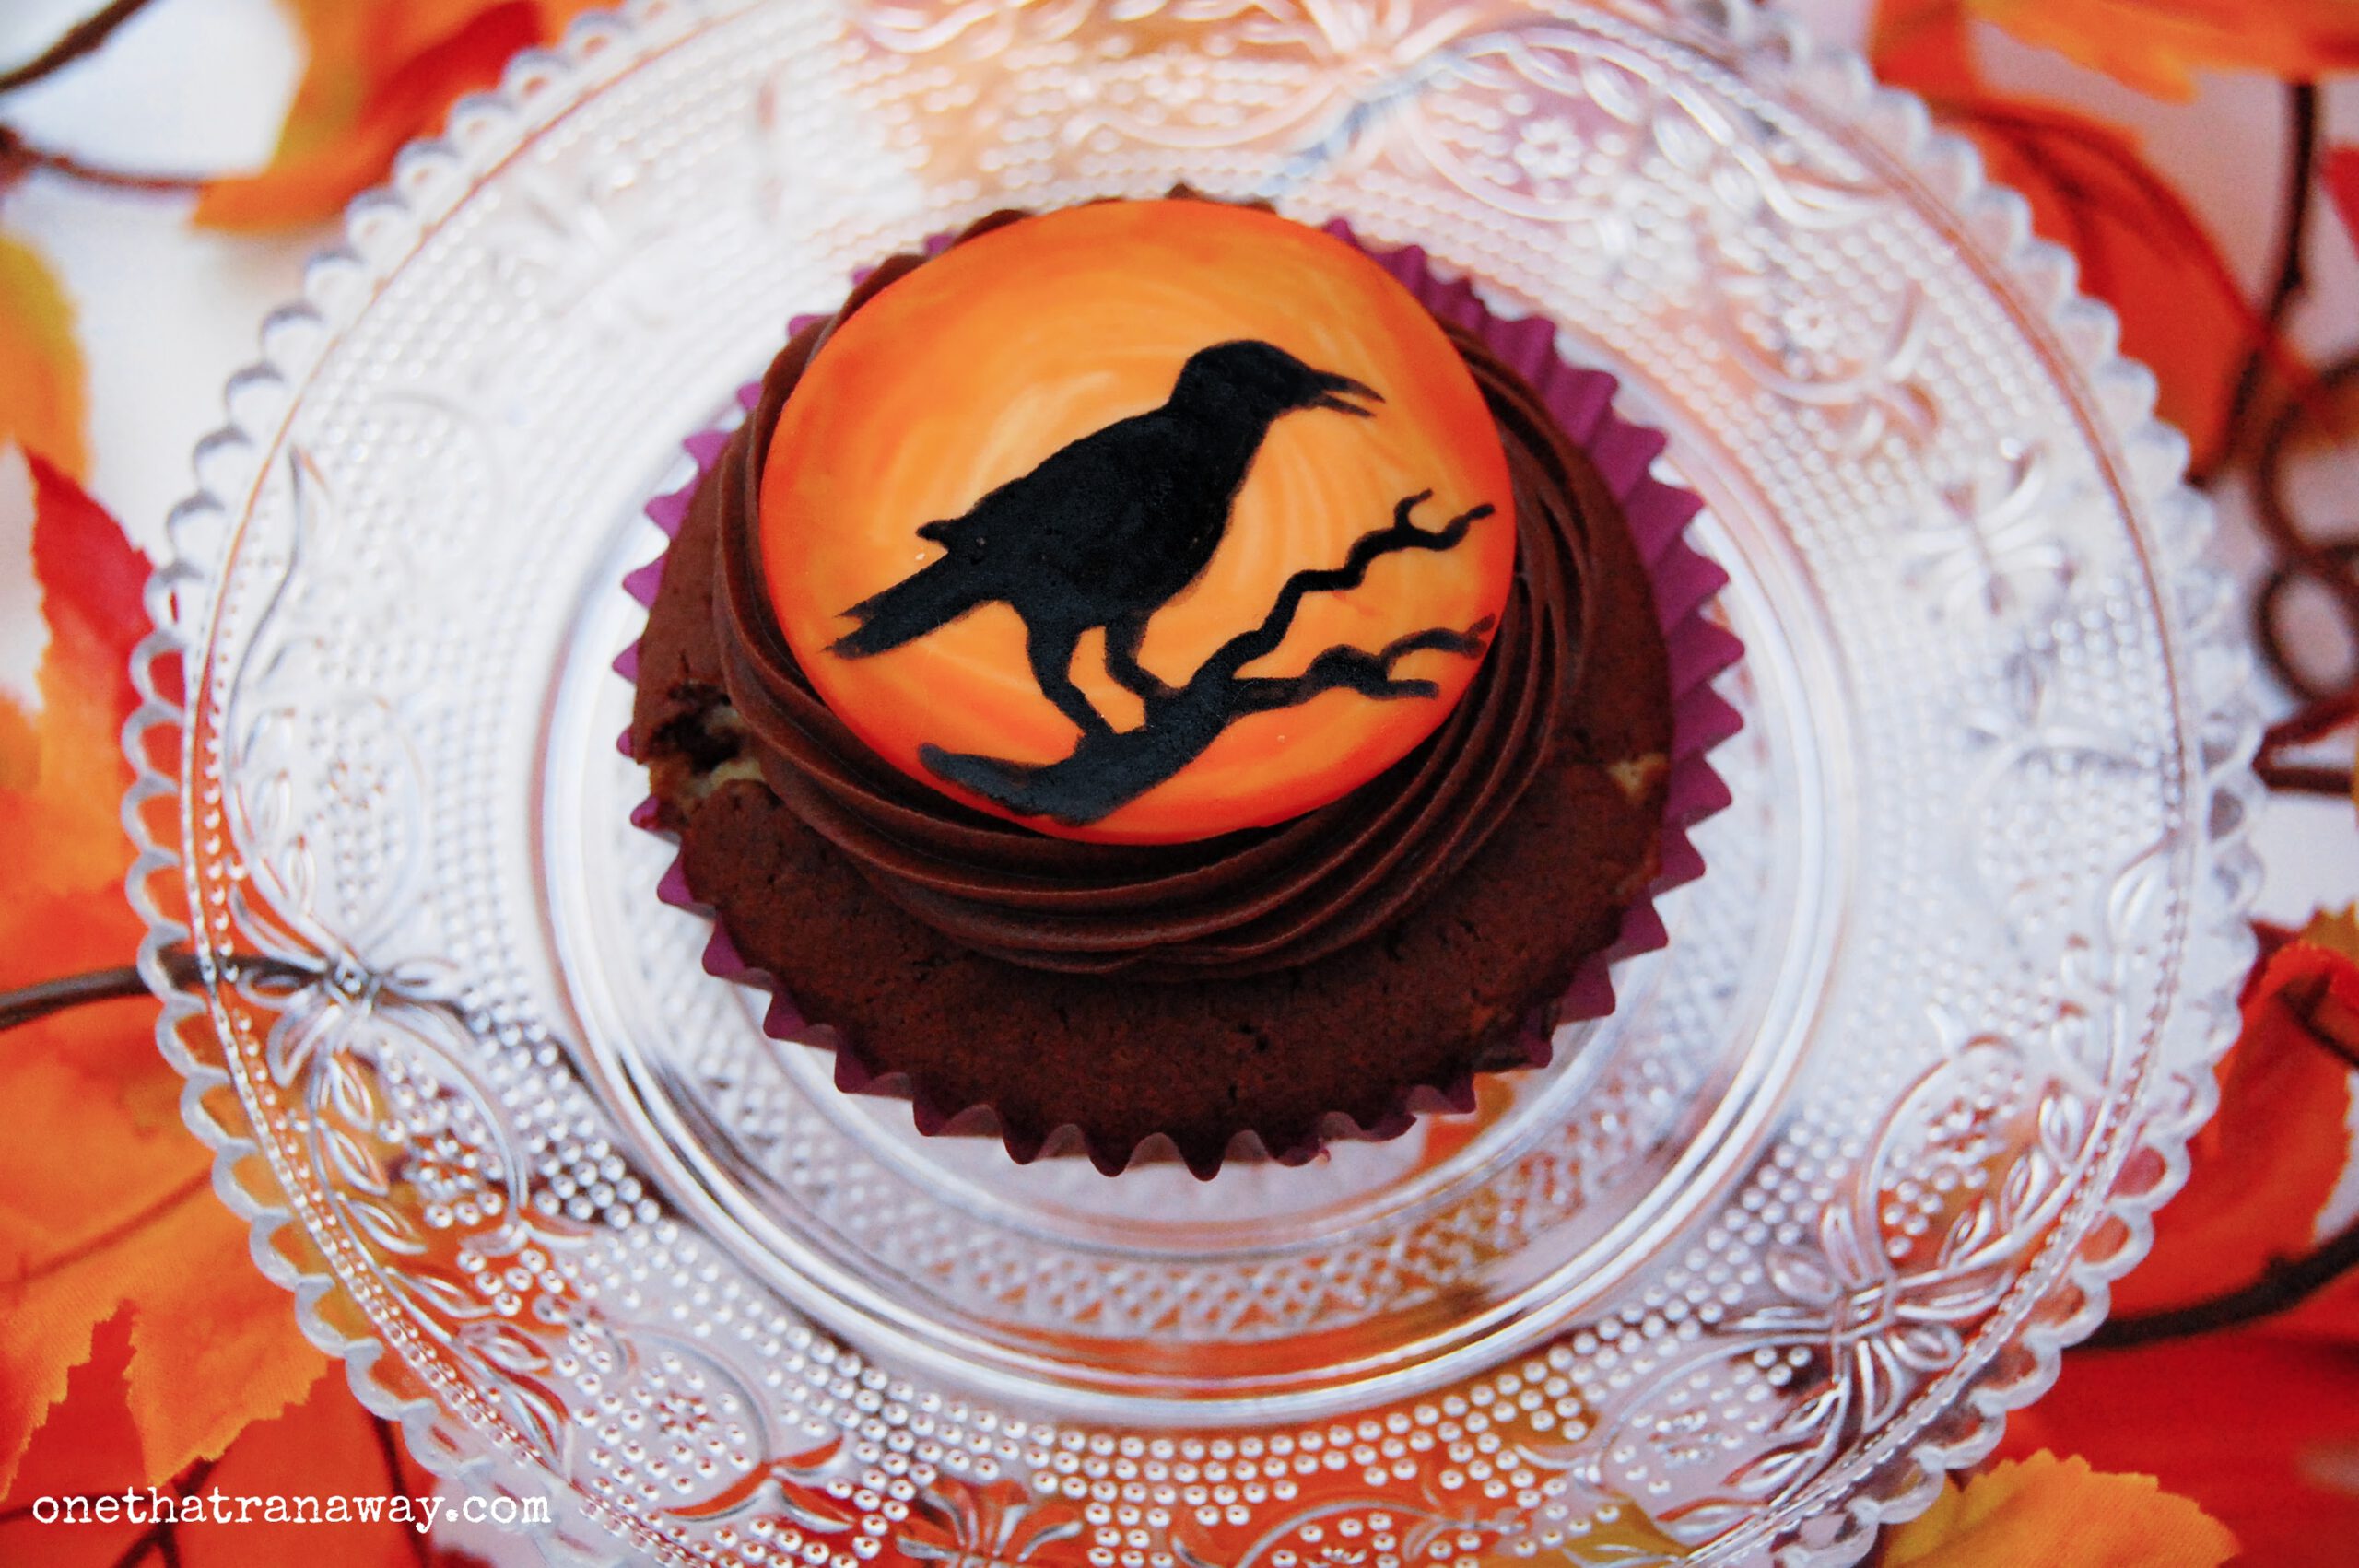
For our “Classic Horror Novels” I chose silhouettes of haunted mansions, ravens, bats, eerie trees and Frankenstein’s monster’s profile. The possibilities are endless here.
I like to paint my silhouettes free hand, but if you feel anxious about doing the designs freely, there are a few techniques that can help you transfer your images onto the fondant to paint beautiful silhouettes. For example, you can use the pin-prick-technique. For this, you print out your desired image, put it on top of your fondant and use a pin or needle to prick through the paper into the fondant to mark the outlines on the fondant. It’s a little time-consuming, but tried and true. The other way to go would be to use a projector to project the silhouette you want onto your fondant. Both will work.
That being said, you can always make two or three additional toppers to try free-hand-designs. It’s so much fun to get creative, it’s easier than you might think and you will get better as you go. As everything in life: it takes time, patience and practice. And if you don’t like what you did, just throw it out or have a good laugh. I always make a few toppers extra, so if something goes wrong, I won’t have to stress about it.
It is important to roll and cut your fondant toppers a few days before you intend to paint it. By doing so, you allow your fondant to harden properly. Any shape works. You can use square, round or elaborately shaped cookie cutters for your toppers.
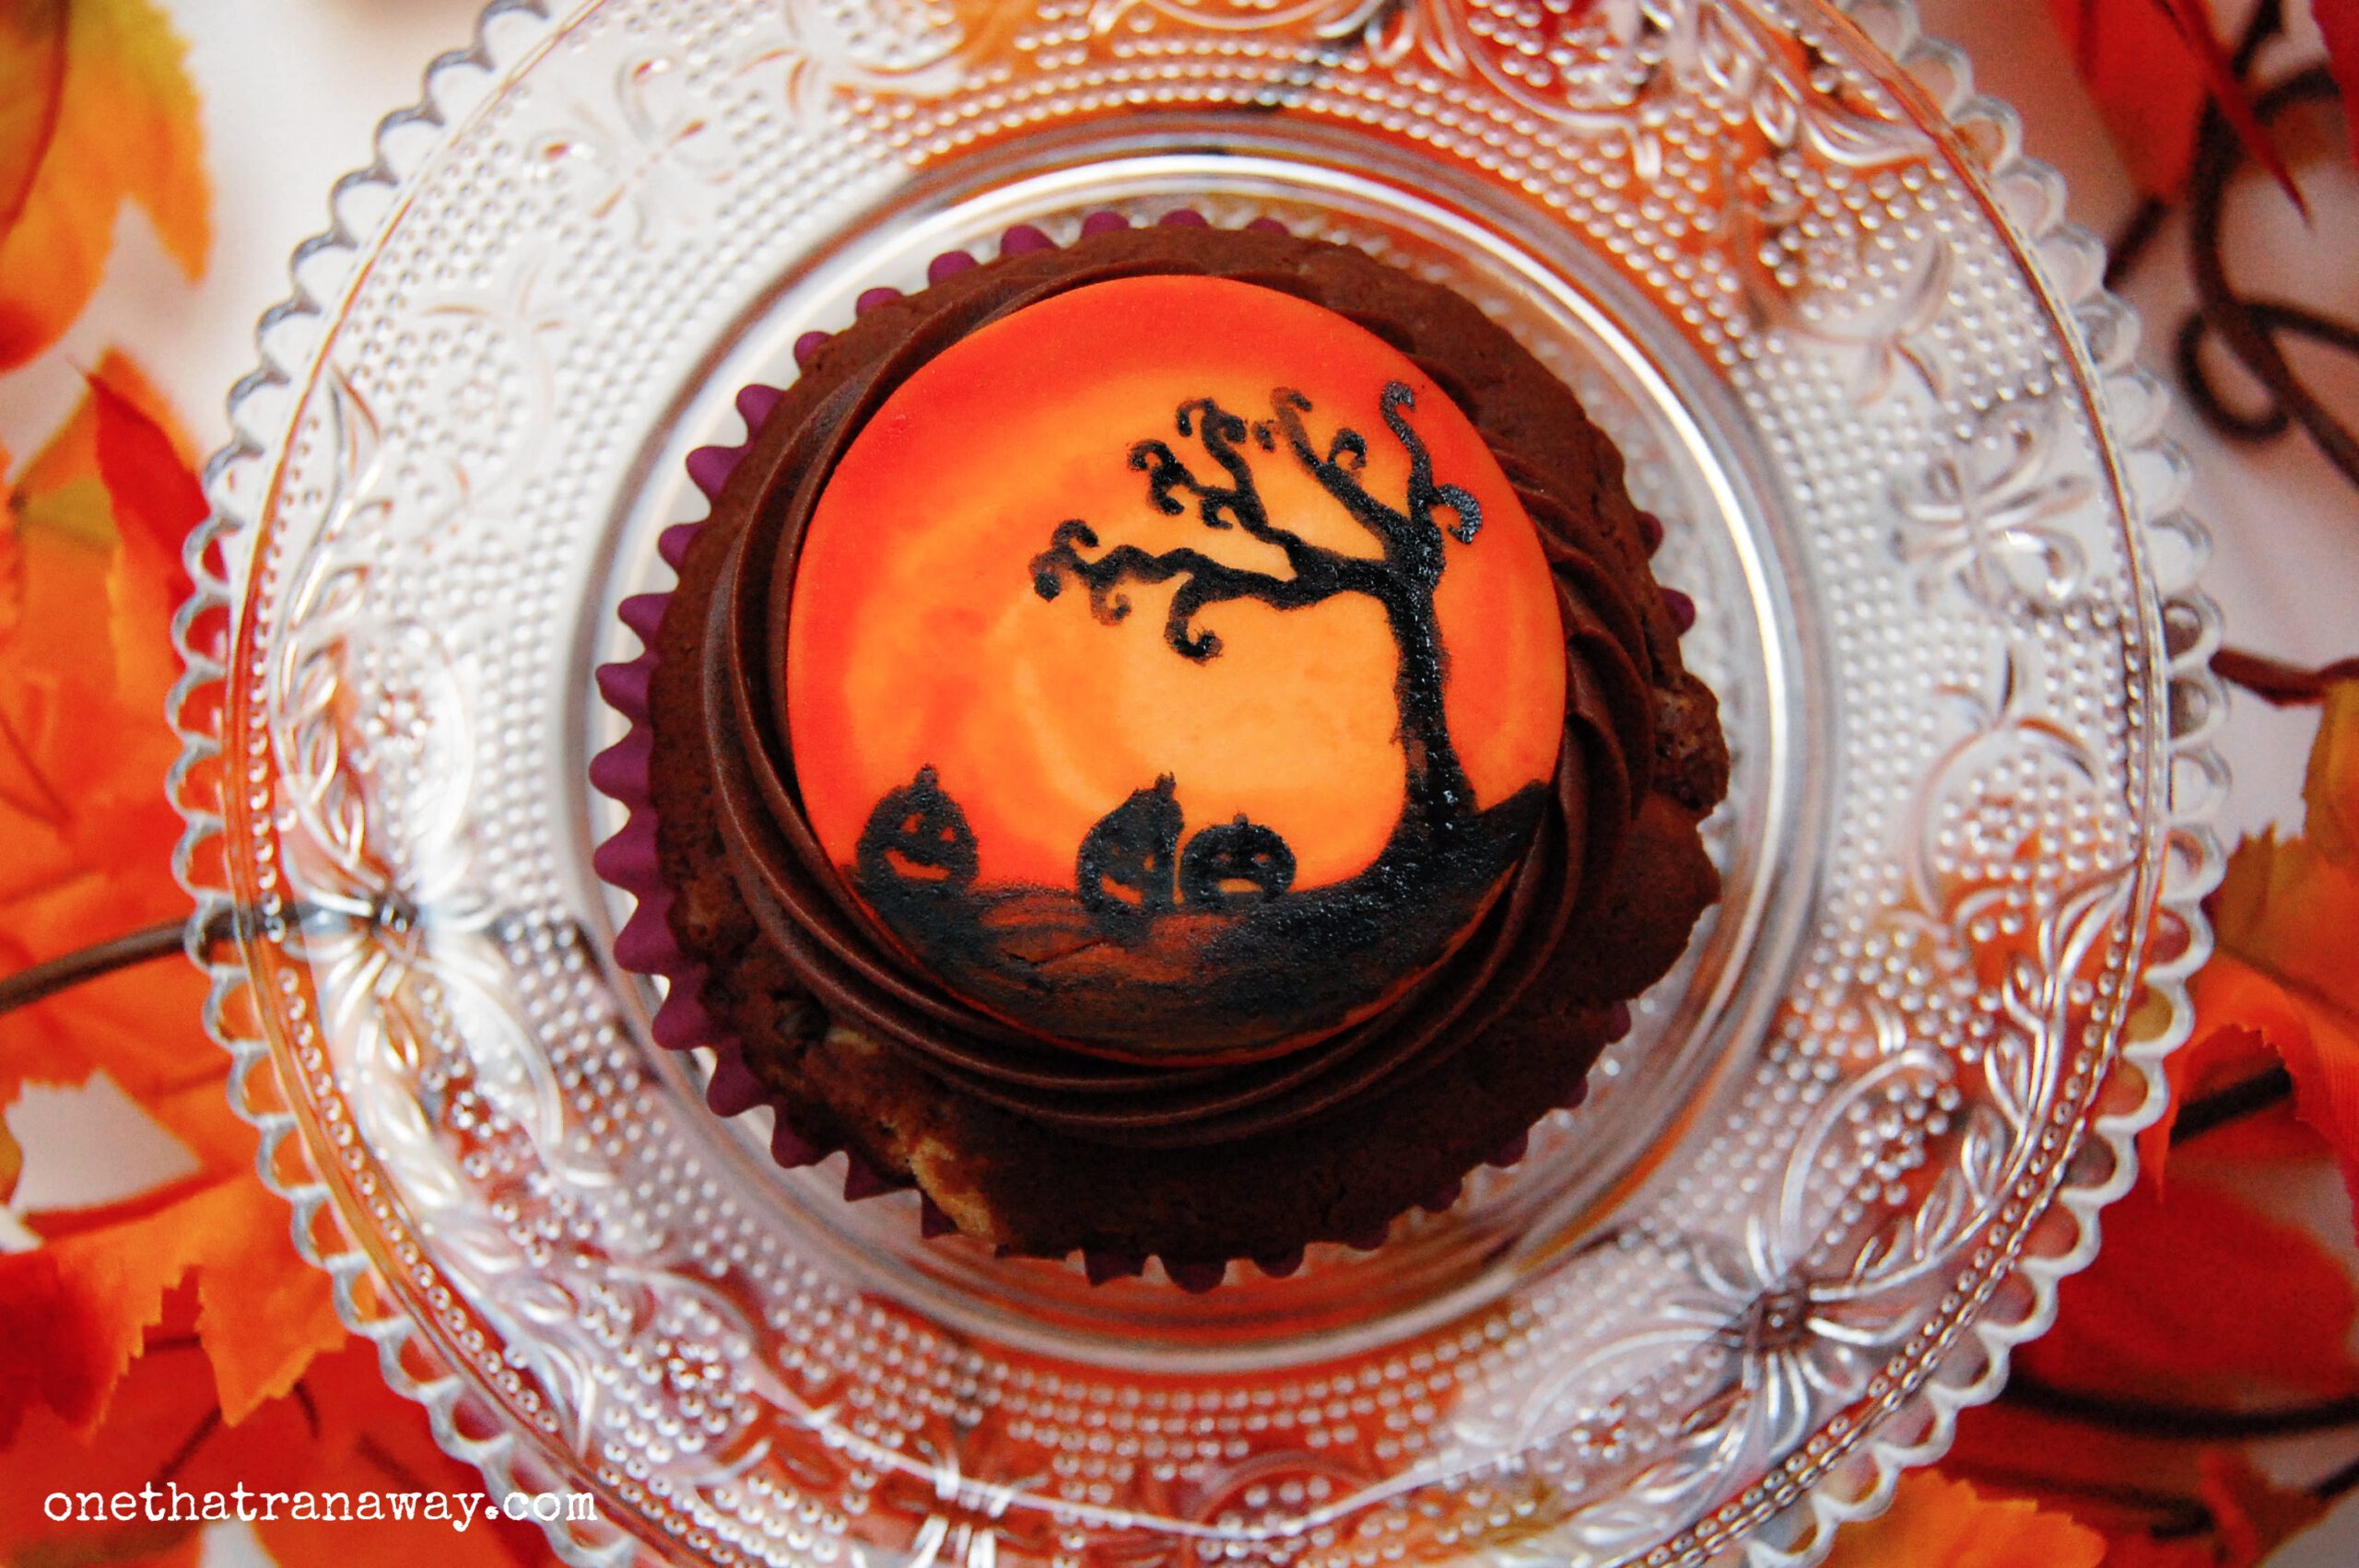
the fondant & paint for silhouette cupcake toppers
I know there are a lot of people out there who really, really hate fondant. I get it. It tastes pretty awful, all things considered. But so does plastic, or fake flowers, and people still use it to decorate their cakes. The trick is: you do not have to eat it, if you don’t want to. You can pull away fondant quite easily from your cake. And in this case, you only have to remove the cupcake topper to get to your delicious cupcake. It’s what I do all the time.
To me, fondant is a beautiful medium to work on and to work with, but I do not care for the taste. Like the plastic figurines or fake flowers, it is a decorative element that I can model into any shape. But I don’t have to eat it if I don’t like it.
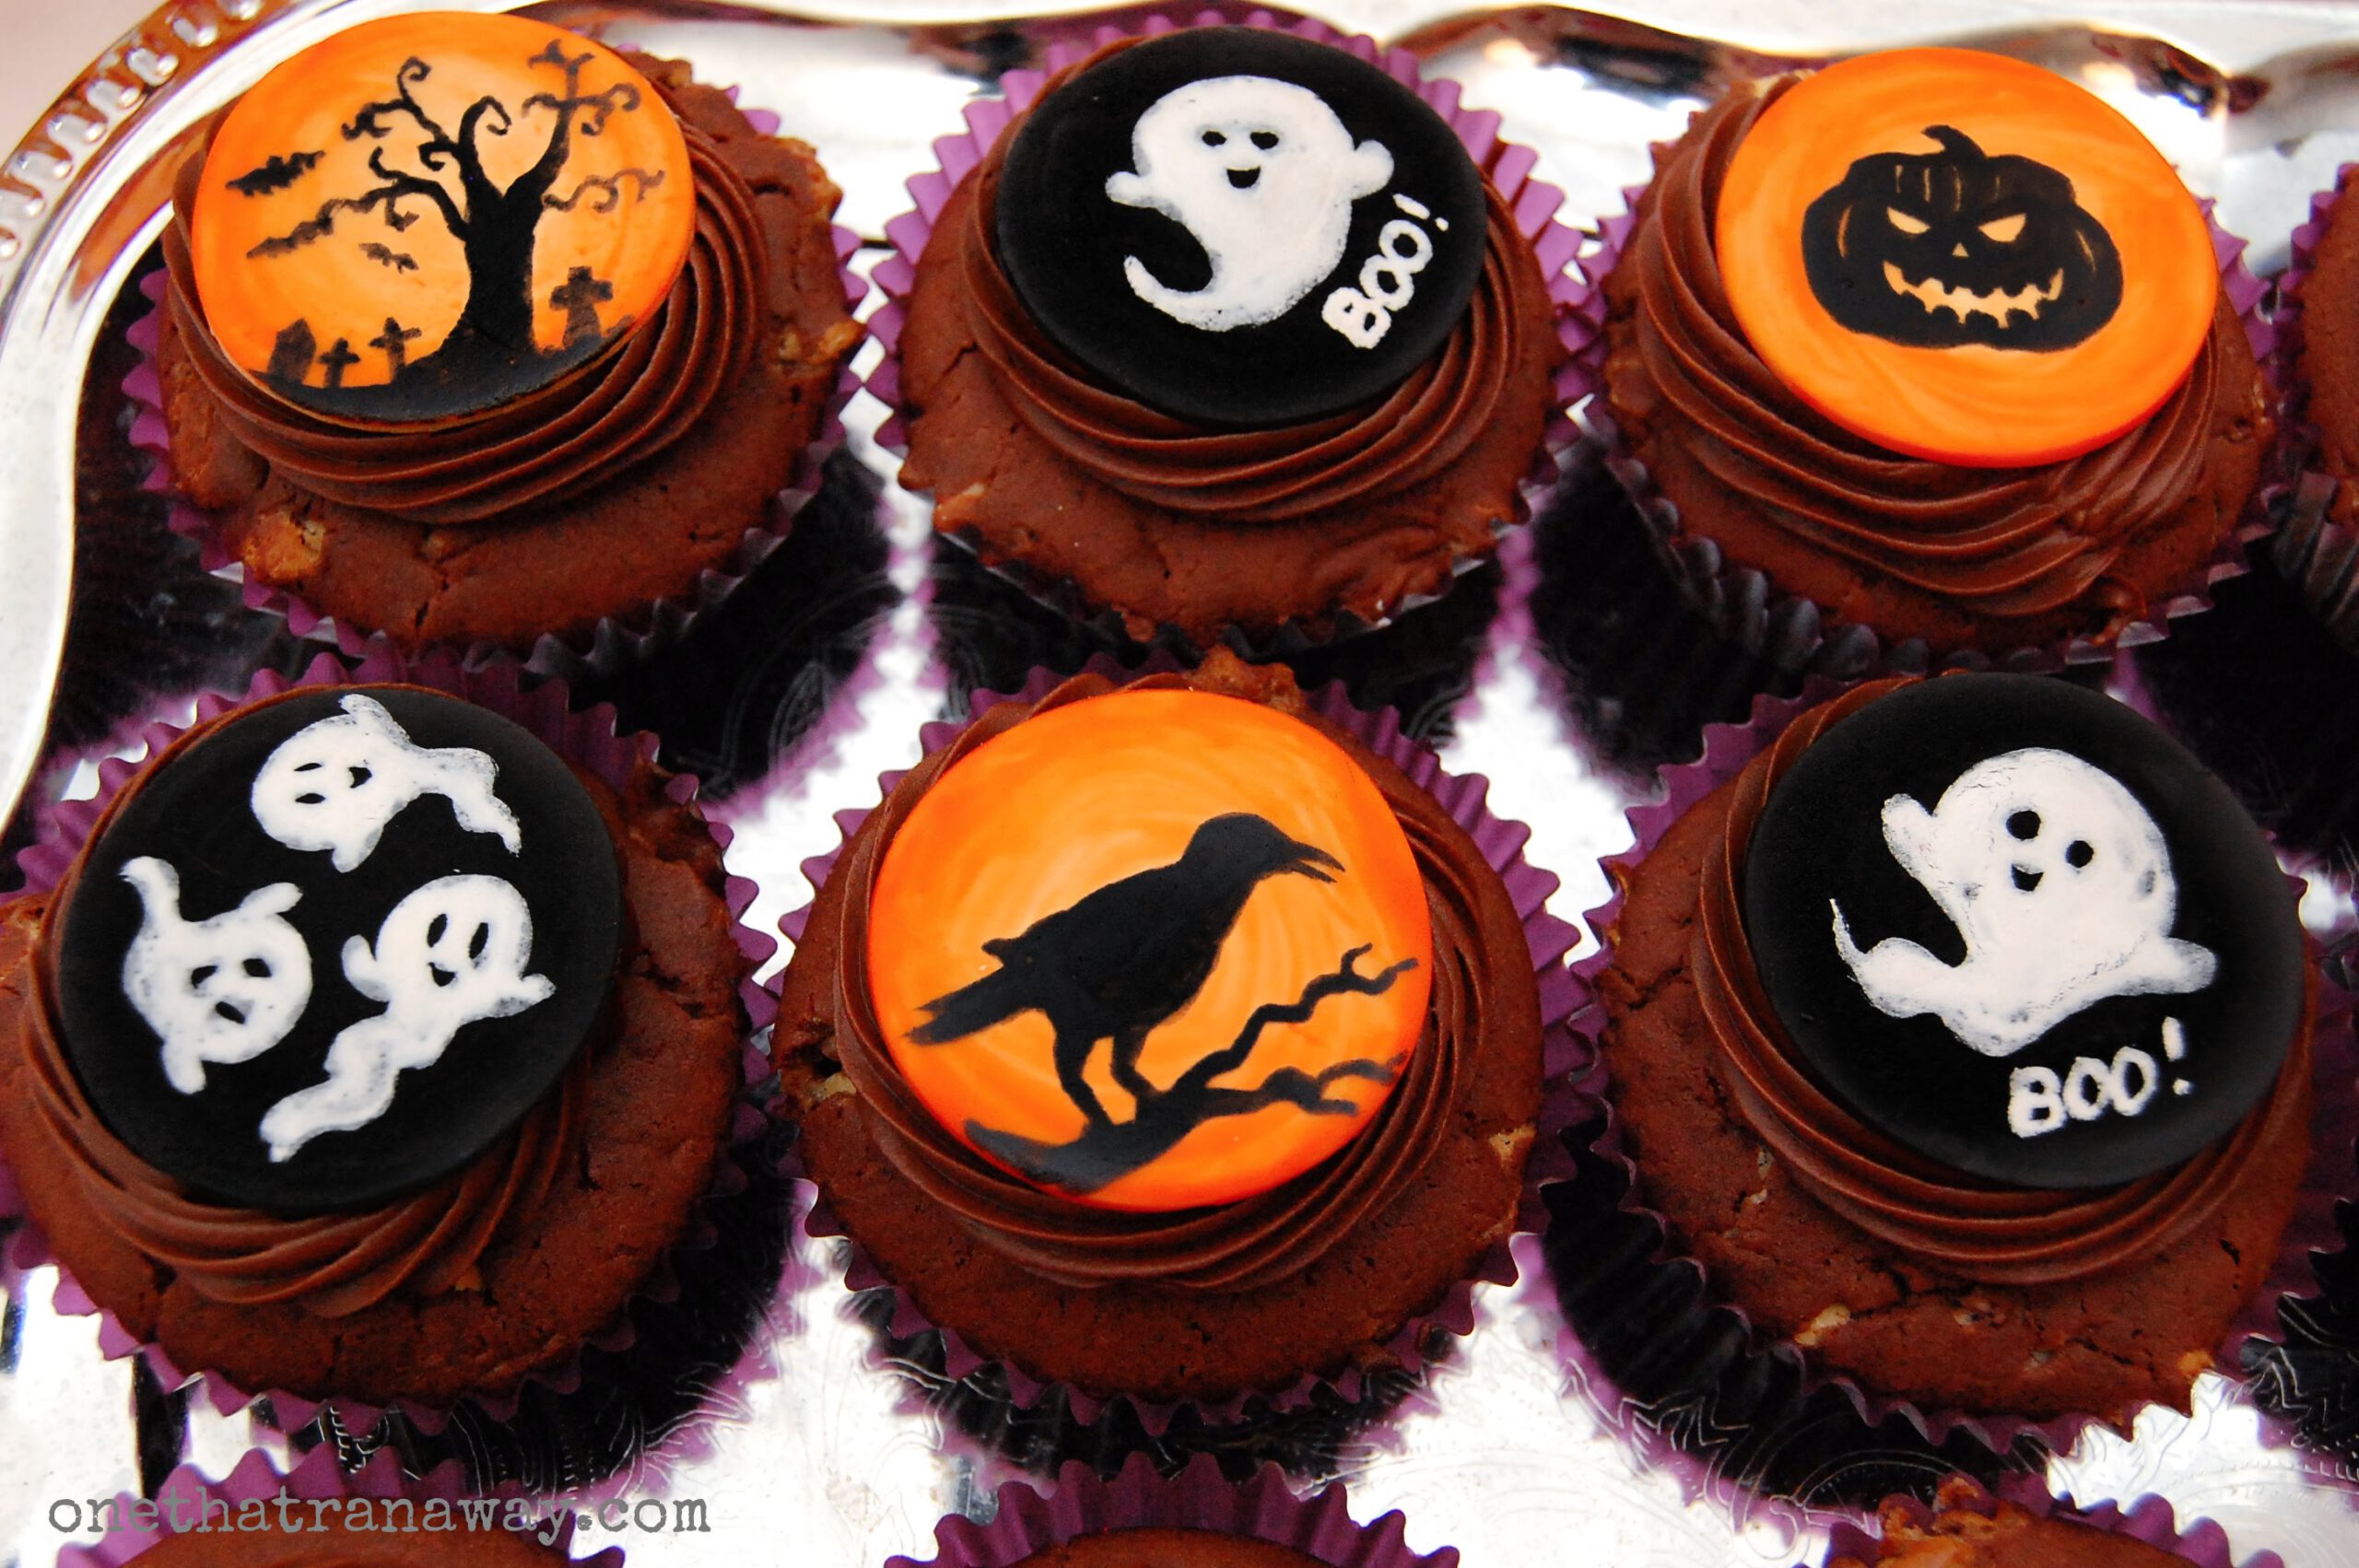
You can use whichever fondant you prefer for your Halloween silhouette cupcake toppers, whether it be store-bought or homemade. Even really cheap fondant will work here, as you will only need to roll it out. If it’s for decoration only, the taste won’t matter. However, if you intend to eat it, I would recommend good quality fondant, such as Renshaw. I used orange coloured fondant for the black silhouettes here for a proper Halloween-feeling, but other combinations work out really well. I have tried black paint on white fondant and white paint on black fondant, as well, and it always came out beautifully.
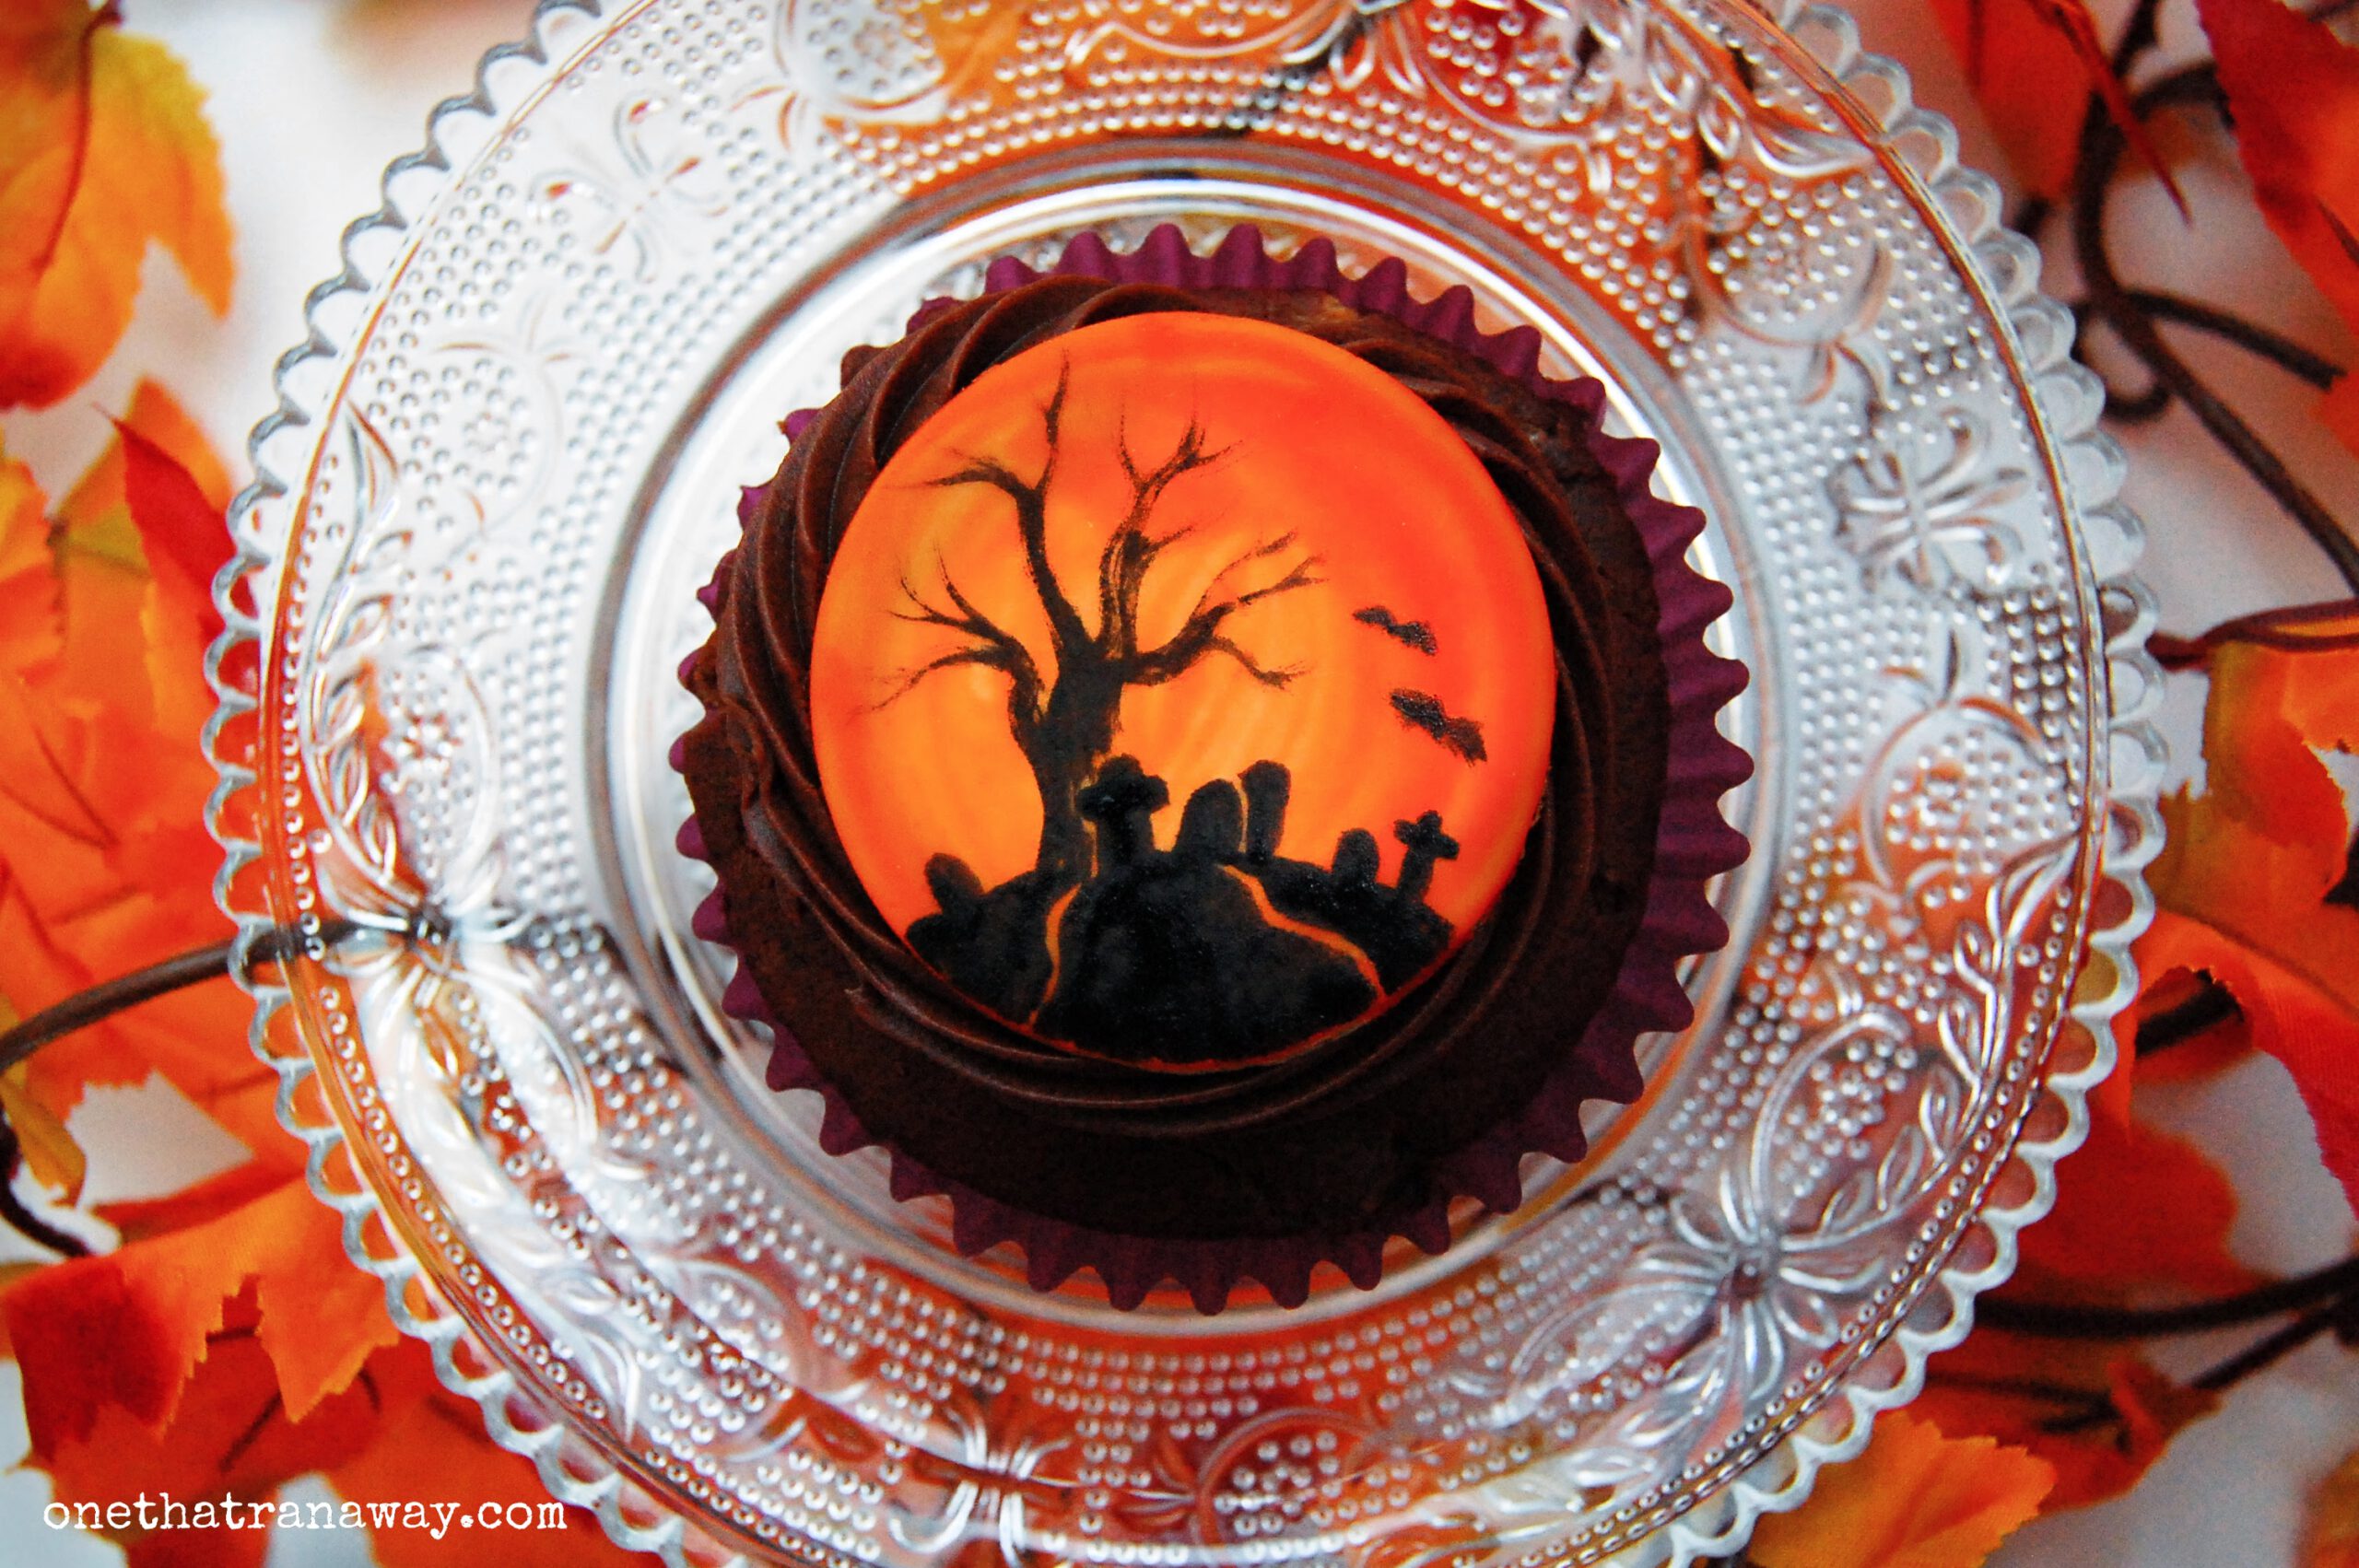
For the paint, you will need black and red gel food colouring and high-proof, clear and neutral alcohol (like vodka) to thin it. Water will not work, as it will make your fondant soggy and slimy and the lines of your painting will not be crisp. High-proof alcohol, however, will evaporate quickly, leaving your painted lines crisp and the fondant hard. Vodka works best, in my opinion.
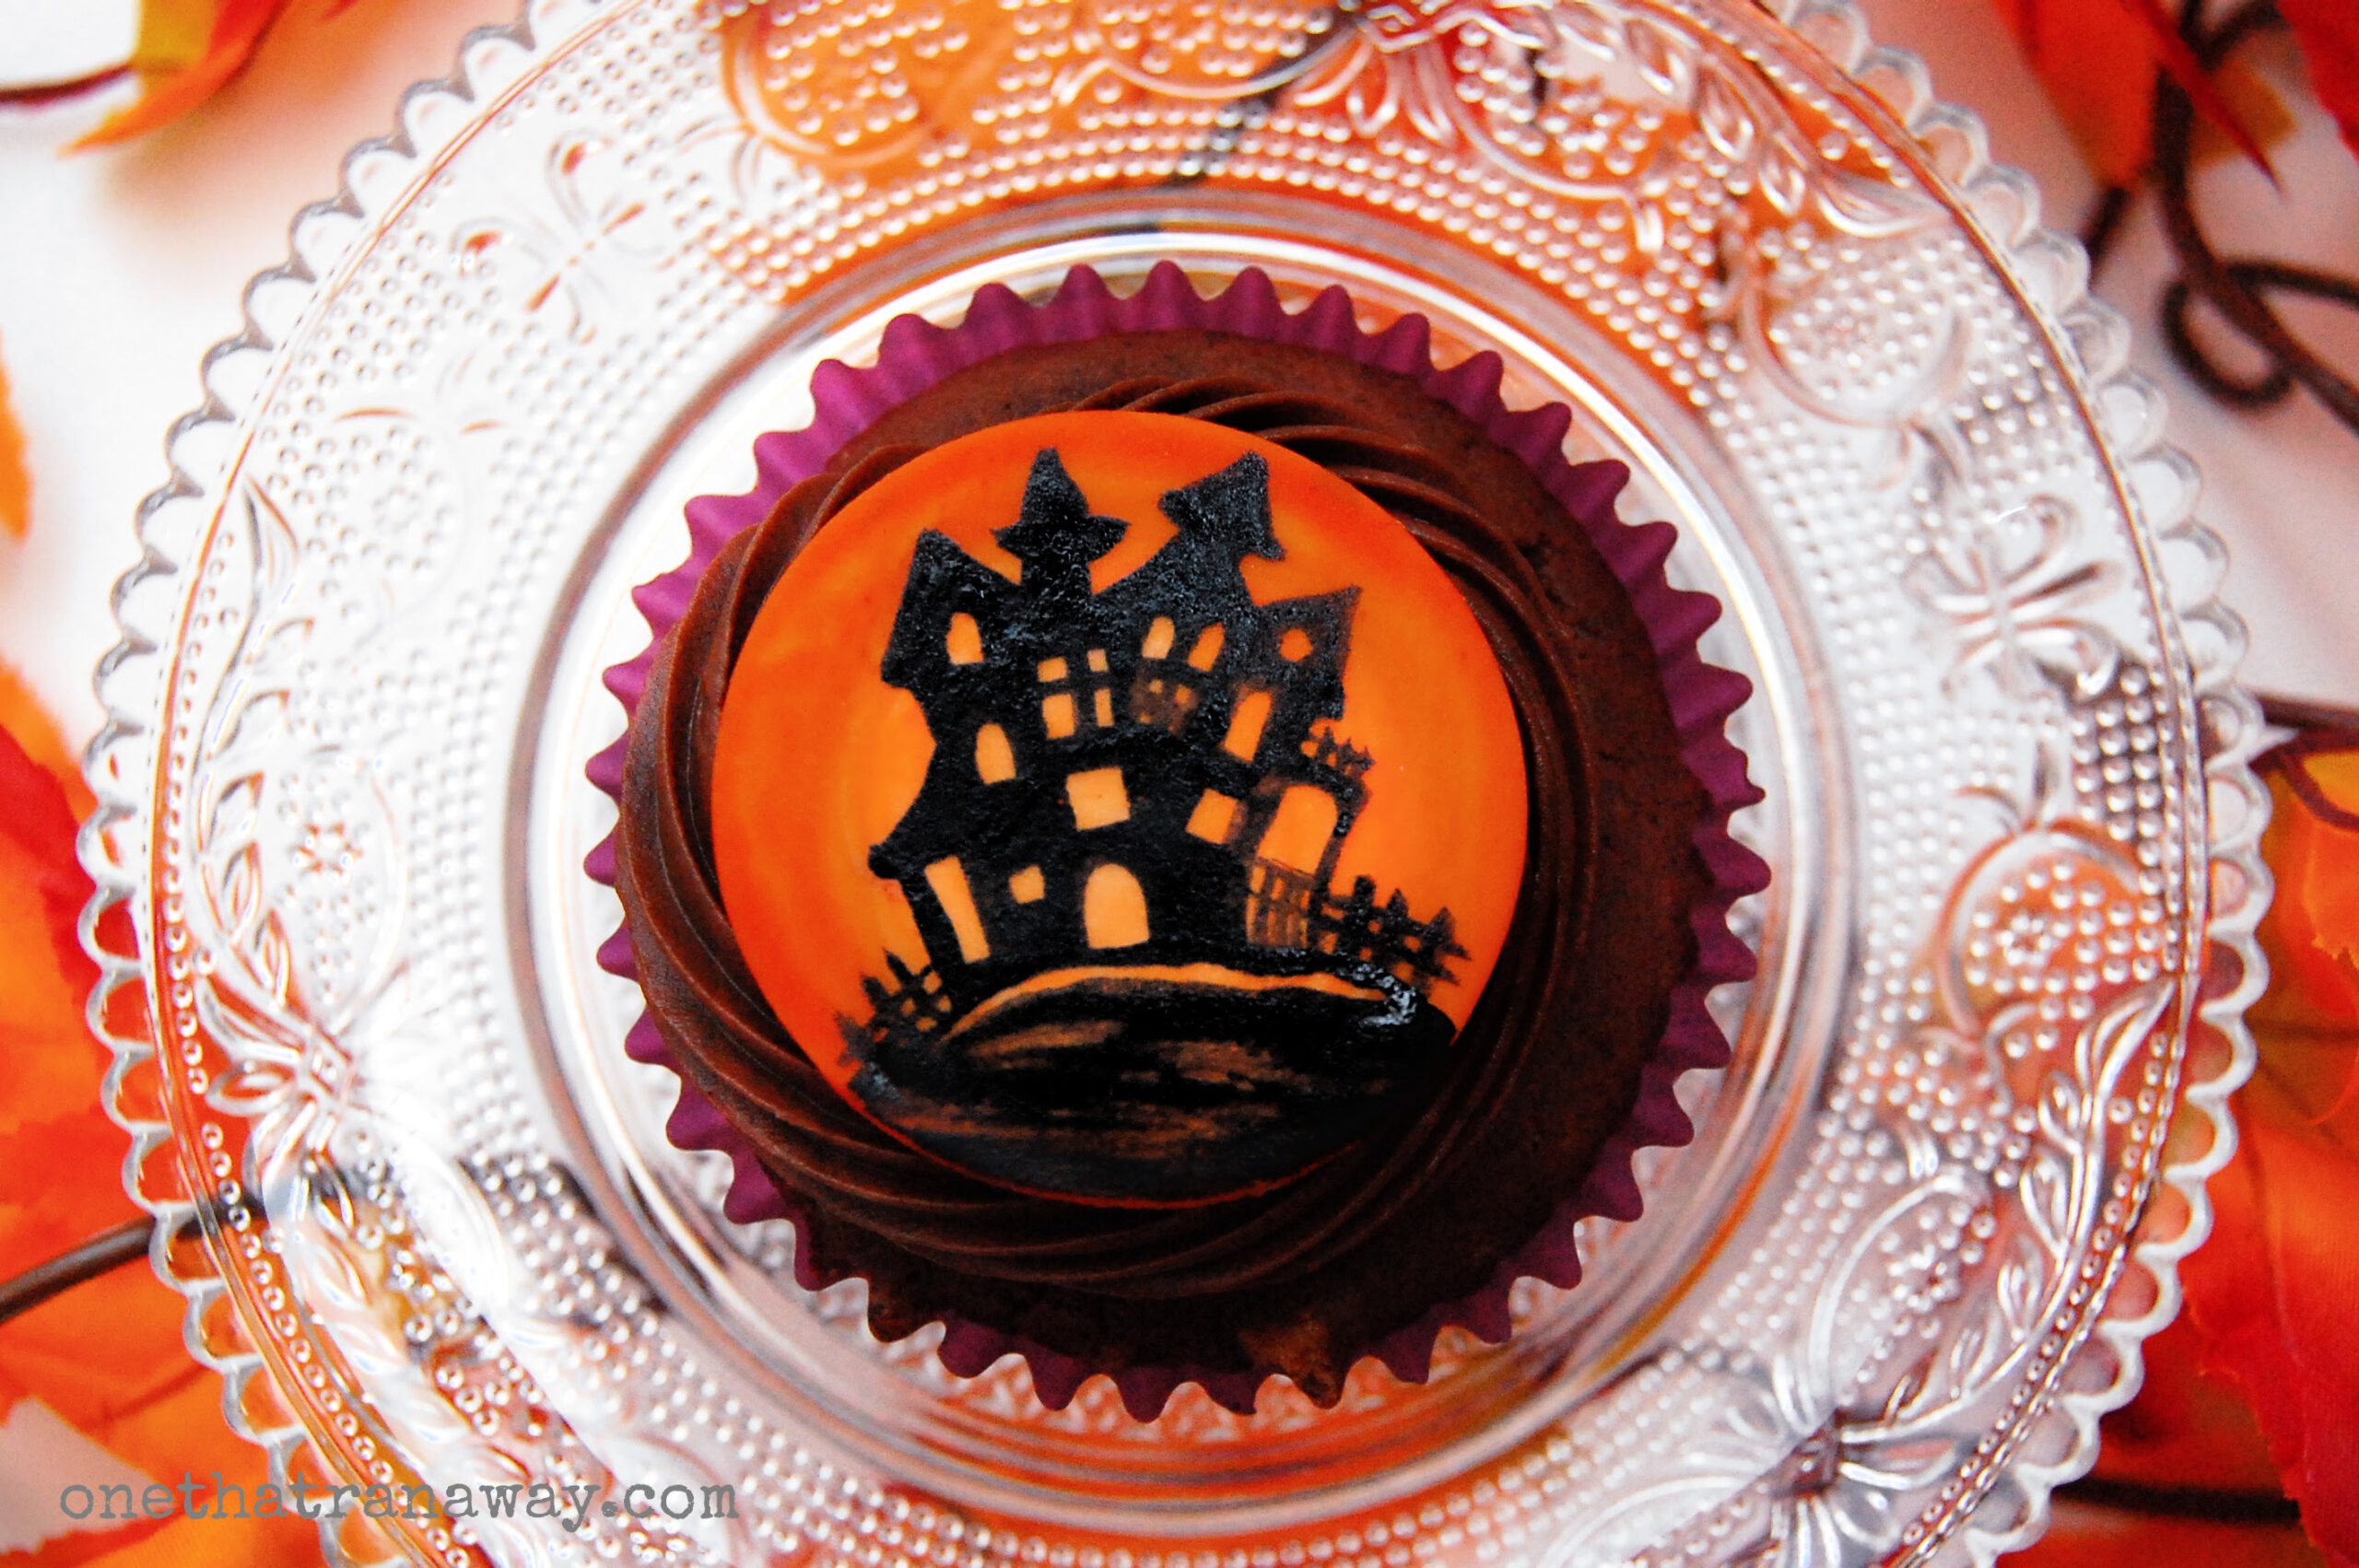
notes:
You need to plan ahead for these silhouette cupcake toppers. While they are not hard to make, you need time between the steps to let the fondant dry, otherwise a fail is guaranteed. I like to start about 1 week ahead. After rolling out, the fondant needs to harden. After you paint the background watercolour ombre effect with the red gel food colouring, the toppers will need a second time to dry out. Otherwise, your silhouettes will bleed into the background very quickly.
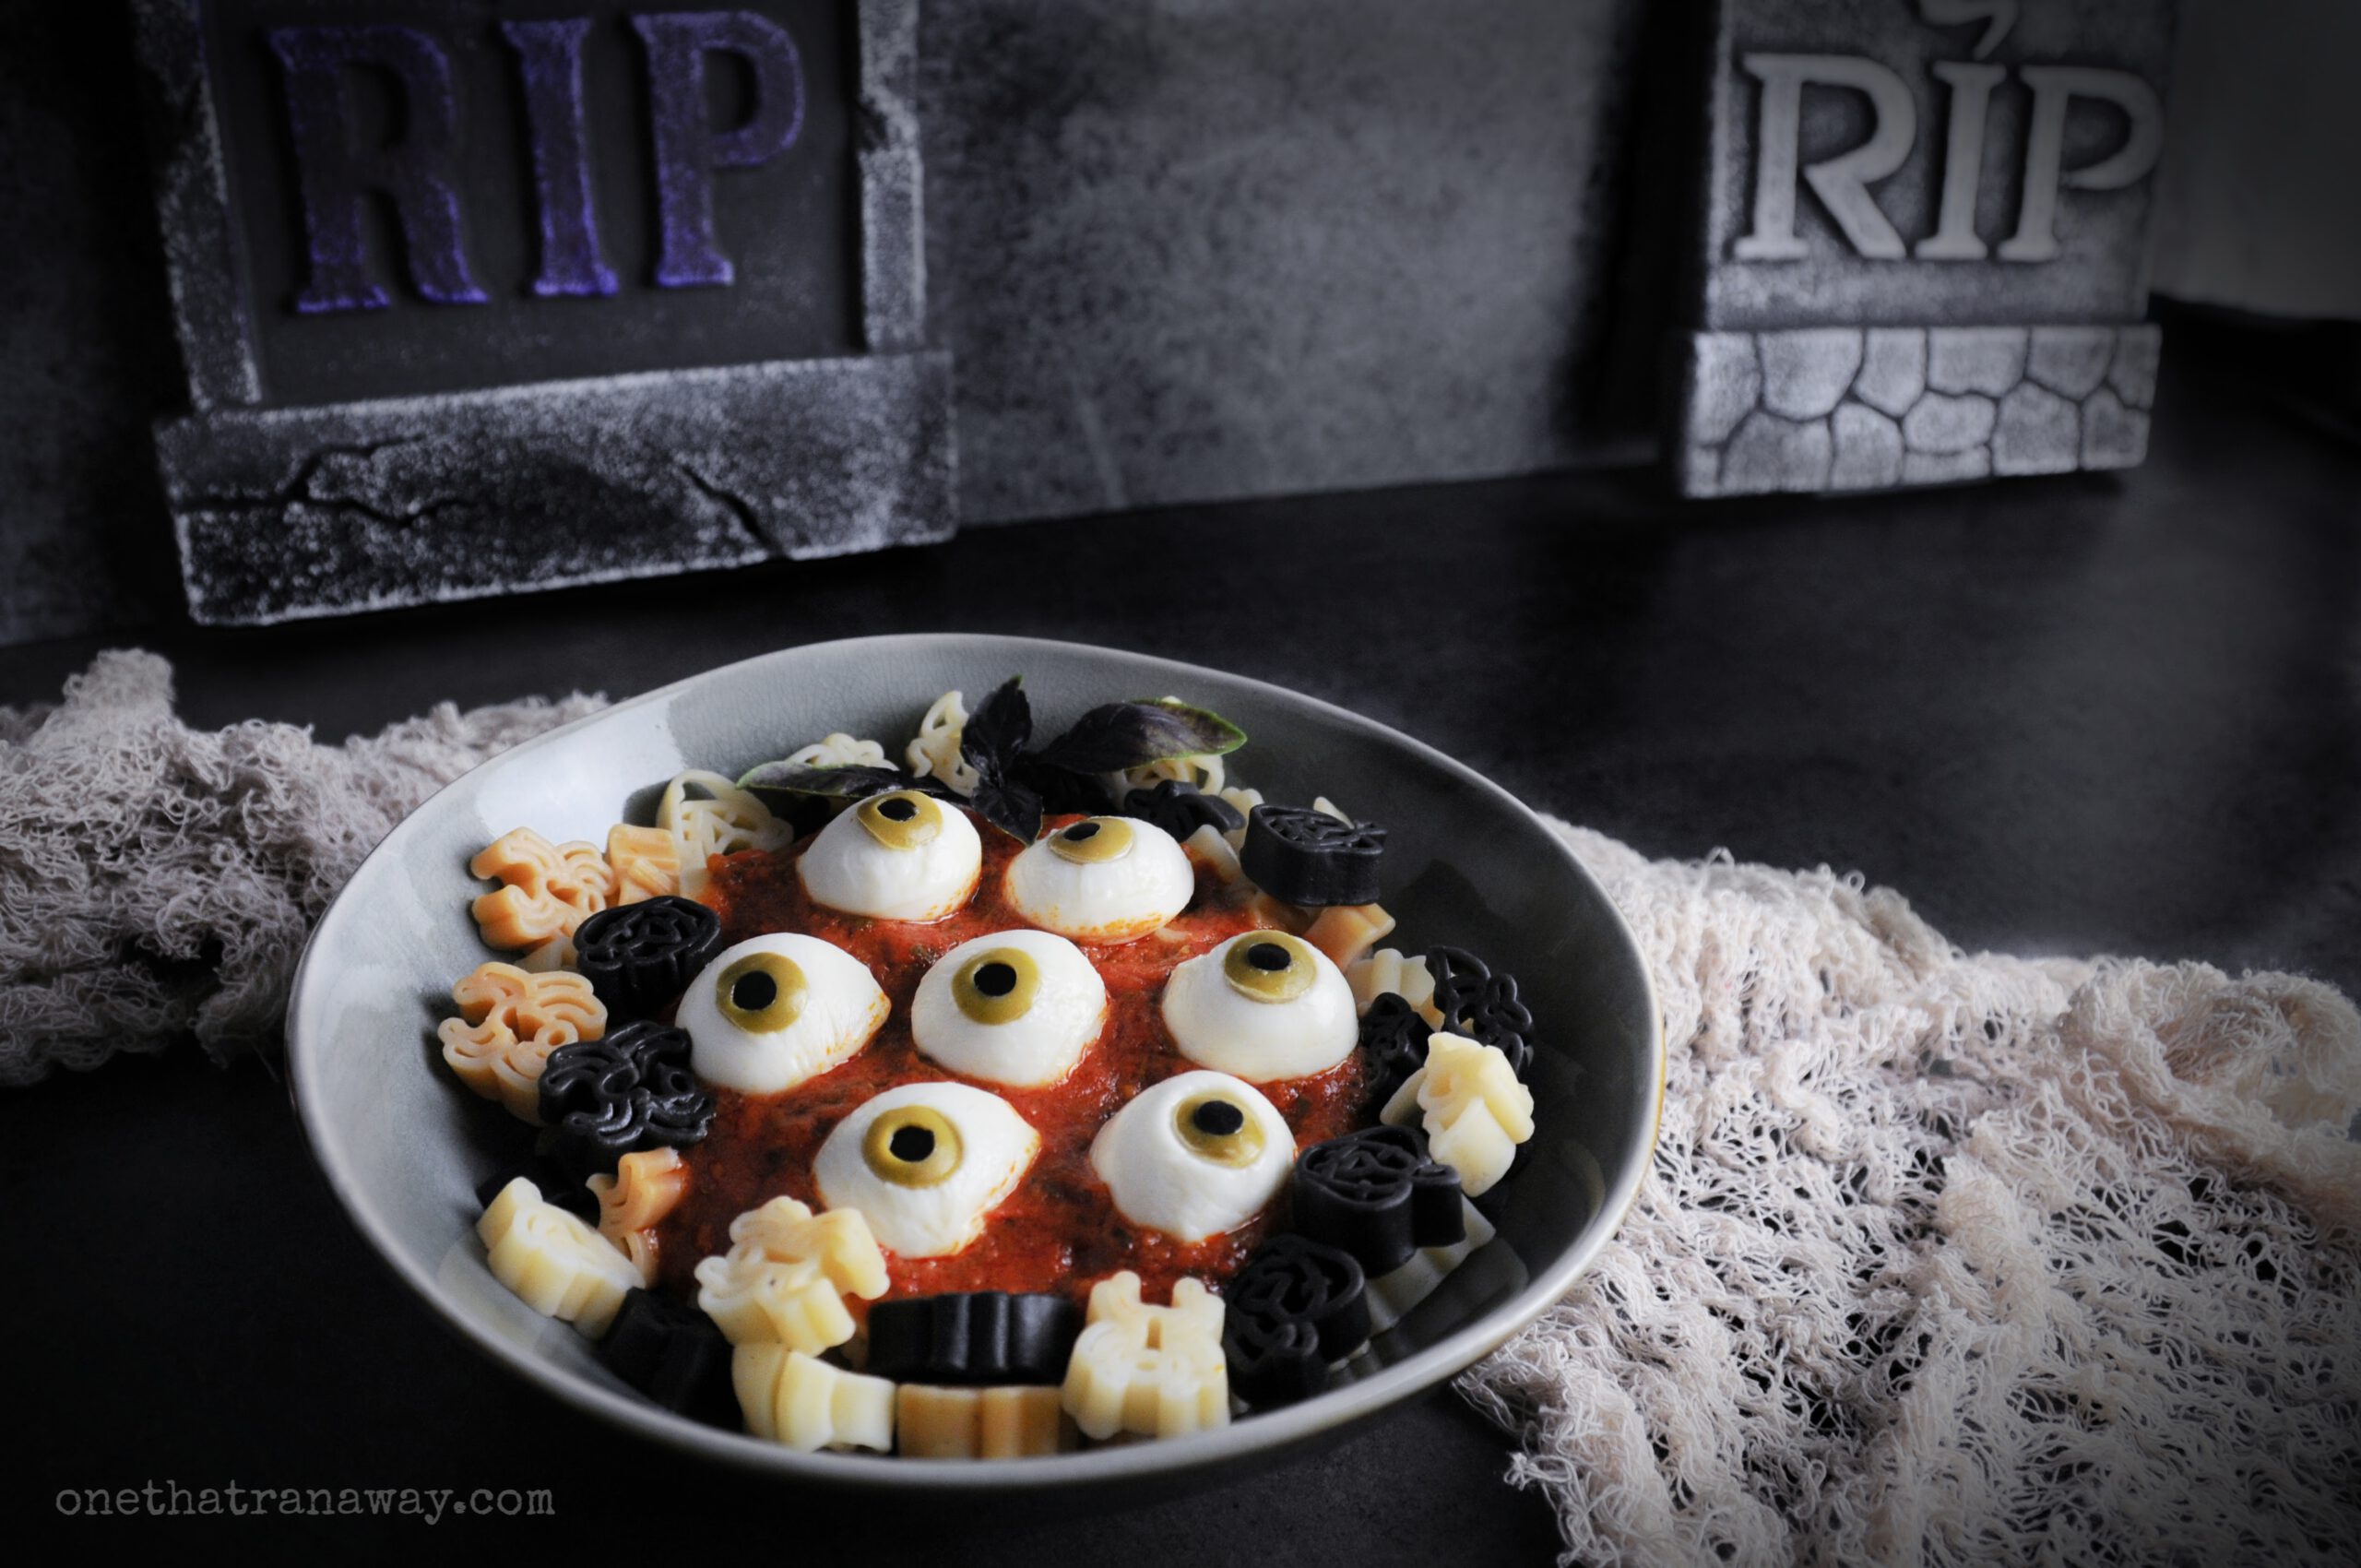
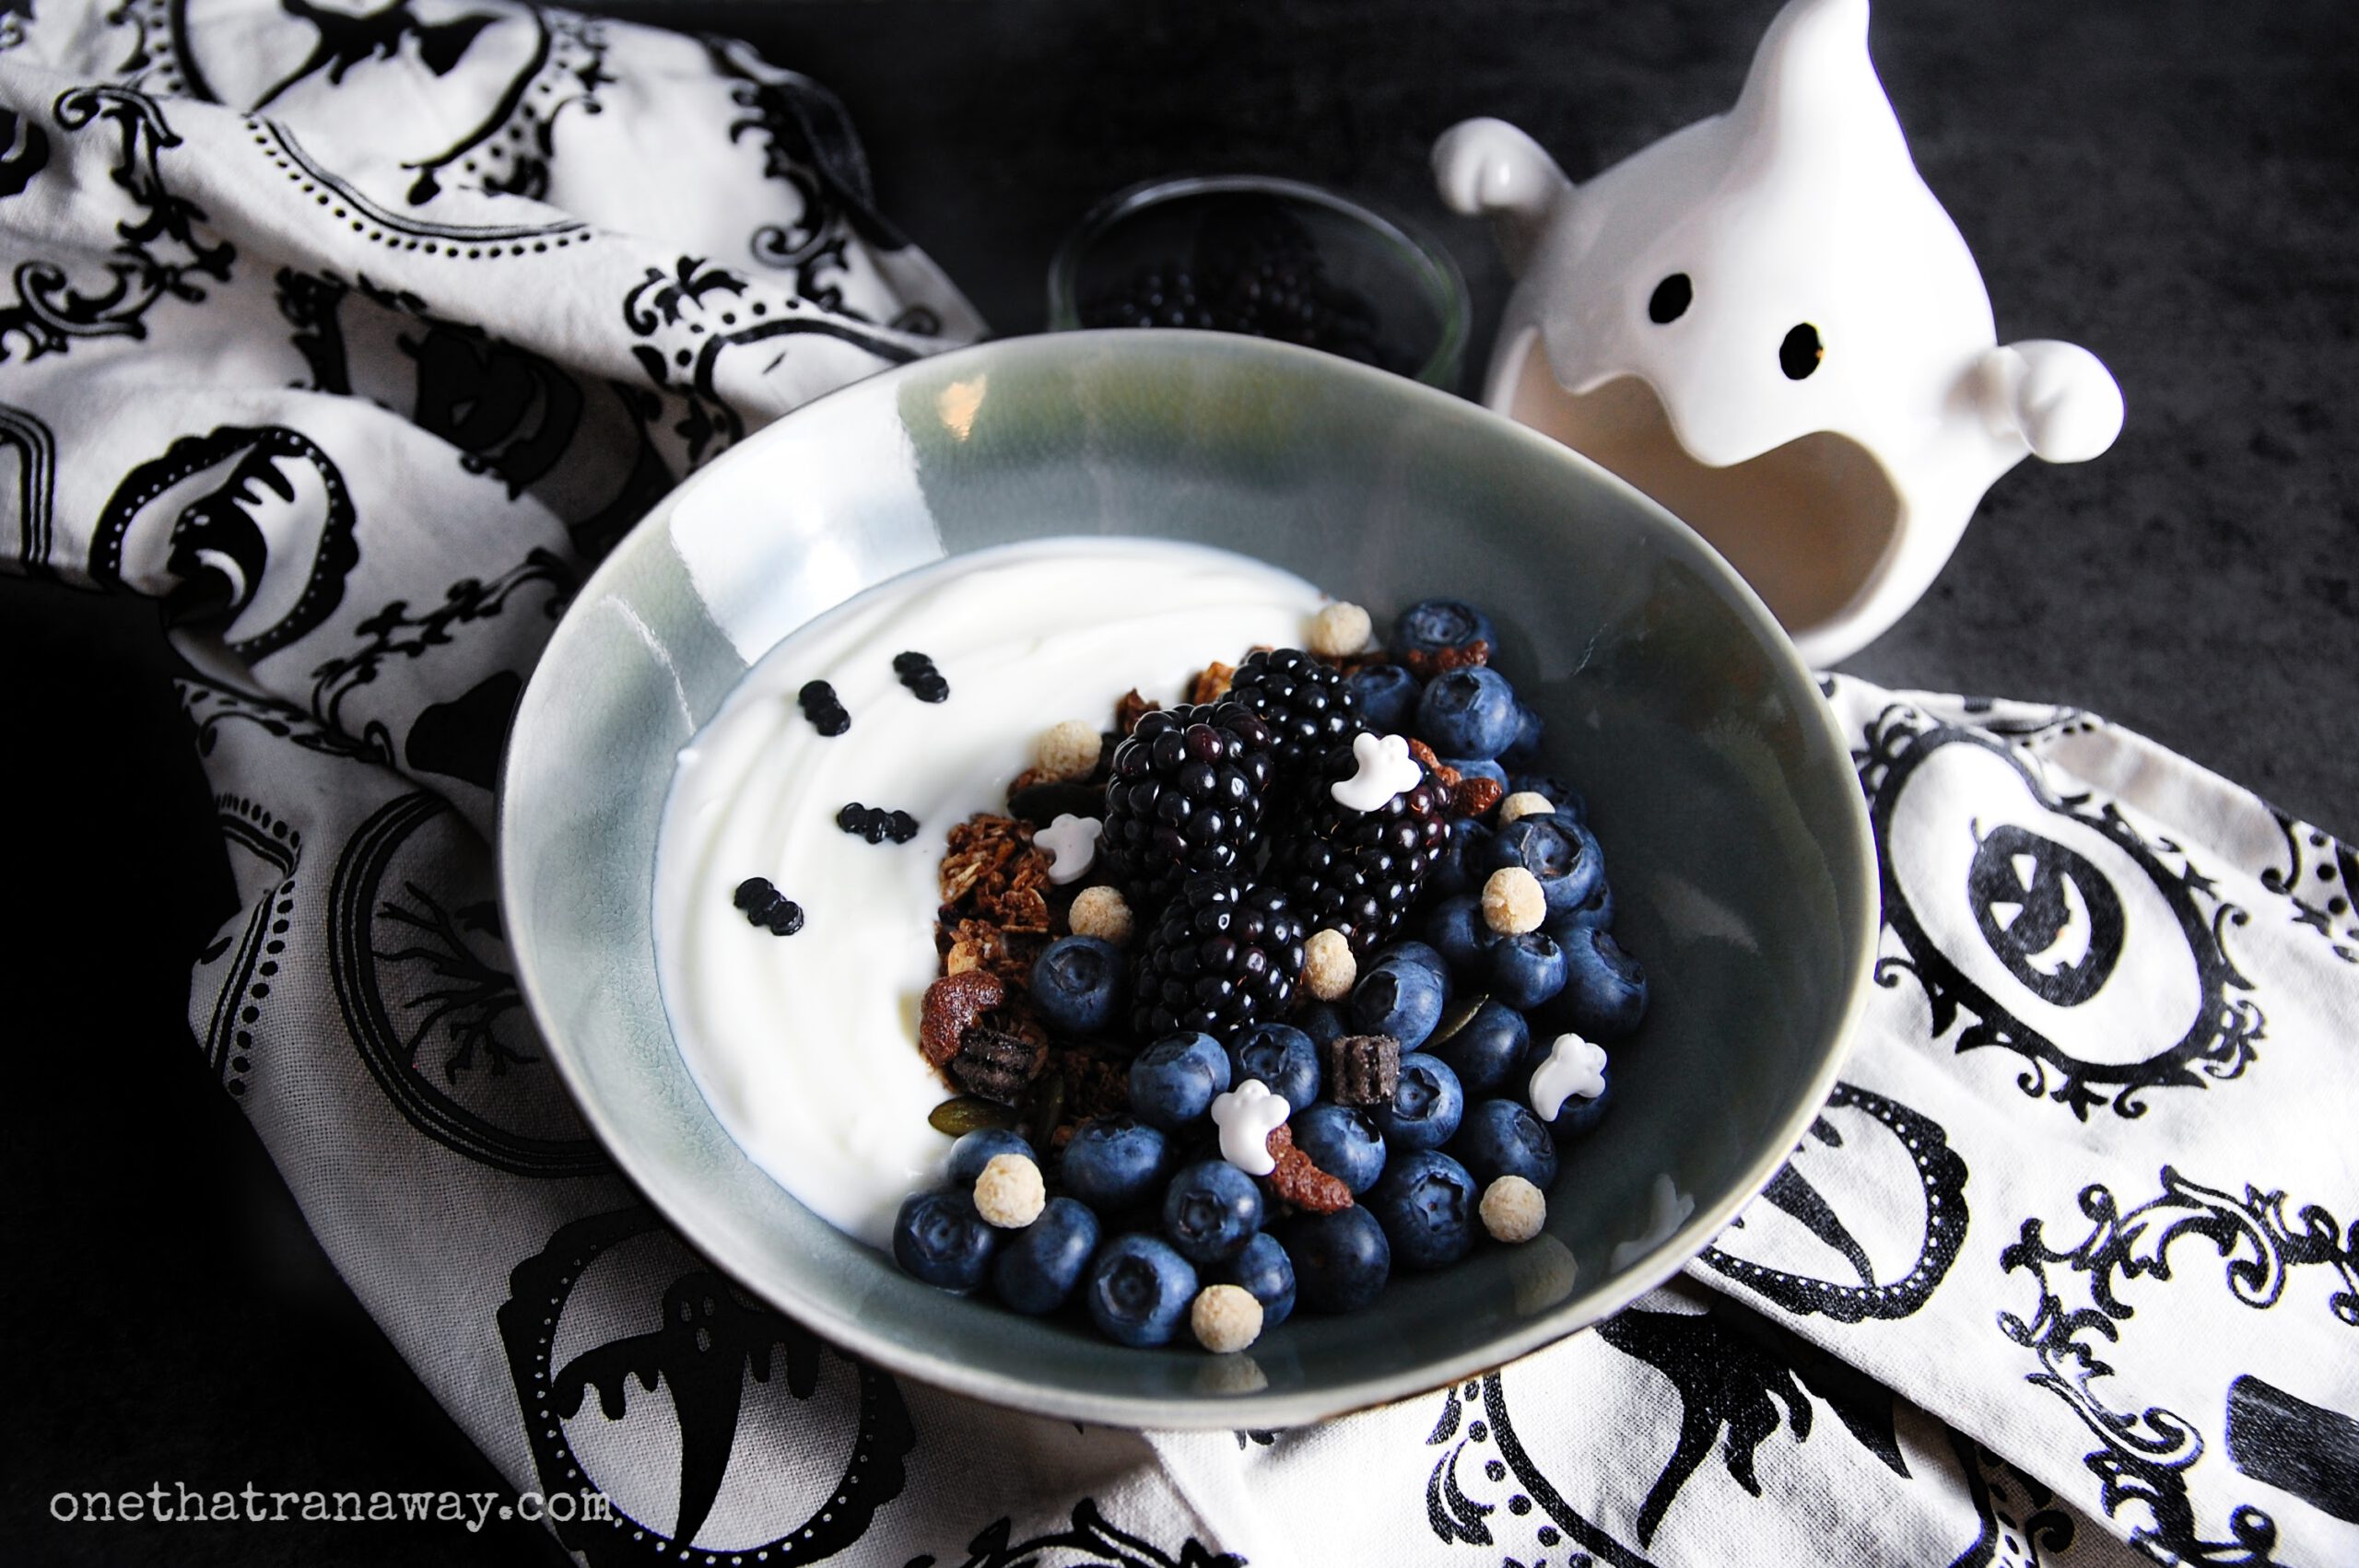
If you are looking for more Halloween recipes and food, check out this creepy Halloween Eyeball Pasta. Or start your day with a Healthy Halloween Breakfast Bowl.
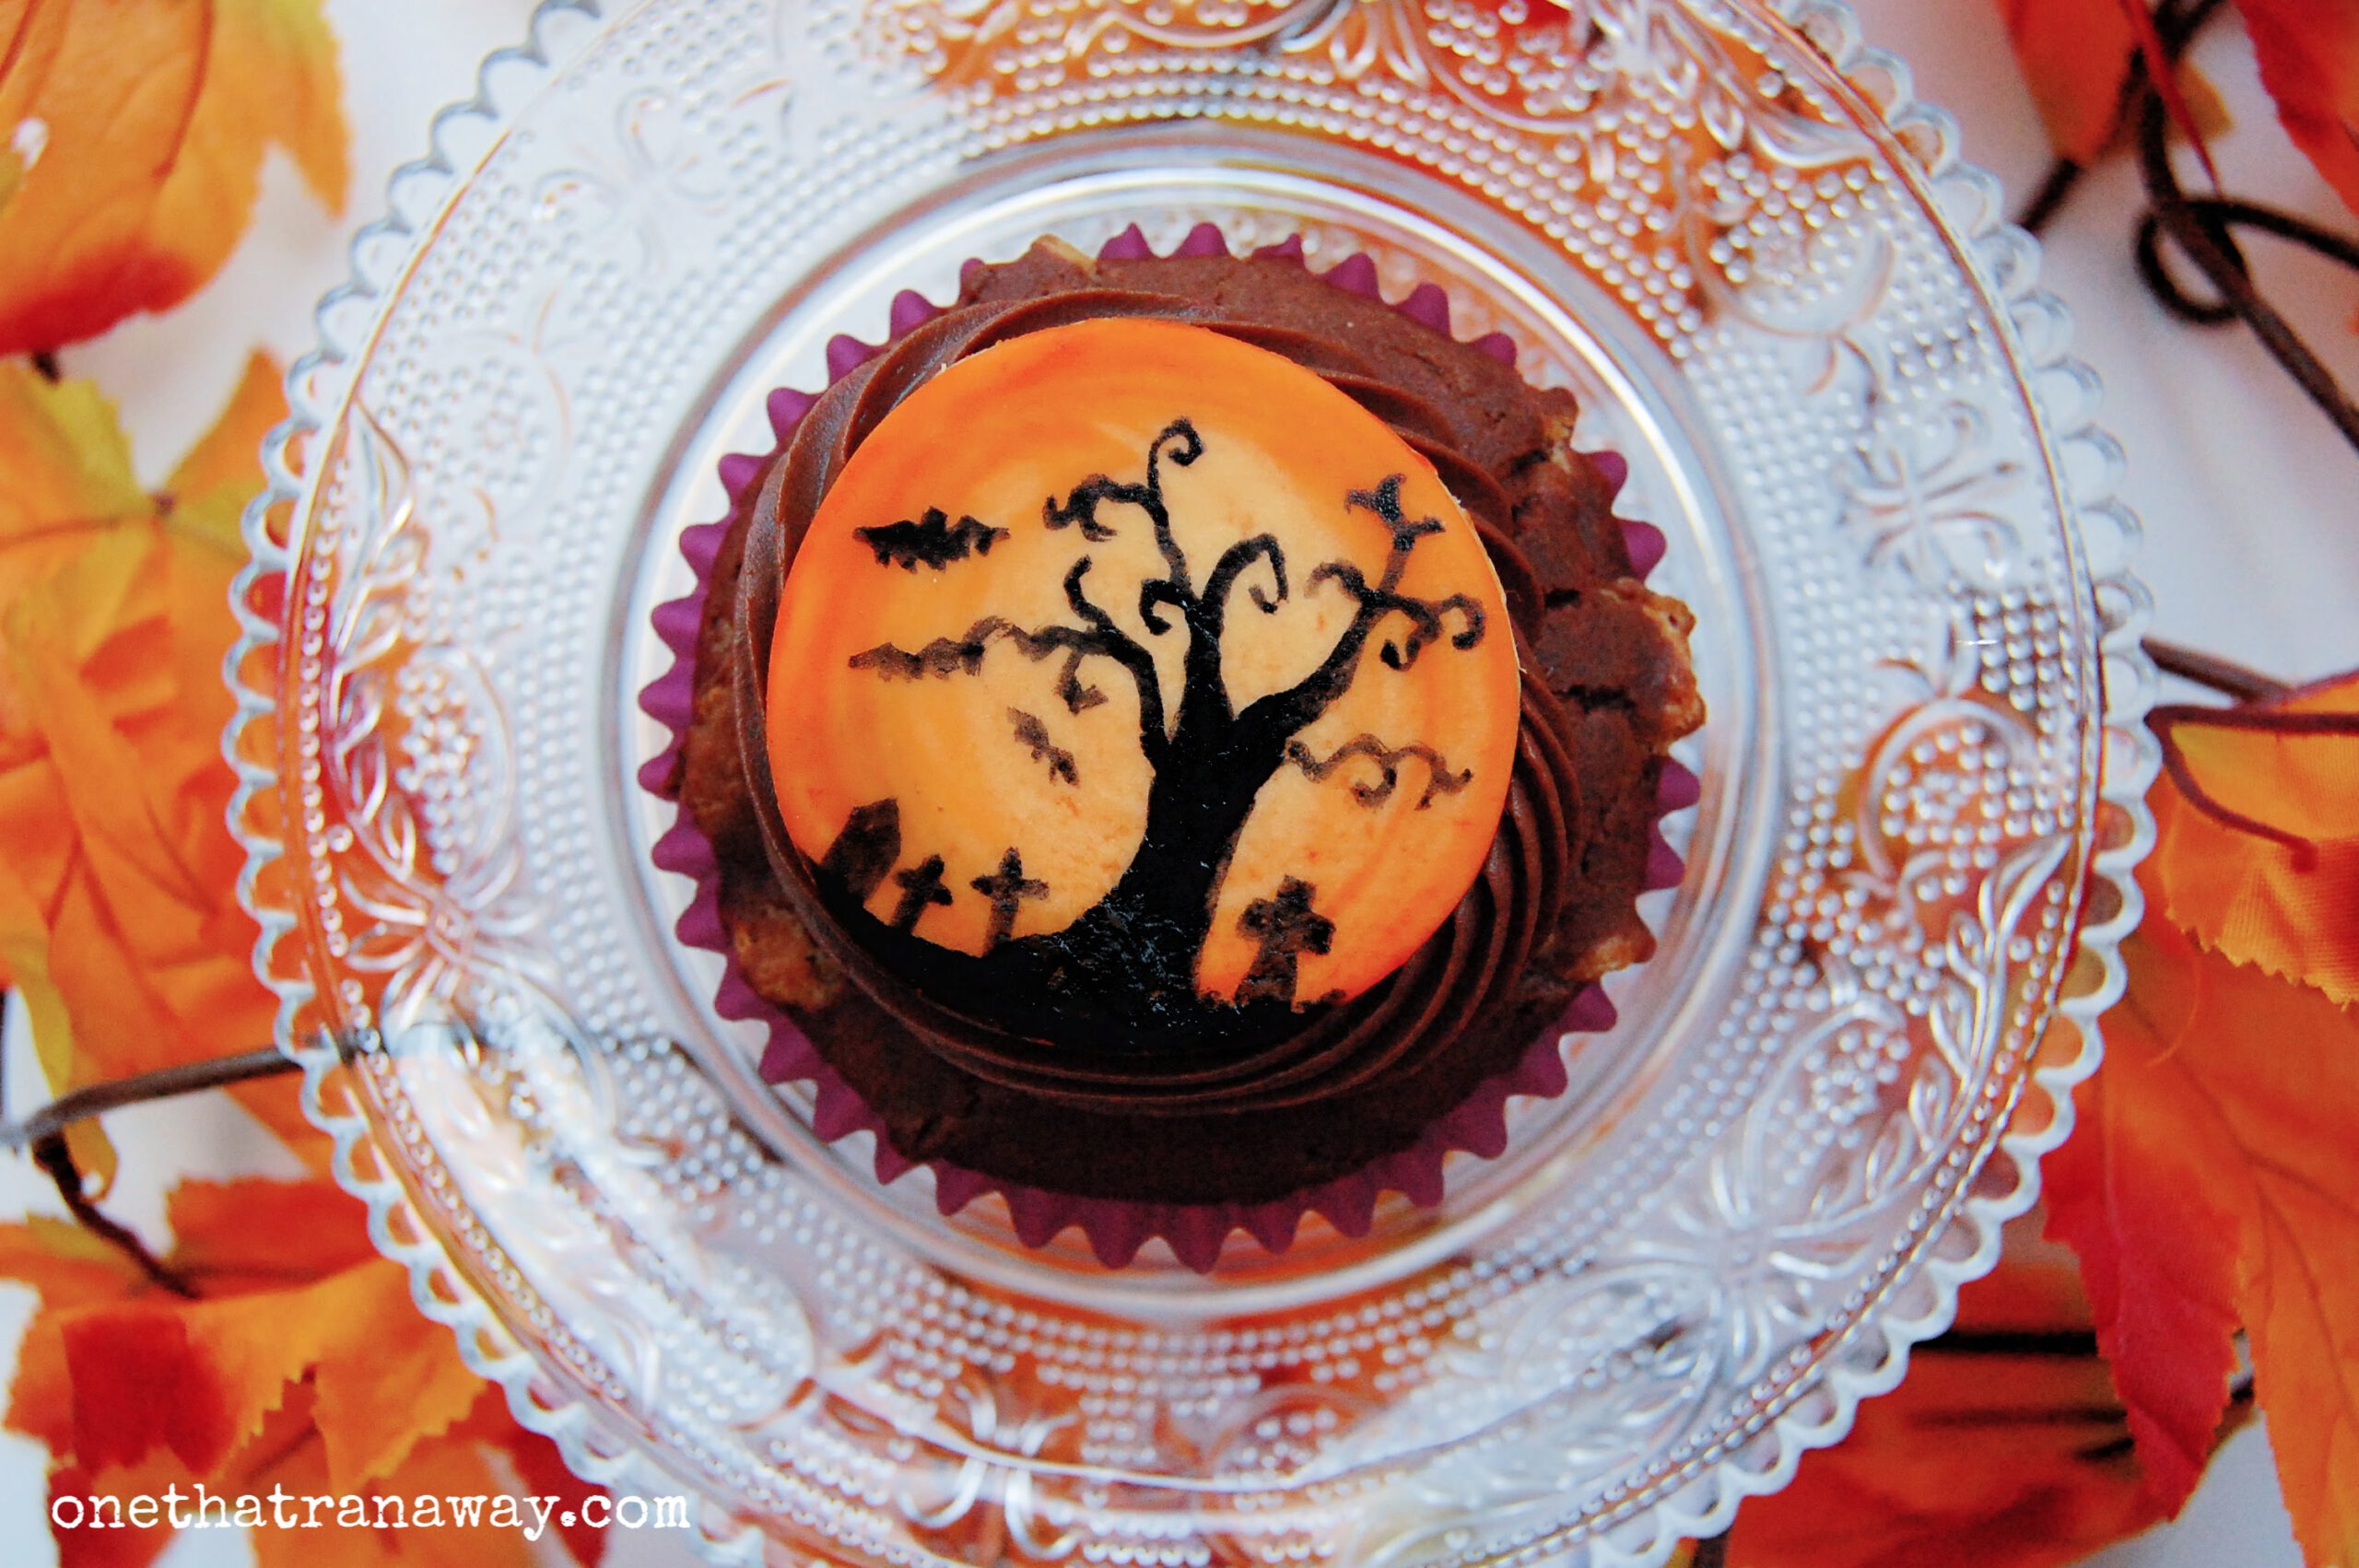
Halloween Silhouette Cupcake Topper
recipe
ingredients & supplies:
- 100 g (3,5 oz) orange fondant of your choice (homemade or storebought, other colours will work as long as they give a good contrast to your paint)
- Black gel food colouring for the silhouettes (see notes above for other colour pairings)
- Red gel food colouring for the watercolour ombre effect for the background
- a few tsp of high-proof, clear and neutral alcohol (I used vodka)
- 1 tsp cornstarch for dusting the fondant
- a rolling pin (silicone rolling pins work really well for fondant)
- 2 wooden skewers
- a fine round paint brush (max. size 0, size 00 is even better, make sure to use a new one or one that is exclusively used for food)
- a cooling rack for cookies for drying (optional)
instructions:
A few days ahead of painting your silhouette cupcake toppers, roll out your orange fondant. Immediately before rolling out, knead the fondant properly. Dust your surface and rolling pin with cornstarch, so the fondant will not stick to it. You can use two skewers on each side of the fondant to guide your rolling pin to roll it out thinly, but evenly. After rolling out, use cookie cutters to cut out your fondant toppers. I used round cookie cutters here, but you can experiment with different shapes.
Leave your cupcake toppers to dry for a few days until hardened completely.
Once the toppers have hardened, you can paint them.
Firstly, mix some of the vodka with your red gel food colouring to achieve a relatively thin, translucent paint. It’s best to take your time as you go. You may have to readjust the consistency by adding more paint or vodka. It’s helpful to try your paint on some leftover throwaway fondant to test it.
Once you are satisfied, paint around the edges of the fondant topper and let it thin out towards the centre of the topper to achieve an ombre watercolour effect.
Leave to dry for at least few hours up to another day or two. If you try to paint the silhouettes on top of wet fondant, your lines will bleed into the background. I like to use cookie cooling racks for this step of the process as it will help the paint to dry faster and your fondant will not get soggy.
Once the background paint has dried entirely, you can add the second layer of paint for the actual silhouettes.
Mix your black gel food colouring with a few drops of vodka until you have the desired consistency. You might have to add more drops of vodka as you go, since the alcohol evaporates while you are painting. Have some throw-away fondant ready to try on before you use it on your cut out fondant toppers. This will save you a lot of stress and frustration. Once you are satisfied with consistency and colour depth, use your mixed paint on the actual cupcake toppers.
Using a very fine round paint brush, paint the desired silhouettes (jack-o-lanterns, graveyards, haunted houses, ravens, bats, mythical creatures) onto your fondant. You can either do this free hand, or use a projector or the pin-prick method beforehand to outline the silhouettes.
Leave your painted silhouette cupcake toppers to dry on the cooling racks for another day or two before using them for your delicious cupcakes.
And, as always: If you enjoy this recipe, share, like and subscribe. It means a lot.
Auf Deutsch, bitte:
Halloween Silhouetten-Cupcake-Topper
Zutaten / Zubehör:
- 100 g Fondant nach Wahl in orange (selbst gemacht oder gekauft, andere Farben gehen auch, wenn sie einen guten Kontrast für die Farbe der Silhouetten bieten)
- schwarze Gel-Lebensmittelfarbe für die Silhouetten (siehe Anmerkungen für andere Farbvarianten)
- rote Gel-Lebensmittelfarbe für den Aquarell-Ombre-Effekt für den Hintergrund
- ein paar Teelöffel hochprozentiger, klarer und neutraler Alkohol (I habe Wodka verwendet)
- 1 TL Speisestärke zum Bestäuben des Fondants
- Teigrolle (Silkon-Teigrollen funktionieren sehr gut für Fondant)
- 2 Holzspieße
- ein feiner Rundpinsel (maximal Größe 0, noch besser wäre Größe 00, am besten einen neuen Pinsel verwenden oder einen, der ausschließlich für Lebensmittel verwendet wird)
- ein Abkühlgitter für Plätzchen (optional)
Anleitung:
Den Fondant einige Tage vor dem Bemalen ausrollen. Direkt vor dem Ausrollen den Fondant gut durchkneten. Die Arbeitsoberfläche und die Teigrolle gründlich mit Speisestärke bestäuben, damit der Fondant nicht kleben bleibt. Die Holzspieße rechts und links neben den Fondant legen, um die Teigrolle zu führen, damit der Fondant gleichmäßig dünn ausgerollt werden kann. Für das Ausstechen der Topper können unterschiedliche Ausstecherformen (rechteckig, rund, mit Wellen oder in unterschiedlichen Formen) verwendet werden. Ich habe runde Ausstecher verwendet, aber Experimentieren mit anderen Formen lohnt sich.
Nun die Cupcake-Topper für ein paar Tage trocknen lassen, bis sie ganz durchgehärtet sind.
Sobald die Topper hart sind, können sie bemalt werden.
Hierfür als Erstes den Wodka mit der roten Gel-Lebensmittelfarbe vermischen, bis eine recht dünne, durchscheinende Farbe erreicht ist. Bei Bedarf muss hier immer wieder nachgemischt und justiert werden, indem man mehr Wodka oder Gelfarbe hinzu gibt. Es hilft, etwas übriggebliebenen Fondant zum Ausprobieren zu benutzen, um die Farbe zu testen.
Sobald die gewünschte Konsistenz und Farbe erreicht ist, werden nun die Ränder des Fondant-Toppers großzügig bemalt und zur Mitte des Cupcake-Toppers hin immer weiter verdünnt und ausgeblendet, um einen Aquarell-Ombre-Effekt zu erzielen.
Nun müssen die Fondant-Topper noch einmal für mindestens ein paar Stunden, aber besser für einen oder zwei Tage trocknen. Auf feuchtem Fondant gemalte Silhouetten werden verwischen und in den Hintergrund ausbluten. Ich benutze gerne Abkühlgitter, um die Fondant-Topper für diesen Schritt des Prozesses, da der Fondant hier nicht matschig wird und die Farbe schneller trocknen kann.
Sobald die Farbe des Hintergrunds komplett getrocknet ist, kann die zweite Farbschicht für die eigentlichen Silhouetten aufgetragen werden.
Die schwarze Gel-Lebensmittelfarbe mit ein paar Tropfen Wodka verdünnen bis die gewünschte Konsistenz erreicht ist. Hierbei kann es nötig sein, während des Bemalens immer wieder ein paar Tropfen Wodka zu ergänzen, da der Alkohol während des Malens verdunstet und die Farbe wieder fester wird. Auch hier ist es empfehlenswert, etwas übrig gebliebenen Fondant bereit zu halten, um die Farbkonsistenz und -Intensität zu testen, bevor man sie auf den eigentlichen Cupcake-Toppern verwendet. Das erspart eine Menge Frustration und Ärger. Sobald die Konsistenz und Farbtiefe zufriedenstellend ist, kann die angemischte Farbe nun auf den Fondant-Cupcake-Toppern verwendet werden.
Nun werden mit einem sehr feinen Pinsel die gewünschten Silhouetten auf den Fondant aufgemalt (Kürbisfratzen, Friedhöfe, Gruselhäuser, Raben, Fledermäuse und andere mythische Kreaturen). Das geht frei Hand, man kann aber auch zu Beginn Projektoren oder die Pin-Prick Methode benutzen, um die Umrisse der Silhouetten nachzumalen.
Am Ende werden die bemalten Cupcake-Topper zum Trocknen für einen oder zwei Tage auf die Abkühlgitter gelegt, bevor sie auf die leckeren Cupcakes aufgesetzt werden.
Anmerkungen:
Wie schon erwähnt müssen die Silhouetten nicht frei Hand gemalt werden. Projektoren oder die Pin-Prick Methode helfen hier, die Umrisse nachzumalen. Hier hilft eine schnelle Internet-Suche.
Auch für die Motivauswahl können Internet-Suchen Inspiration liefern. Die Motive lassen sich wunderbar variieren und für unterschiedliche Party-Themen adaptieren.
Es ist sehr wichtig, mehrere Tage für die Fertigung einzuplanen. Ich beginne gerne etwa eine Woche, bevor ich die Silhouette-Cupcake-Topper benötige. Nach dem Ausrollen muss der Fondant durchhärten und der Aquarell-Hintergrund benötigt Zeit zum Trocknen, bevor die eigentlichen Silhouetten aufgemalt werden können. Die Zeit zum Aushärten und Trocknen ist absolut notwendig, da sonst keine scharfen Linien entstehen oder der Fondant matschig werden kann.
Andere Farbkombinationen (weiße Silhouette auf schwarz, schwarze Silhouette auf weiß, schwarze Silhouette auf hellgrün, etc.) funktionieren auch wunderbar, solange auf einen entsprechend starken Kontrast geachtet wird.
Für das Verdünnen und Anmischen der Farbe muss hochprozentiger, klarer Alkohol verwendet werden. Wasser funktioniert nicht, da es den Fondant matschig und schleimig macht und die die Silhouetten-Linien in den Hintergrund ausbluten. Hochprozentiger Alkohol hingegen verdunstet schnell und hinterlässt scharfe, klare Linien und gewährleistet, dass der Fondant hart bleibt. Wodka funktioniert hier meiner Meinung nach am Besten.
